

In this 2026 guide, you will learn which important questions to ask, and how to conceptualize a VR lab to set yourself up for long-term success. We feature the latest VR hardware, plus new information on eye tracking and VR training.
Download a full PDF version of this guide here.
Please also read our “2026 Budgeting Guidelines for Scientific VR Labs” to learn about cost considerations for VR hardware, software and application development for scientists looking to start or upgrade their VR research lab.
In this updated guide you will find answers to these questions:
WorldViz VR Lab at University of Dayton

WorldViz VR Lab at Stanford University
Multi-User WorldViz VR Classroom at Lasell University
For more detailed information on how to set up a virtual reality lab and help with custom configurations, please contact us at sales@worldviz.com.
We’ve been thinking long and hard about the decision-making process you as a customer are faced with. Here are a few reads worth your while:
Our 2026 Budgeting Guidelines for Scientific VR Labs provides a detailed view on cost considerations including specific pricing for VR hardware, software and application development for scientists looking to start or upgrade their VR research lab.
The “WorldViz Partners in Science Report” is an annual report that collects hundreds of peer reviewed research publications which utilize WorldViz products. Covering a range of academic disciplines including Computer Science, Psychology, Engineering, Physiology and Neuroscience, we invite you to explore the current and past reports for a comprehensive overview of the state of VR research applications.
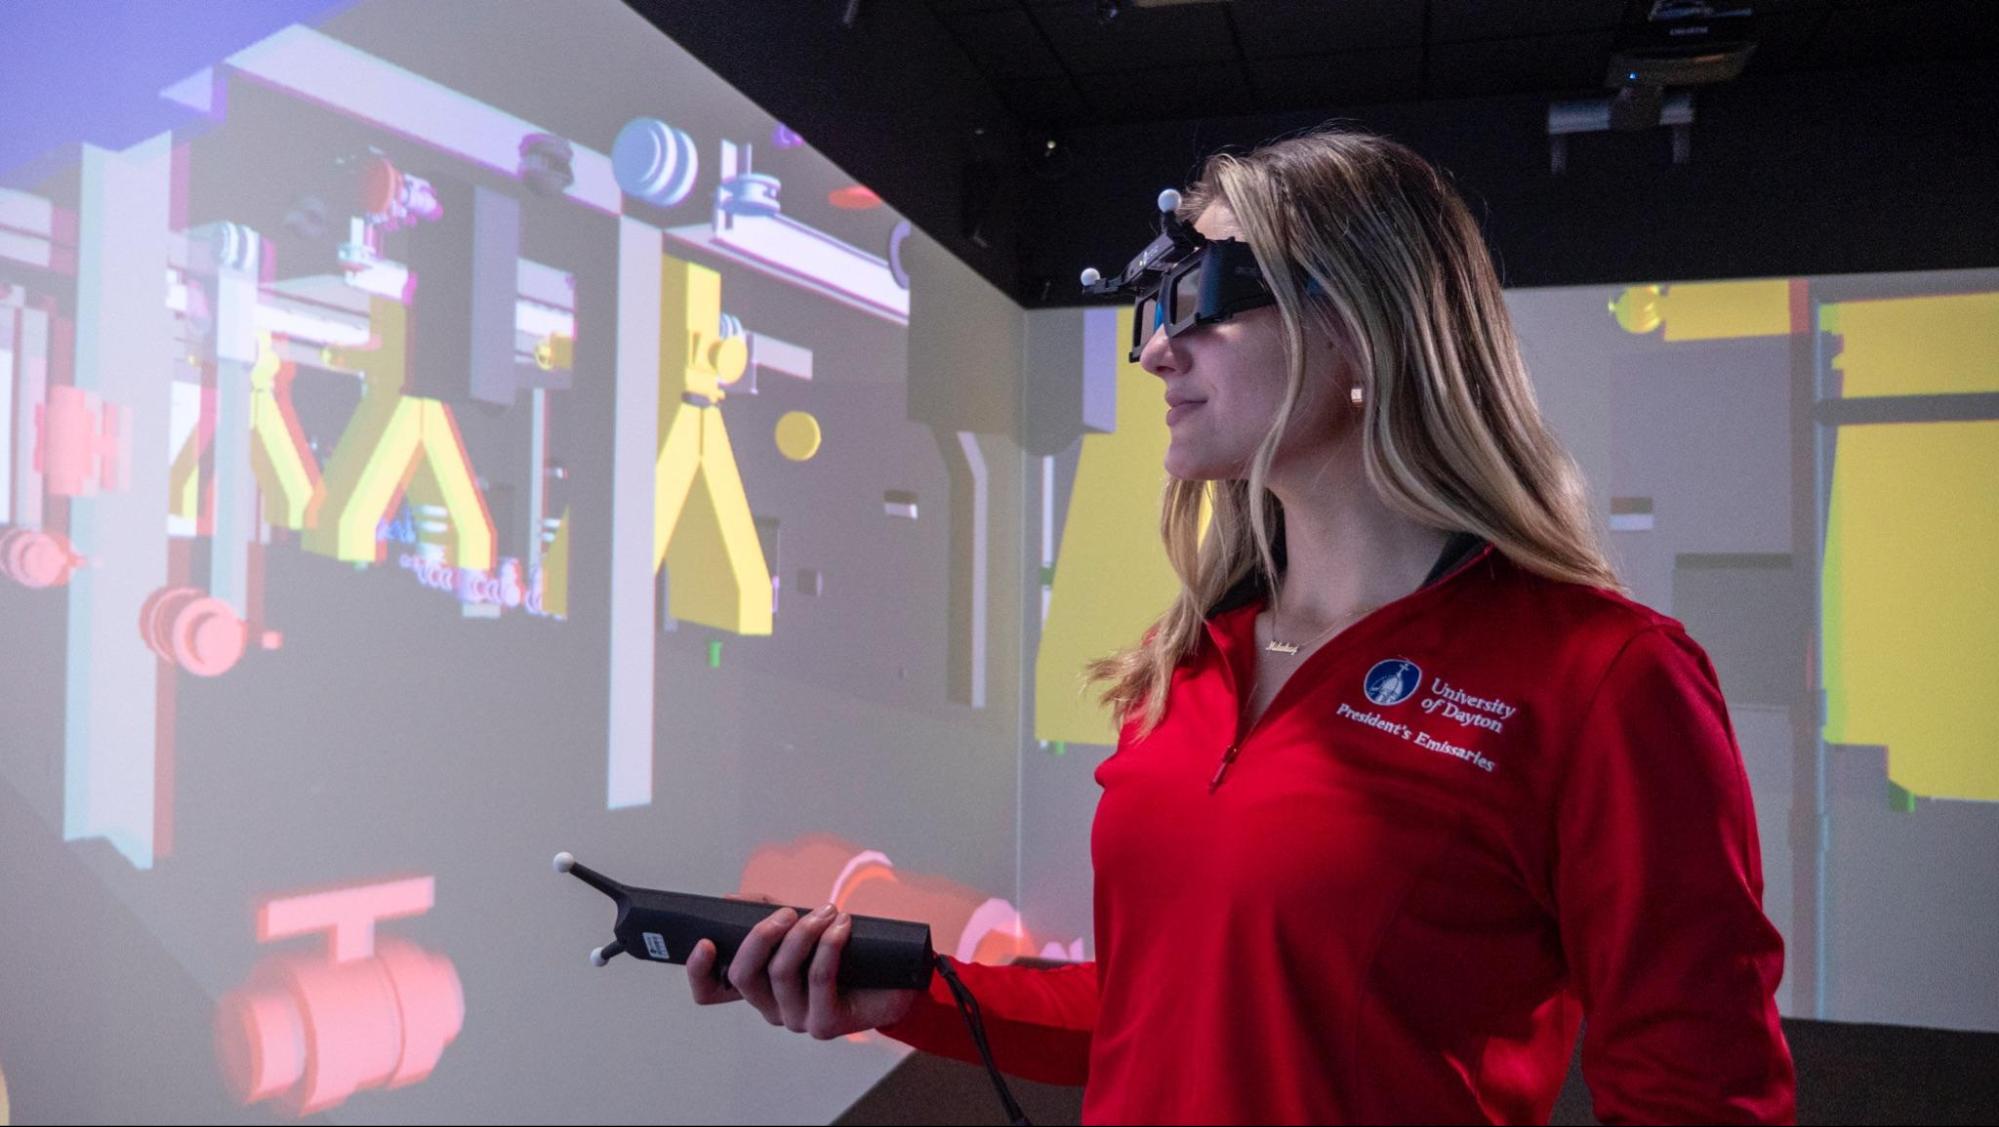
VR projection solution at University of Dayton College of Engineering
Dual Use 3D and 2D Immersive Classroom Teaching
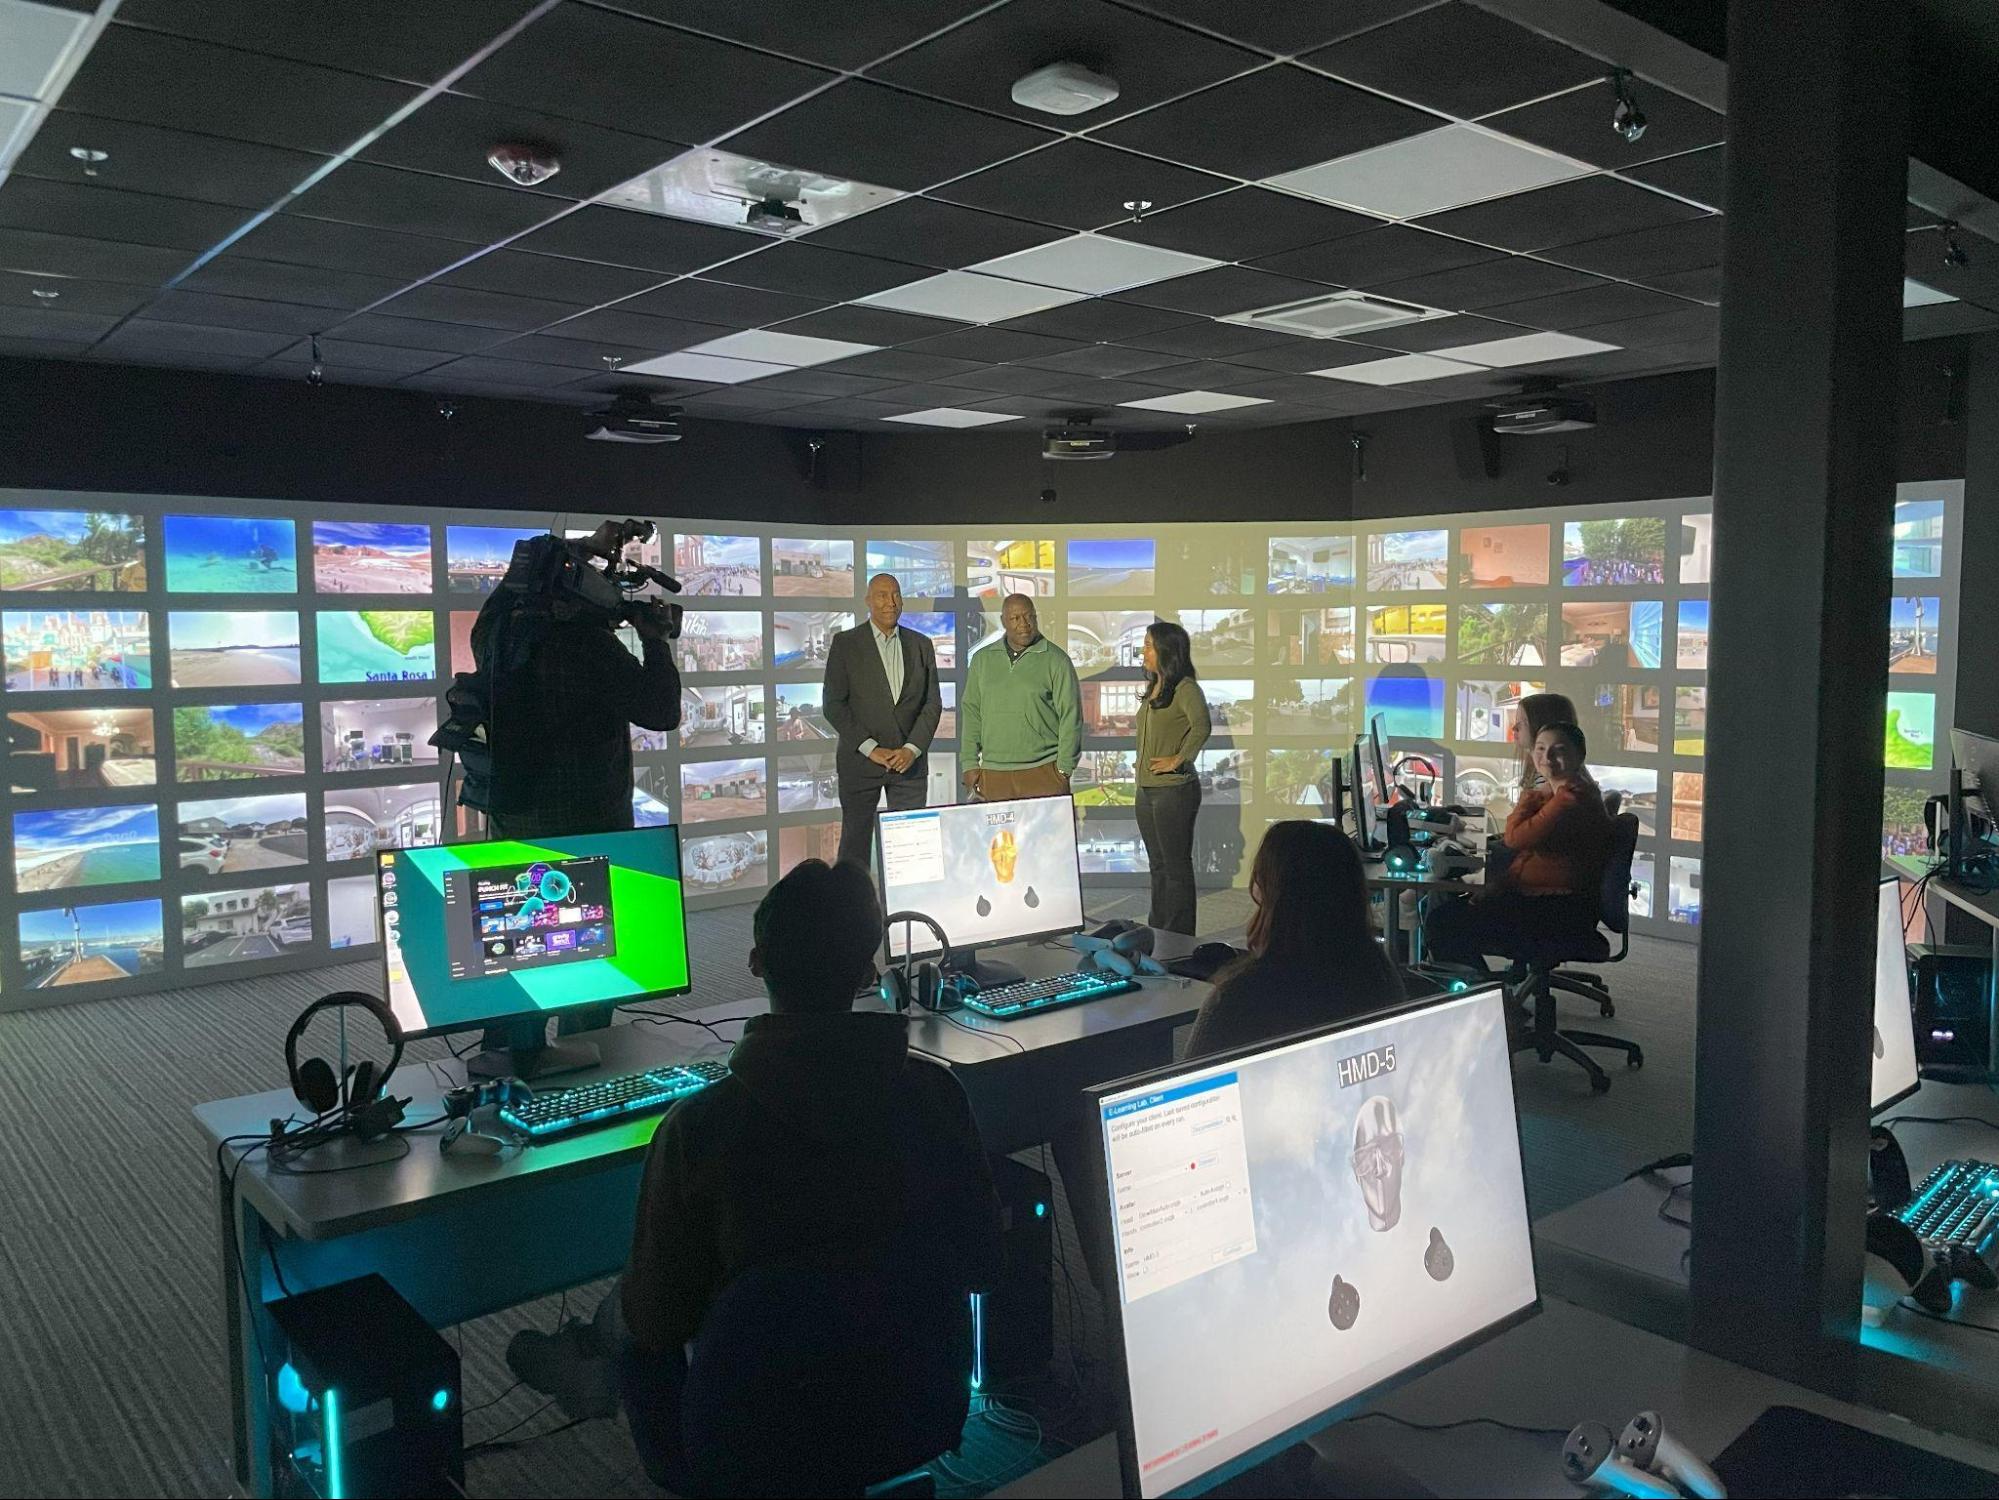
Modern VR solutions such as WorldViz Projection VR and WorldViz VizMove PRISM allow for highly engaging interactive large-scale 360 immersive classroom teaching, and collaborative 3D VR theater experiences with multiple VR headset users co-located or networked from remote locations while entire classrooms can participate as bystanders in a shared experience. These multimodal systems support both 3D interactive simulations and 2D group presentations.
When paired with SightLab's E-Learning Lab, these systems can also support drag-and-drop immersive lesson creation, AI-guided instruction, quizzes, and analytics within the same shared classroom experience.
Immersive Remote Collaboration
You can run multiple participants through a simulation who are located in separate physical spaces, even in different parts of the world! These participants can explore simulations together in real time in an interactive virtual reality environment, whether in VR headsets, in an immersive Projection VR system, or on desktop computers, or any combination thereof.
Ecological Validity and Experimental Control
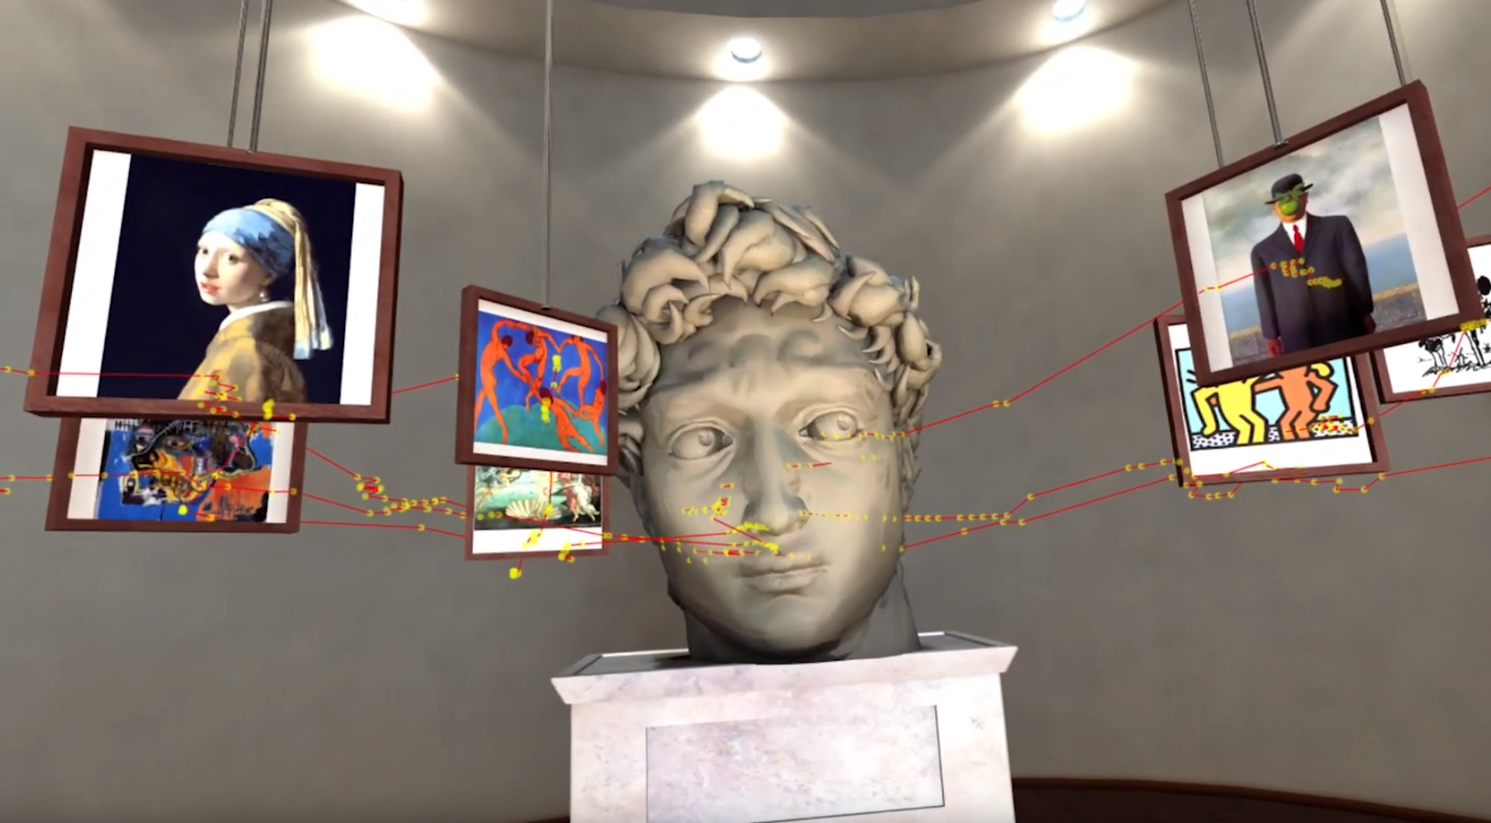
More and more research labs are turning to using Virtual Reality for their studies. Why? Virtual Reality provides high ecological validity, repeatability of studies, and the ability to design complex scenarios at high cost efficiency. Studies have shown that when participants are exposed to a simulation using a VR display they respond to it almost as if exposed to a real-world scenario (see chart below).
Fig. 1 Ecological Validity of VR as a research tool
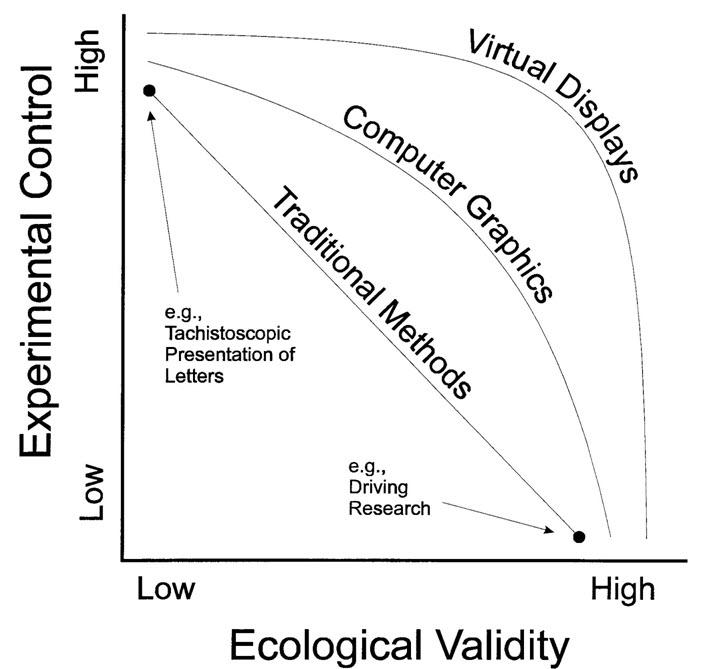
Some experimental scenarios would be very difficult to set up and repeat using traditional methods - think of asking a cohort of participants to navigate a busy city environment with unchanged conditions for each participant. Not only is this easy to create in VR, but one can repeat it as many times as needed.
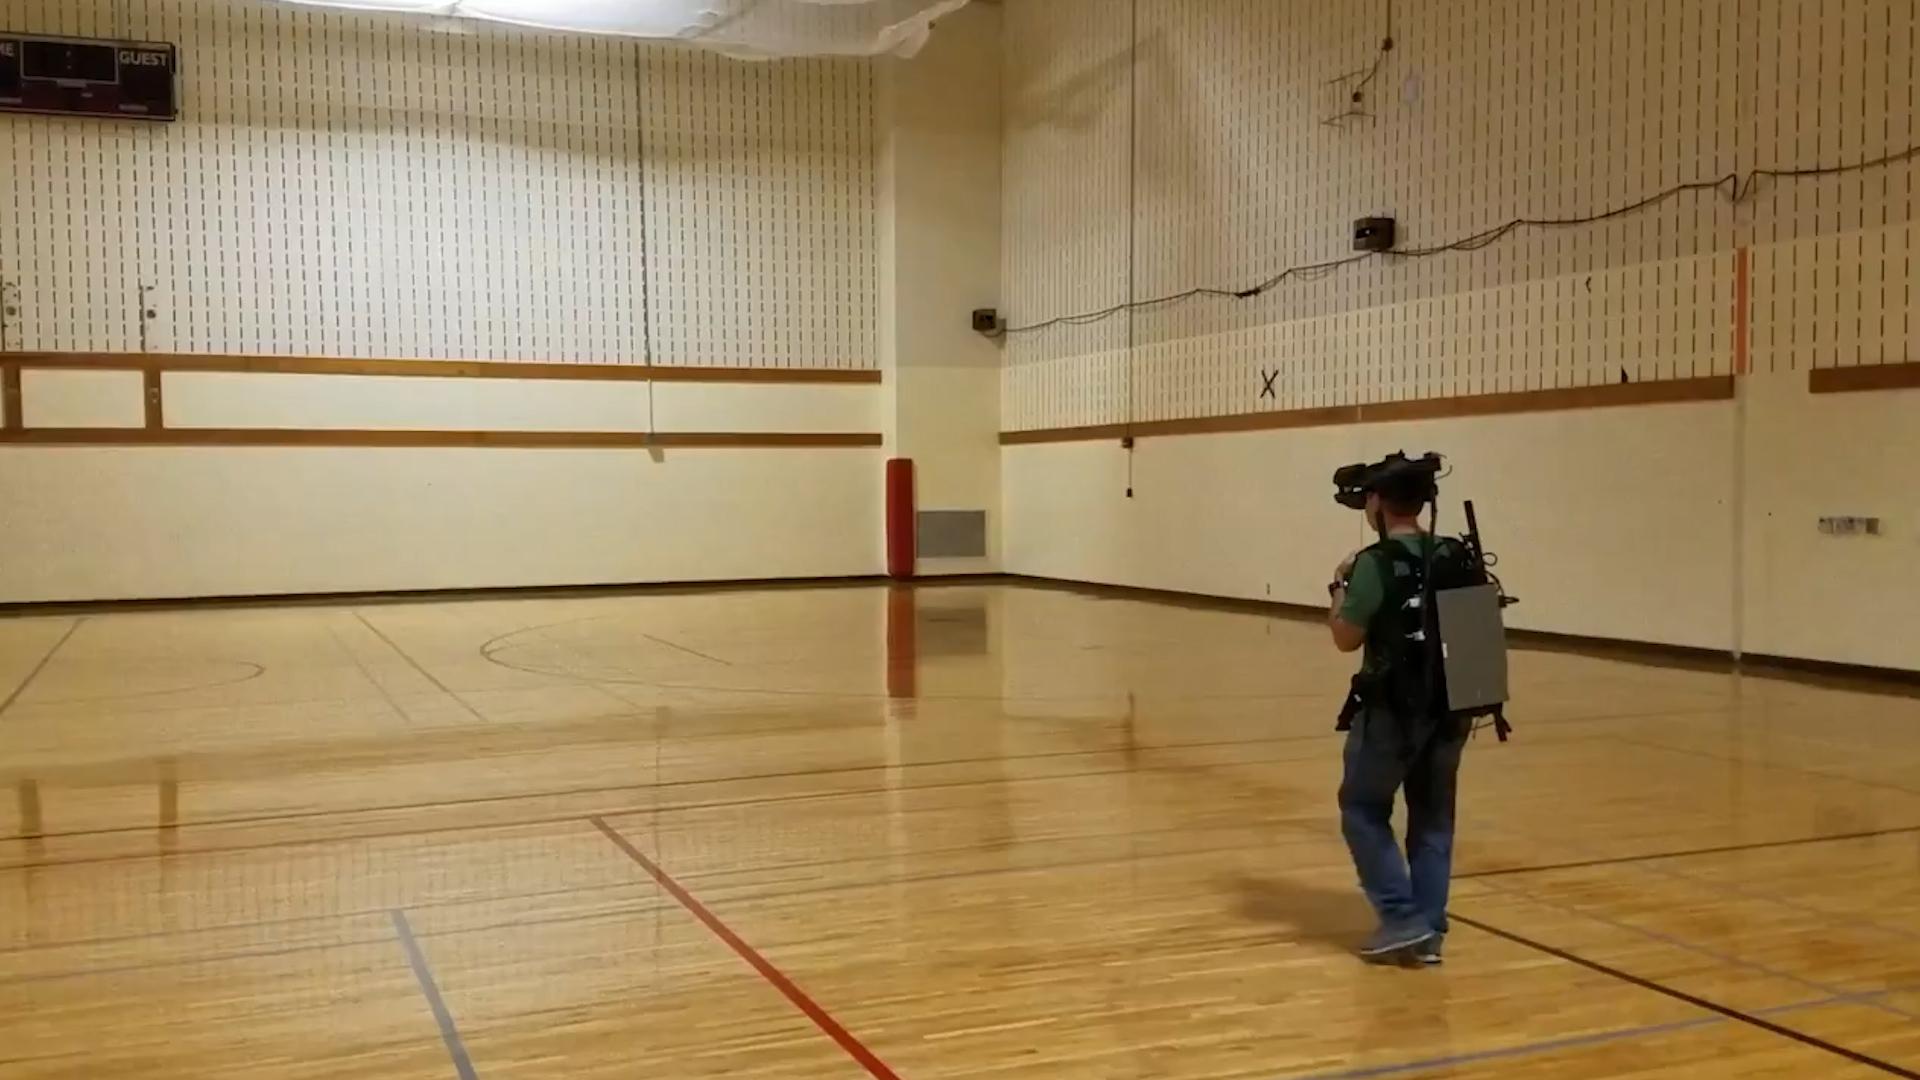
VR headset solution for wide-area field-of-view scientific use
So what are the things to keep in mind when setting up a Virtual Reality lab, and how does one go about this? Read on to find out.
• Budget - Cost and potential ROI are important considerations when determining the ideal VR system for you.
• Customizability and scalability - A good virtual reality system can be upgraded to
incorporate the latest tech advances while scaling to fit your evolving research needs.
• Use case - What do you want to achieve with the VR system? Different use cases
sometimes require different hardware.
• Footprint - The installation space and storage you must permanently dedicate to your VR setup.
• Quality of experience - Unless a VR system is equipped with high levels of visual refresh rates and fast responses to the movement, participants can experience the environment as lagging and drifting, which can potentially cause motion sickness.
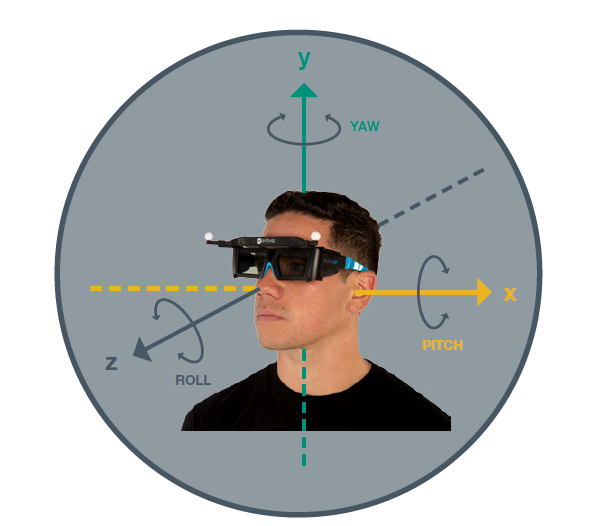
• Responsiveness - How well the VR system responds to your movements and interaction. This responsiveness is typically assessed by the “degrees of freedom” (DoF - up to six) that your VR system delivers. More concretely, does the VR hardware respond to the participant’s three directions of movement - up/down, forward/back, and left/right - in combination with the three directions of head rotation, often termed yaw, pitch, and roll.
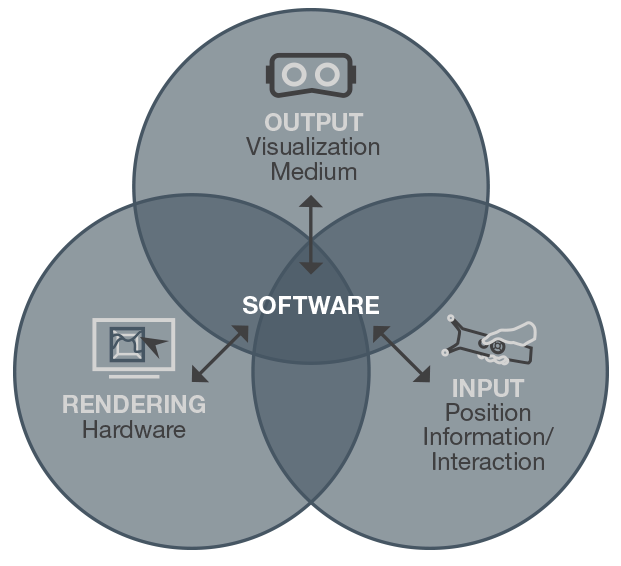
These three parts of the VR triangle need to be carefully integrated into a seamless solution to deliver an effective VR experience tailored to your specific use case.
At the heart of every VR environment is a software program used to construct and then display the simulated 3D experience, along with a computer processor. The invented worlds of VR can run the gamut from the most simple geometrical block shapes to the most intricately detailed universes that call forth a true sense of awe and wonder. Some VR applications – for example, those delineating the complex worlds of VR games – may take months to develop. Most industry applications don’t need (or want) such elaborate complexity, nor do they have the time to wait for such development. If you and your team are doing the development, important considerations for evaluating such software are:
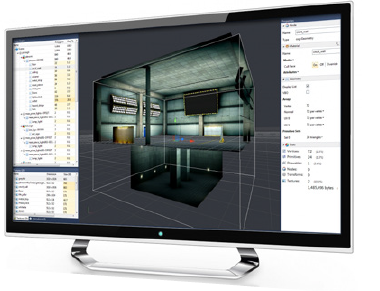
WorldViz makes Vizard, a comprehensive virtual reality software tool for researchers.
In addition, the experiment generator plugin to Vizard “SightLab VR Pro”, allows the ability to generate full VR experiments using little or even no code, saving and viewing of complex data visualizations, extended multi-user capabilities and AI integrations, as well as allowing access to a wide variety of templates and examples for common VR experiment tasks.
Additional options include the Unity and Unreal engines among others. For an in depth look at how Unity and Unreal compare with Vizard + SightLab VR Pro, check out this article.
Virtual Human Interaction Lab at Stanford University (Case Study)
Huge Immersive Virtual Environment (HIVE) at Miami Ohio University (Case Study)
Multi User VR Classroom at Lasell University (Case Study)

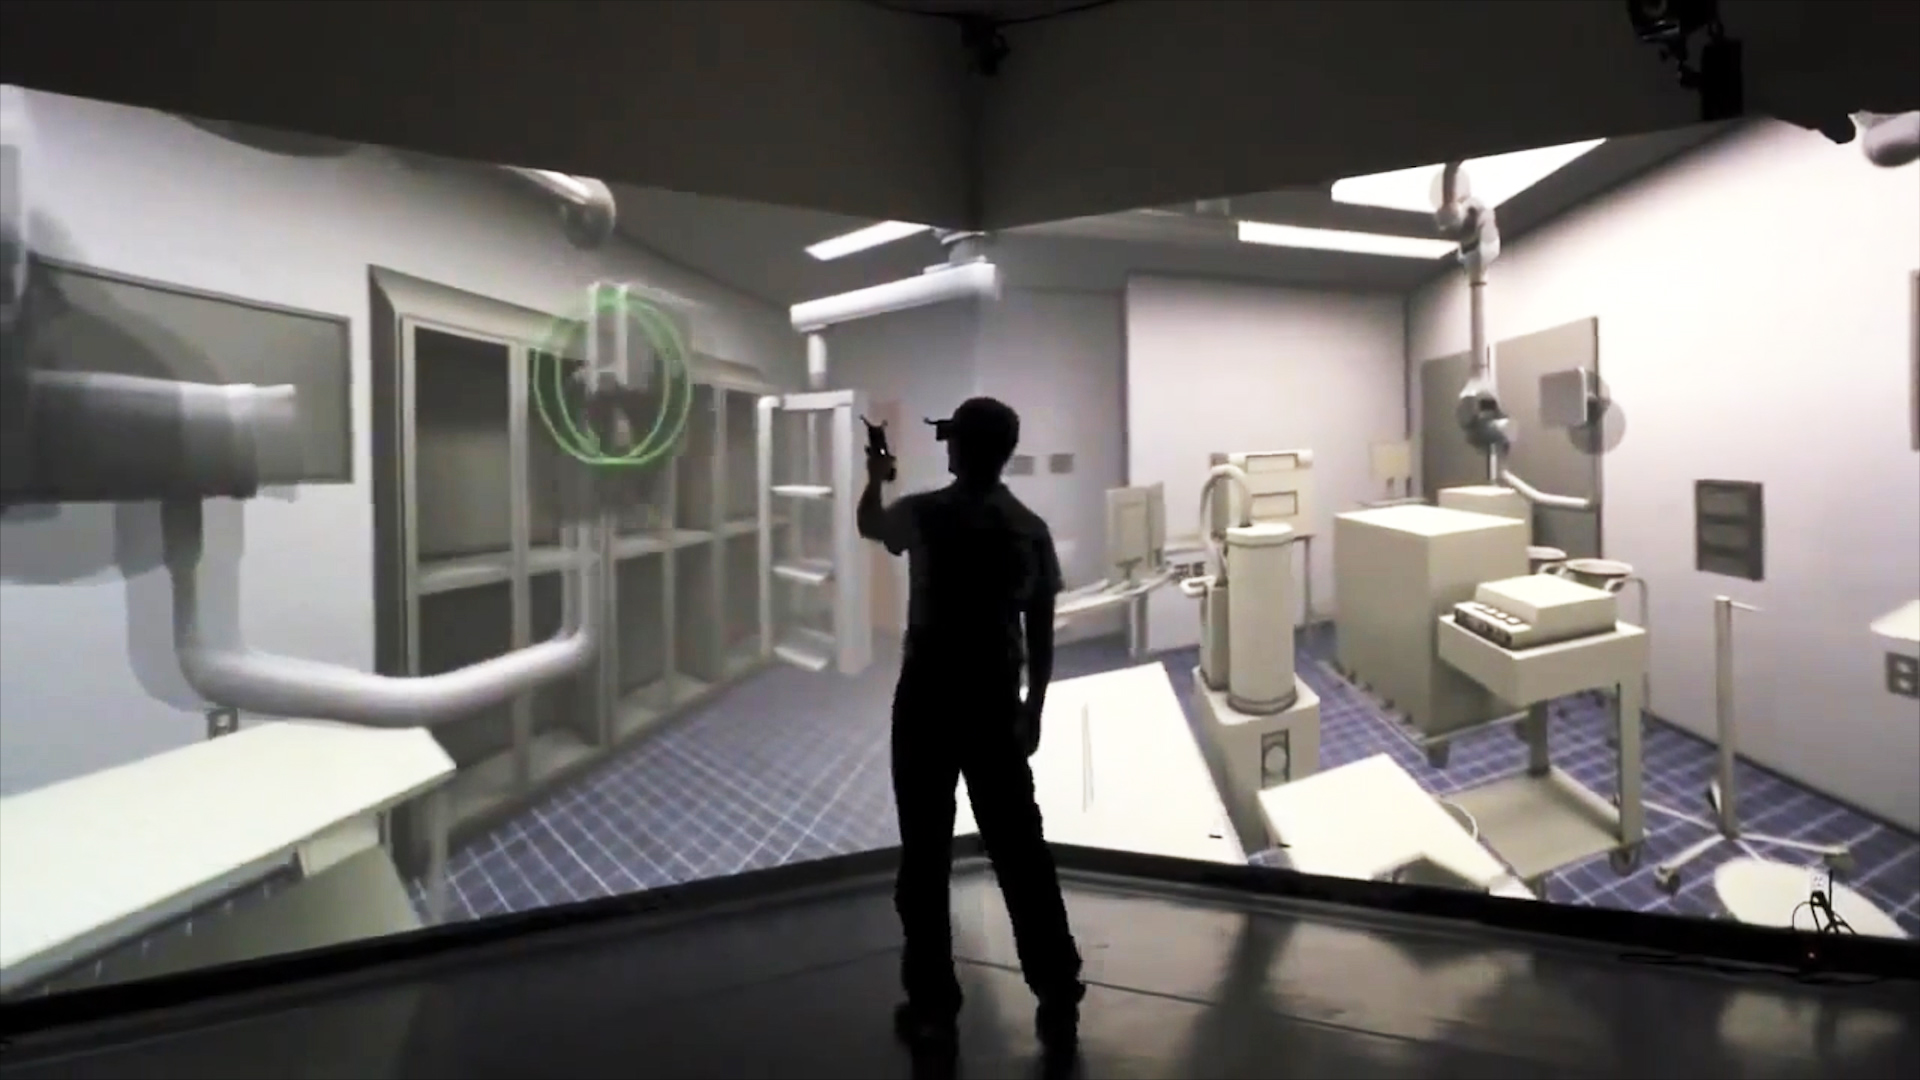
Immersive PRISM Simulation Room utilizing Ultra Short Throw projectors.
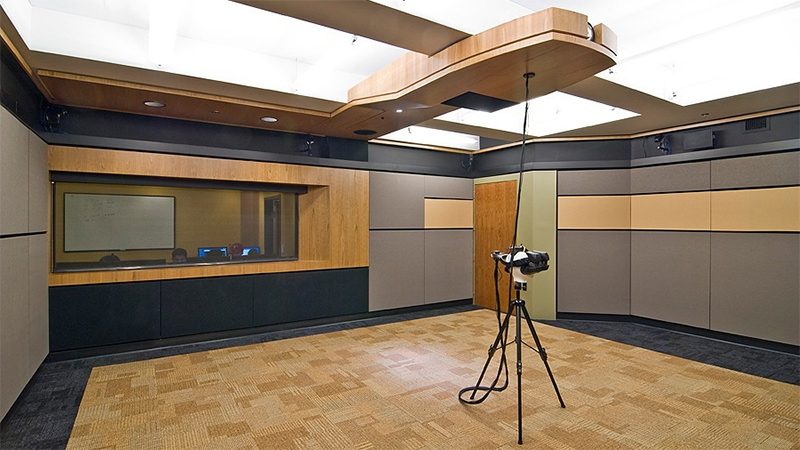
The first thing to look at is the physical space layout of your room. A few questions to consider:
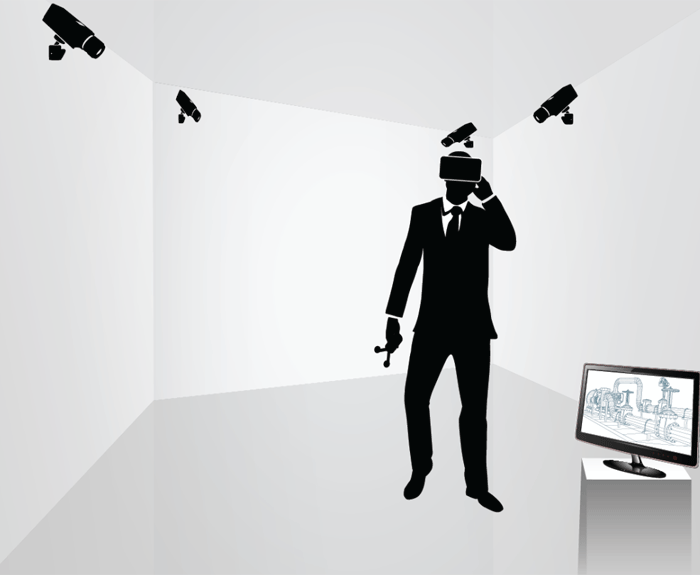
In order to have a functional, safe space in which to maneuver, you will need to block off an open area that is free from any obstacles or clutter. If you are using a camera-based motion tracking system that requires free line-of-sight you need to make sure that everywhere the participant walks they are in good view of the cameras. Depending on the particular motion tracking system you choose, different numbers of cameras may be necessary to guarantee optimal coverage of your space. You may have to also account for things that can cause light interference, such as reflective surfaces (windows, glass, etc.) and sources of infrared light (if the system is using infrared motion tracking).
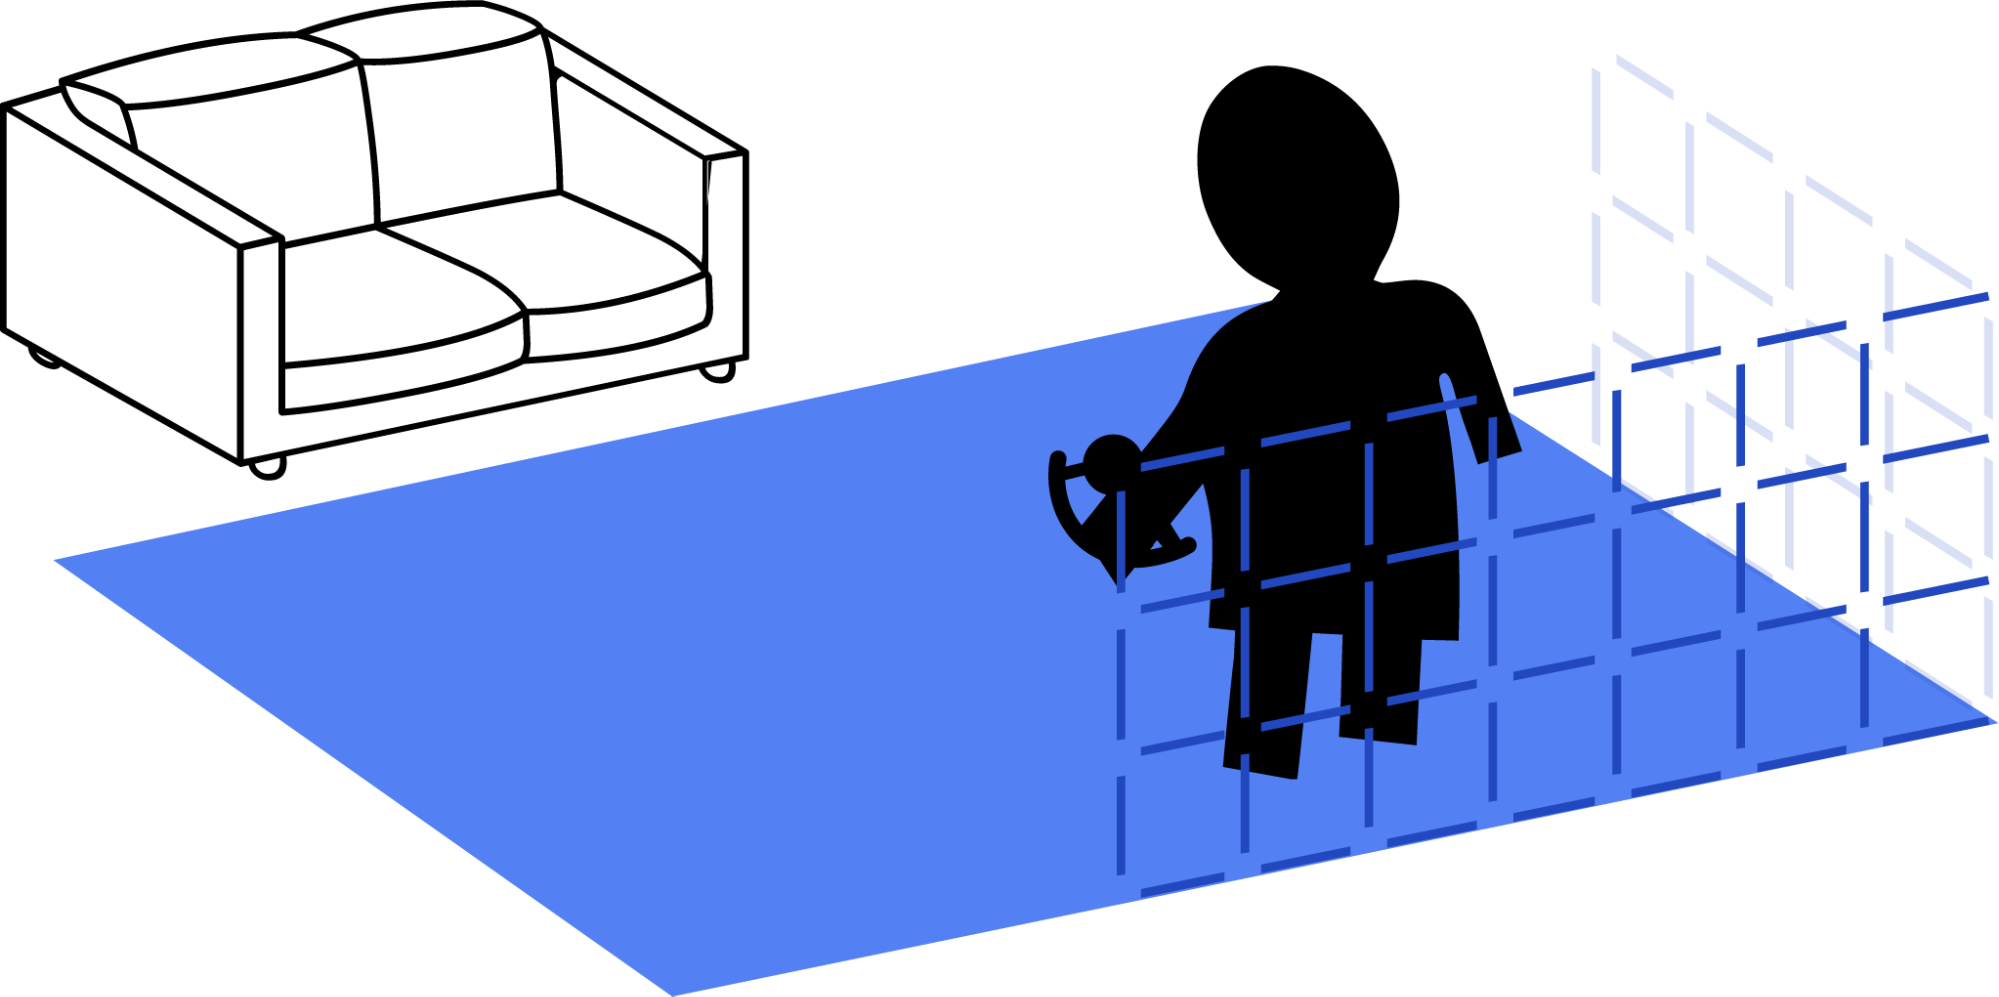
We recommend you consider having a spotter available for the safety of your participants wearing a VR headset. Since the participant will not see the physical boundaries of your lab, it is a good idea to have someone available who can guide them, as well as keep cables out of the way. Most modern VR systems will also provide a virtual boundary system that you can adjust to the size of your physical space.
In considering whether the participant and experimenter should be in the same space or not, weigh these factors: Will it be more important for you to keep an eye on the participant and maintain direct communication, or does your experiment require full separation of participants from those collecting data? Either way, there are many benefits to choosing a separate room and computer for the experimenter, including the ability to record from multiple viewpoints, or to blend physiological data measurements and monitor them in real-time.
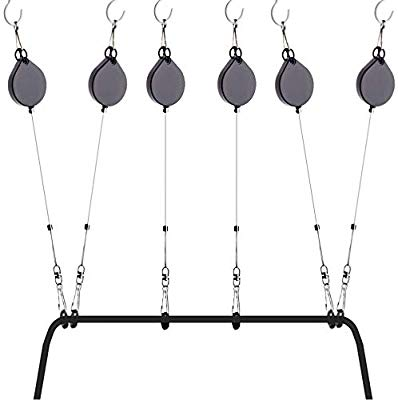
As far as wires are concerned, keep in mind devices that need a tethered connection, for example physiological measuring or eye tracking devices. For a non-tethered solution to connect to the rendering computer, most PC VR headsets are capable of running in a wireless “Air Link” mode but you may need a dedicated or specialized router for streaming the PC data to your headset. In general, a cabled connection is recommended for best performance for most research set ups. For cable management you can use drop ceilings, cable runners, or cable pulley systems like the one pictured below:
If you are using a projection based VR system (more details on this later), you will need a large, clean -preferably white or light gray - wall as your projection surface. You will also want to be able to manage ambient light interference.
If participants need to be prepared before entering your simulation, for example to attach physiological measuring devices, you may want to plan for a separate adjacent room.
One last factor to consider is that you may need a neutral environment free of biases influencing experimental results, for example an environment that is noticeably hot or cold, noisy, or in other ways affects a participant’s state of mind.
Next we will go over the hardware that you will need. We will cover the basics first, and then go into a few more advanced setups. For help in acquiring off the shelf, pre-configured Virtual Reality systems contact sales@worldviz.com
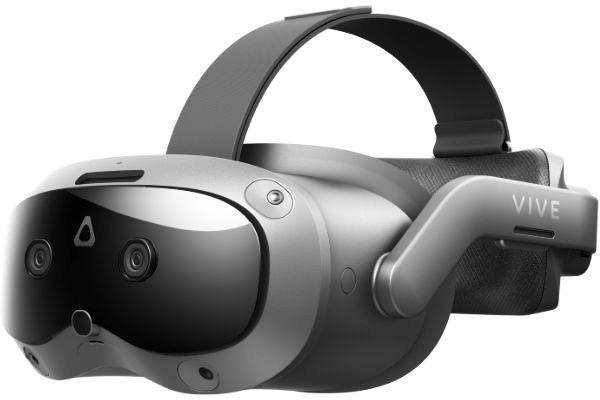
The most common display for a VR system uses a VR headset for the display. There are quite a few to choose from, and factors to consider when looking at which one will be best for your setup. One big separation is whether the headset is connected to a PC or runs standalone as an Android device. For the best graphical quality and experience a PC based VR headset is recommended such as the Vive Focus Vision or the Meta Quest 3 running in PC VR mode. For an Android based option, the Meta Quest 3 device is a very good option, as it works in three modes: wired to a PC with a USB-C connector cable, or wireless over Air Link, or as an Android based standalone device. Development for the Android based platform proves to be more challenging than for PC based systems, as graphics are much more limited and more optimization is required to reach acceptable performance and publishing your finished application to the device takes multiple steps.
In addition to fully immersive VR, many modern headsets (including the Meta Quest 3 and the Vive Focus Vision) also support augmented reality or mixed reality experiences using passthrough cameras. This allows virtual content to be blended with the user’s real-world environment, which can be especially useful for training, guided instruction, simulation overlays, spatial visualization, and experiments that require interaction with both physical and virtual objects. Mixed reality can also be helpful in lab settings where researchers want participants to remain aware of their surroundings while still engaging with digital content. You can read more about the WorldViz support for Augmented / Mixed Reality here.
Some other factors to consider are resolution, Field of View (FOV), tracking system, development platforms, price, comfort and whether you wish to have things like eye tracking included. Resolution is consistently increasing in VR headsets, and we have seen the progression from the VFX1 in the 90s at 263x230 per eye resolution to the newer high resolution and wide field of view headsets like the Pimax Crystal, as well as pixel density increase all the way to Human-eye resolution with 71 PPD (Pixel Per Degree) peak fidelity in the Varjo XR-4 headset.
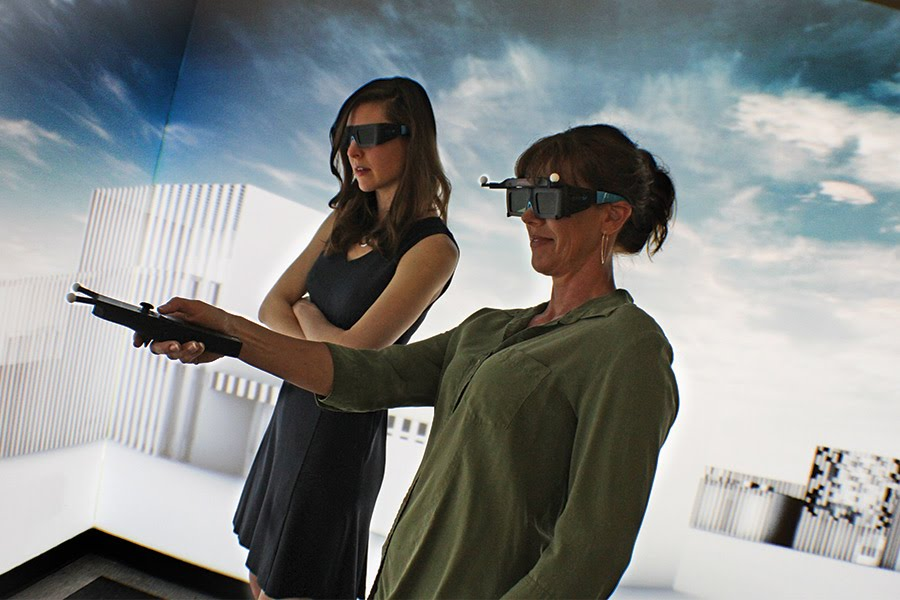
When one thinks of a Virtual Reality display, the first thing they may think of is a VR Headset (such as the Meta Quest 3). However, there are many benefits to using a 3D projection setup. If you are going to be presenting VR content to a larger group of people, a 3D projection based setup would allow for multiple users to experience an immersive simulation together while just wearing lightweight 3D shutter glasses. Since users are able to see each other as well as the 3D simulation environment, this makes 3D projection systems ideal for group collaboration and design review applications, especially in the Engineering / Construction / Manufacturing market. For an even more immersive projection experience, you can have the main user’s viewpoint tracked using a system like our PPT tracking that will then update the viewpoint based on where a user is located. For the rest of the users to see the correct perspective, they would have to be positioned fairly close to the user that is being tracked.
A 3D projection system usually consists of a number of projectors that range from business class to cinema grade. Economical solutions use ultra short throw projectors (or lenses) since this allows to front project the image onto the screen or wall without having participants cast shadows. They also require a smaller footprint compared to rear projections setups. Aside from the projectors one or multiple rendering computers that support Quad buffering (i.e. using an Nvidia ADA card), 3D glasses (and an emitter for certain shutter glasses), an input device (such as a wand or controller) and possibly some kind of tracking system if you want to have the viewpoint updated to the user’s position are typically part of the system.
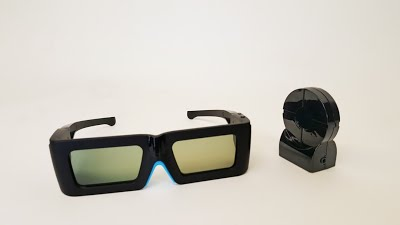
3D shutter glasses and emitter
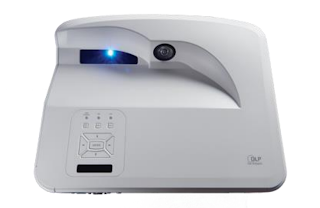
Ultra short throw projector
VizMove PRISM Virtual Simulation Room
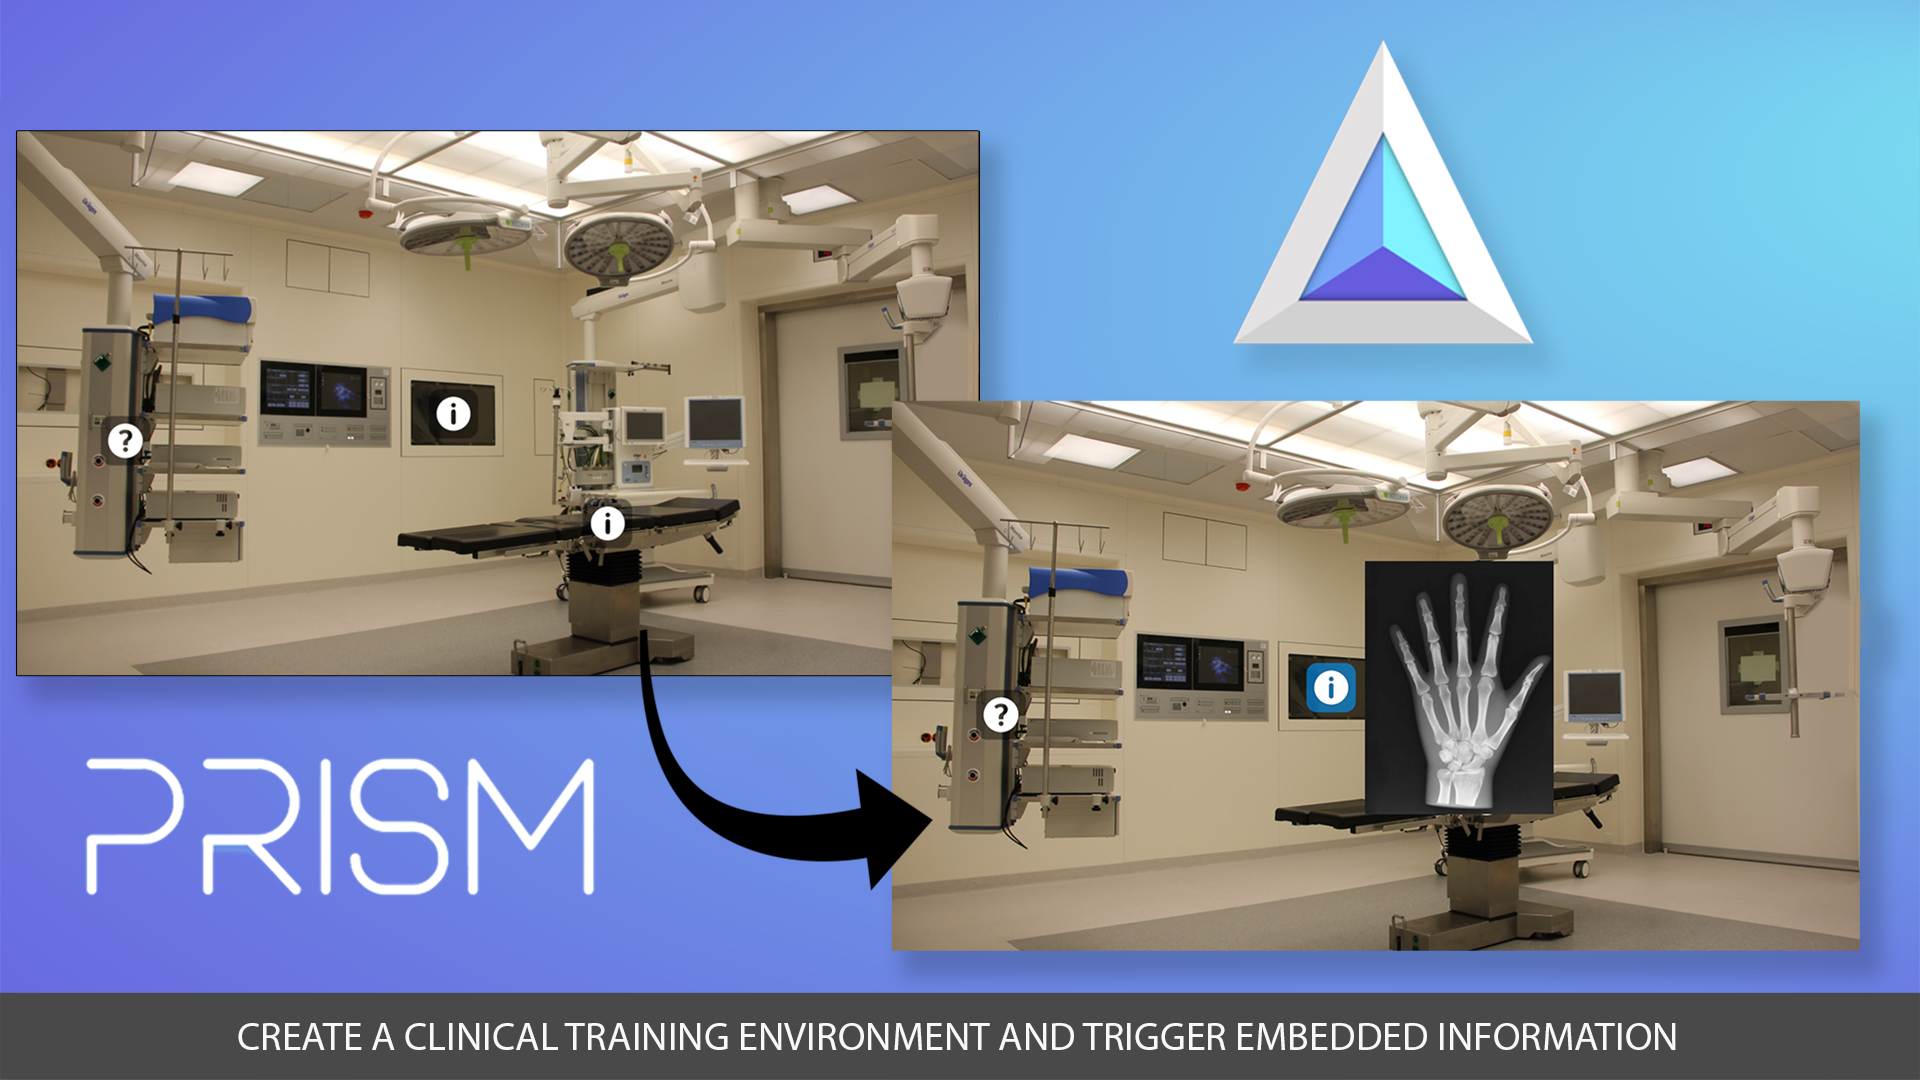
The WorldViz VizMove PRISM virtual simulation room is an all-inclusive immersive training and presentation solution using projection surfaces that enables you to capture real world scenes and bring them into your immersive theater space without technical expertise. The PRISM System allows users to utilize 360 videos and images in a touch screen environment and convert any room into a content-rich learning and presentation environment. PRISM combines 360 visualization, 3D sound, interactive touch, scents and more to create a multi-sensory immersive experience.
Drag-And-Drop Workflow
Creating content for PRISM is easy and intuitive. Capture images and videos from anywhere with the included 360-degree camera, drag-and-drop the media into PRISM to create a scene, and enhance with sounds, lights, smells, and interactive triggers.
Multi-Sensory Interactive Training
To interact with the environment, users touch walls or activate triggers with controllers. PRISM delivers surround sound, controllable lighting, and diffused smells for enhanced realism. The experience elicits emotions, memories, and responses that improve learning retention and reliable skills performance.
Configuration Options
PRISM and Projection VR systems come in a variety of configurations to meet specific use case requirements and to fit most rooms. PRISM installs high on walls and within ceilings, so rooms remain open and multi-purpose.
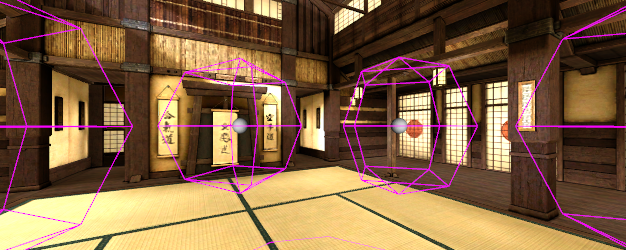
Most contemporary VR headsets such as the Meta Quest 3 and the Vive Focus Vision have built in “inside-out” tracking capabilities, meaning cameras are built into the headset which provide tracking to the user in real time. Certain external optical tracking systems (such as WorldViz’s PPT motion tracking system) can also be attached to upgrade a tracking system if you wish to increase the positional accuracy by providing a “ground truth” tracking system and to provide consistent tracking coordinates from one VR session to the next.
Here’s a quick rundown of the some of the common tracking systems used in a VR system:
Optical tracking (passive) - Uses reflective markers (traditional MoCap). Requires many cameras and many markers as well as lengthy calibration procedures but provides highly detailed movement and kinematic data.
Optical tracking (active) - Active markers flash at specific frequencies. Highly accurate over larger space and typically precalibrated. Ideal for tracking multiple VR users in a wide area.
Magnetic - measures the intensity of a magnetic field in various directions.
Inertial Tracking - Uses accelerometers and gyroscopes which can be subject to drift. Not accurate for positional tracking but can capture body motion in varied environments (such as outdoors) since they do not require cameras.
Inside Out Tracking (markerless or with markers) - Cameras or sensors on the headset are used to track position. Seamless user experience geared towards gaming / casual users but can shift from session to session.
Markerless / AI based: markerless solutions use AI algorithms to detect body movements and translate those to cameras placed around the room.
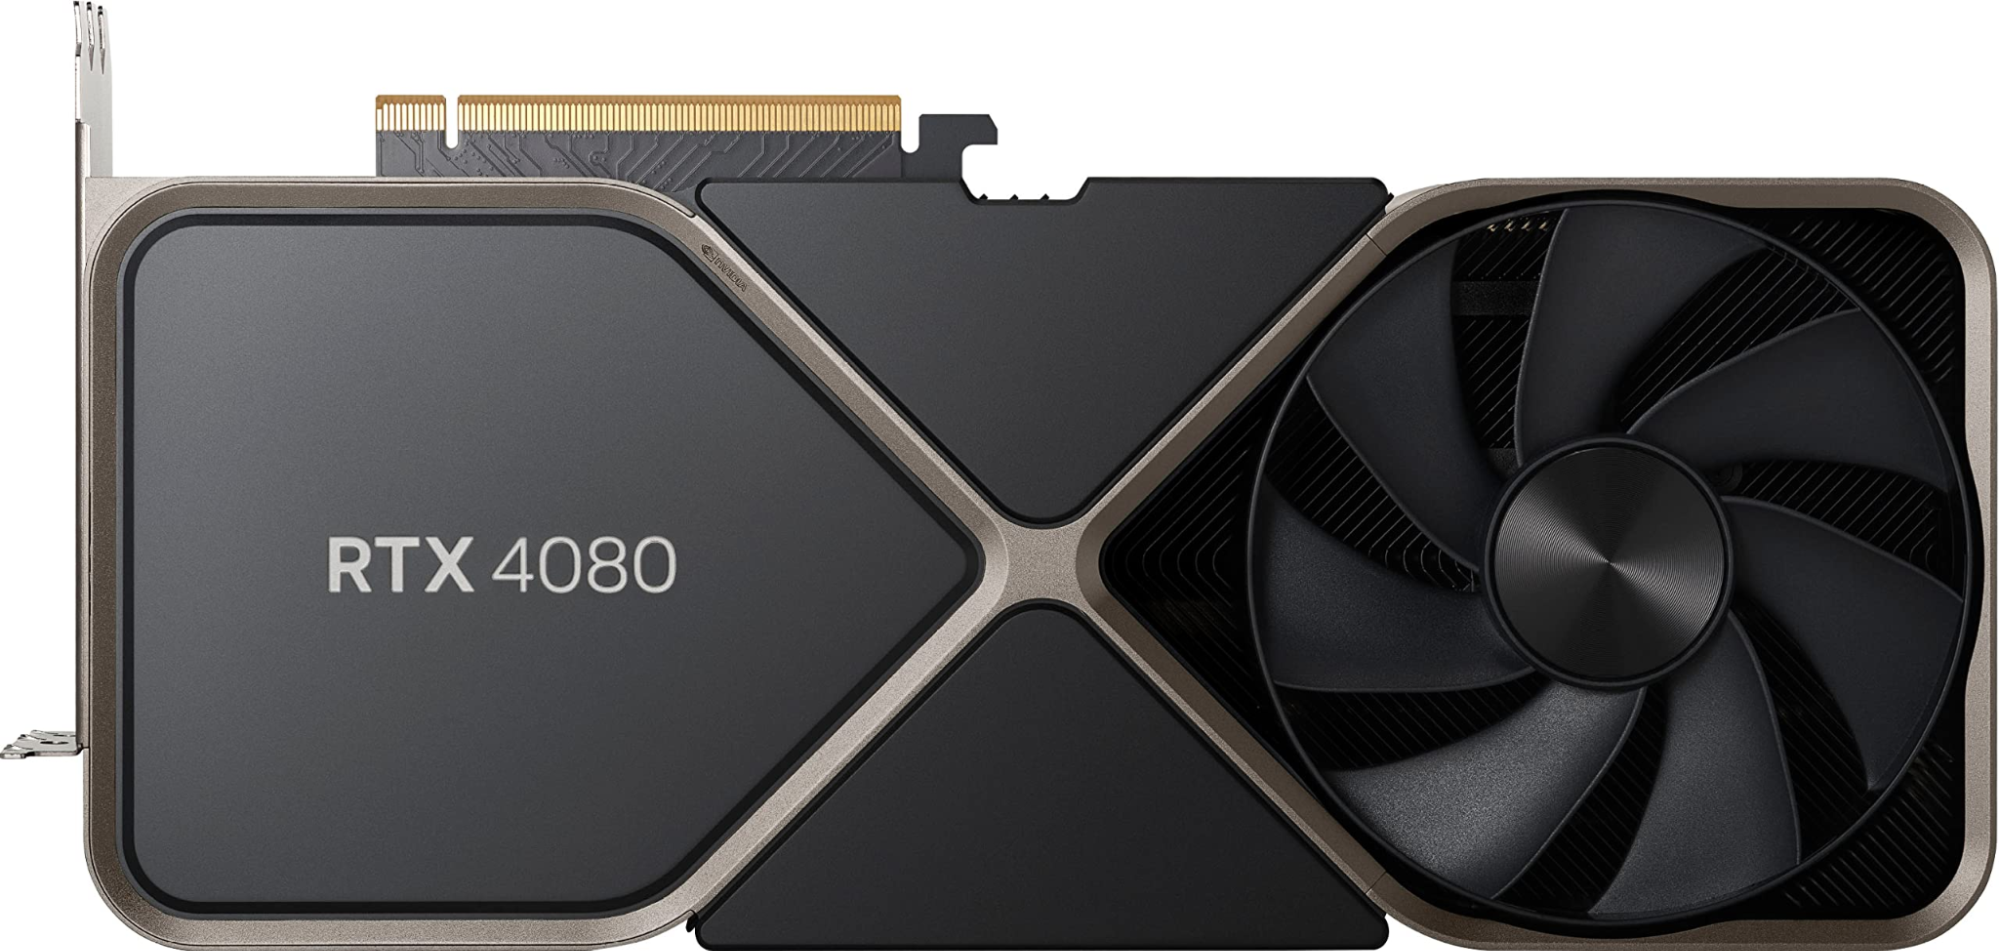
For any VR system, you are going to need a good computer. Most gaming computers meet the minimum requirements, but this can also vary depending on whether you are wanting to render very complicated and large models (such as CAD models or large point cloud models). For walking/headset based systems you should try to go with an NVidia RTX or GTX based card, and for projection you would need an ADA card. The GPU / graphics card is the most important component of your VR computer so we recommend getting the best GPU you can afford. Here are some general minimum requirements to shoot for.
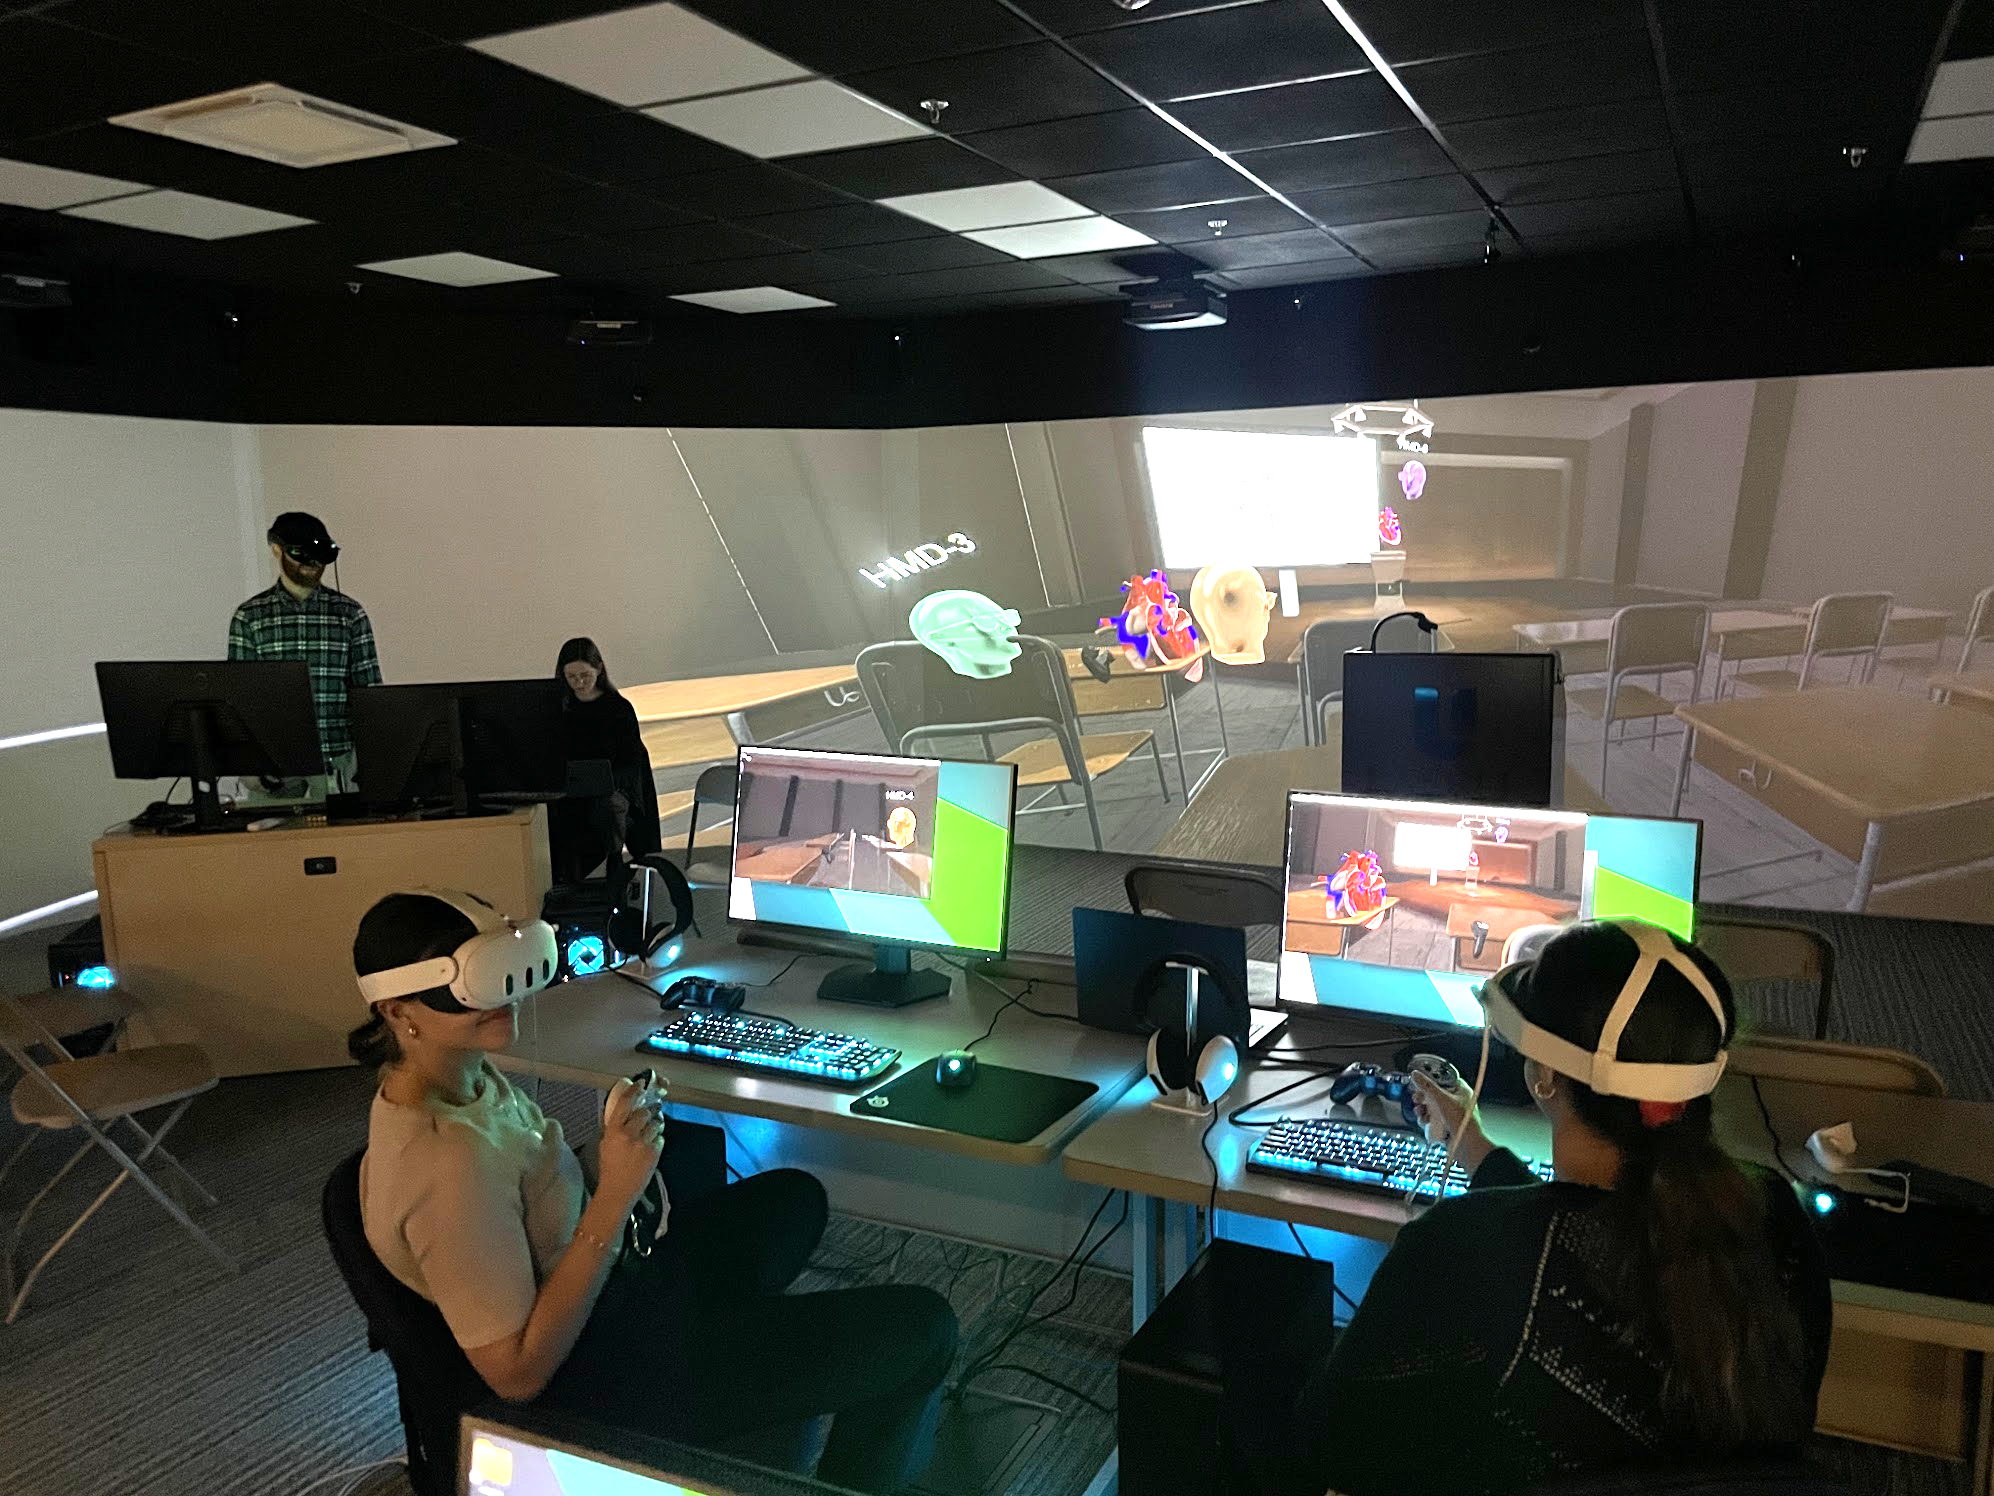
Oftentimes, labs choose to combine VR headsets with a projection system and one benefit to this is you have a large display in which you can mirror the simulation for outside viewing. This allows you to engage a larger audience in a VR experience and is a growing use case for classroom applications and group presentations. A great example of this in action is the recent WorldViz installation at Lasell University pictured below. You can see multiple VR headset users experience is output on the large scale Projection VR screen:
Multiple student headset VR users and their instructor interact in a shared VR classroom environment which is output on the large projection screen for an audience to follow along.
You can also mirror the simulation to the rendering computer’s monitor which can be seen in the foreground of the above picture. WorldViz software is streamlined to facilitate the type of multi-user VR headset + immersive projection experience shown here.
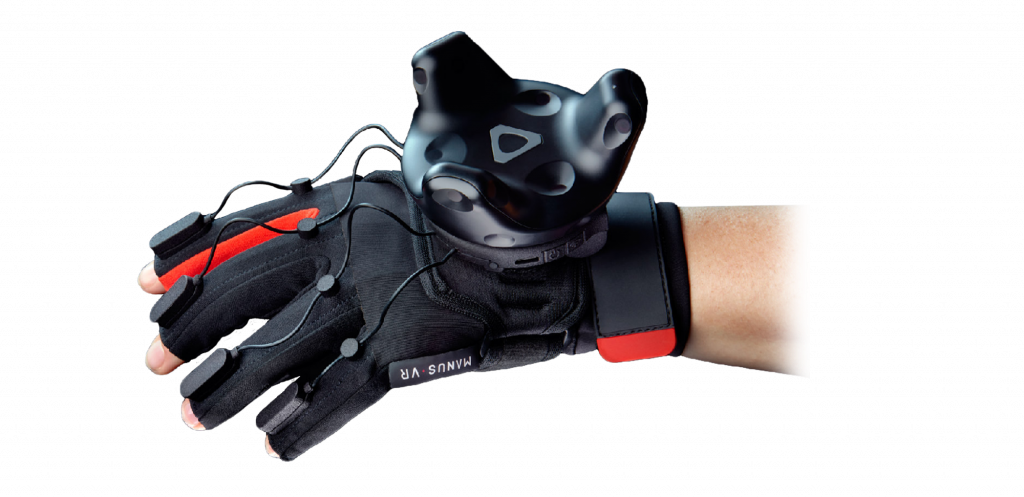
In order to interact with your virtual simulation users will need some kind of an input device, this could be anything from the typical hand controllers that come with most VR headsets (such as the Quest touch controllers or the Vive wands), to a keyboard and mouse if seated, or even using hand gestures with the onboard hand tracking capabilities of current VR headsets or a specialized data glove.
To increase immersion and data collection capabilities, there are many accessories that can be added (way too many to go into detail here, to discuss this further contact one of our helpful sales people to walk you through the options). WorldViz’s Vizard software’s Vizconnect tool makes it easy to connect to over hundreds of devices for VR simulations. For more information on that check out our detailed library of support devices. Some of the more common accessories are:
Such as the Manus VR data gloves
Sound can be an important, sometimes overlooked, aspect in a virtual simulation hardware setup. While most VR headsets come with built in speakers or headphones, if you are using something like a Projection VR setup with a group of participants it may be more beneficial to have a set of good surround speakers installed. Also, when creating your application, it is good to have the sounds placed in the 3D space appropriately using 3D spatialized audio. For a tutorial on how to use 3D sounds in Vizard, see this page in the documentation. The WorldViz PRISM system has built-in spatialized audio editing capabilities.
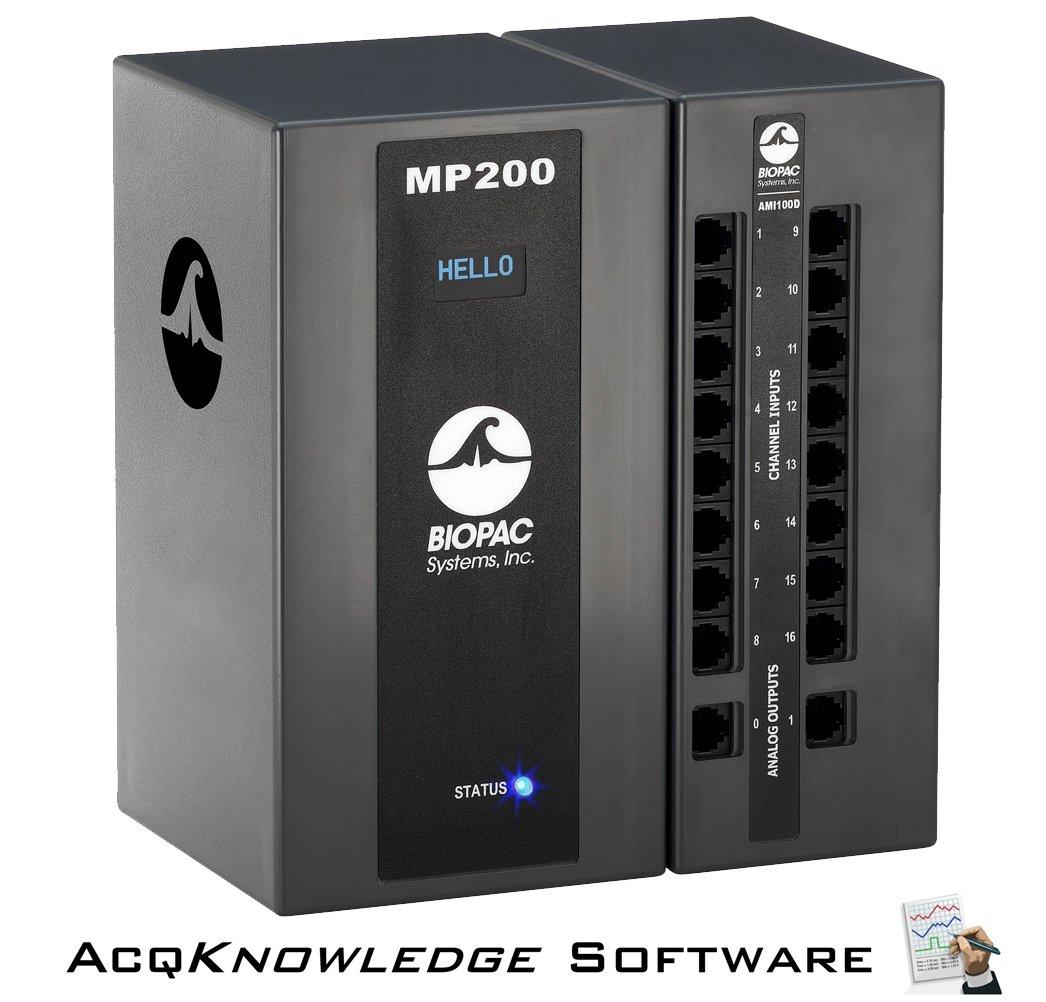
In order to validate a user’s implicit reactions to a simulation, it is highly advisable to use some sort of physiological measuring device. This can be measuring things such as heart rate, skin conductance, EEG, and a host of many other signals. One system that works seamlessly with the Vizard software is Acqknowledge and the BIOPAC physiological measuring devices.
Many VR headsets such as the Vive Focus Vision are now equipped with integrated eye tracking cameras and can provide a lot of useful data of how a user is reacting to a simulation.
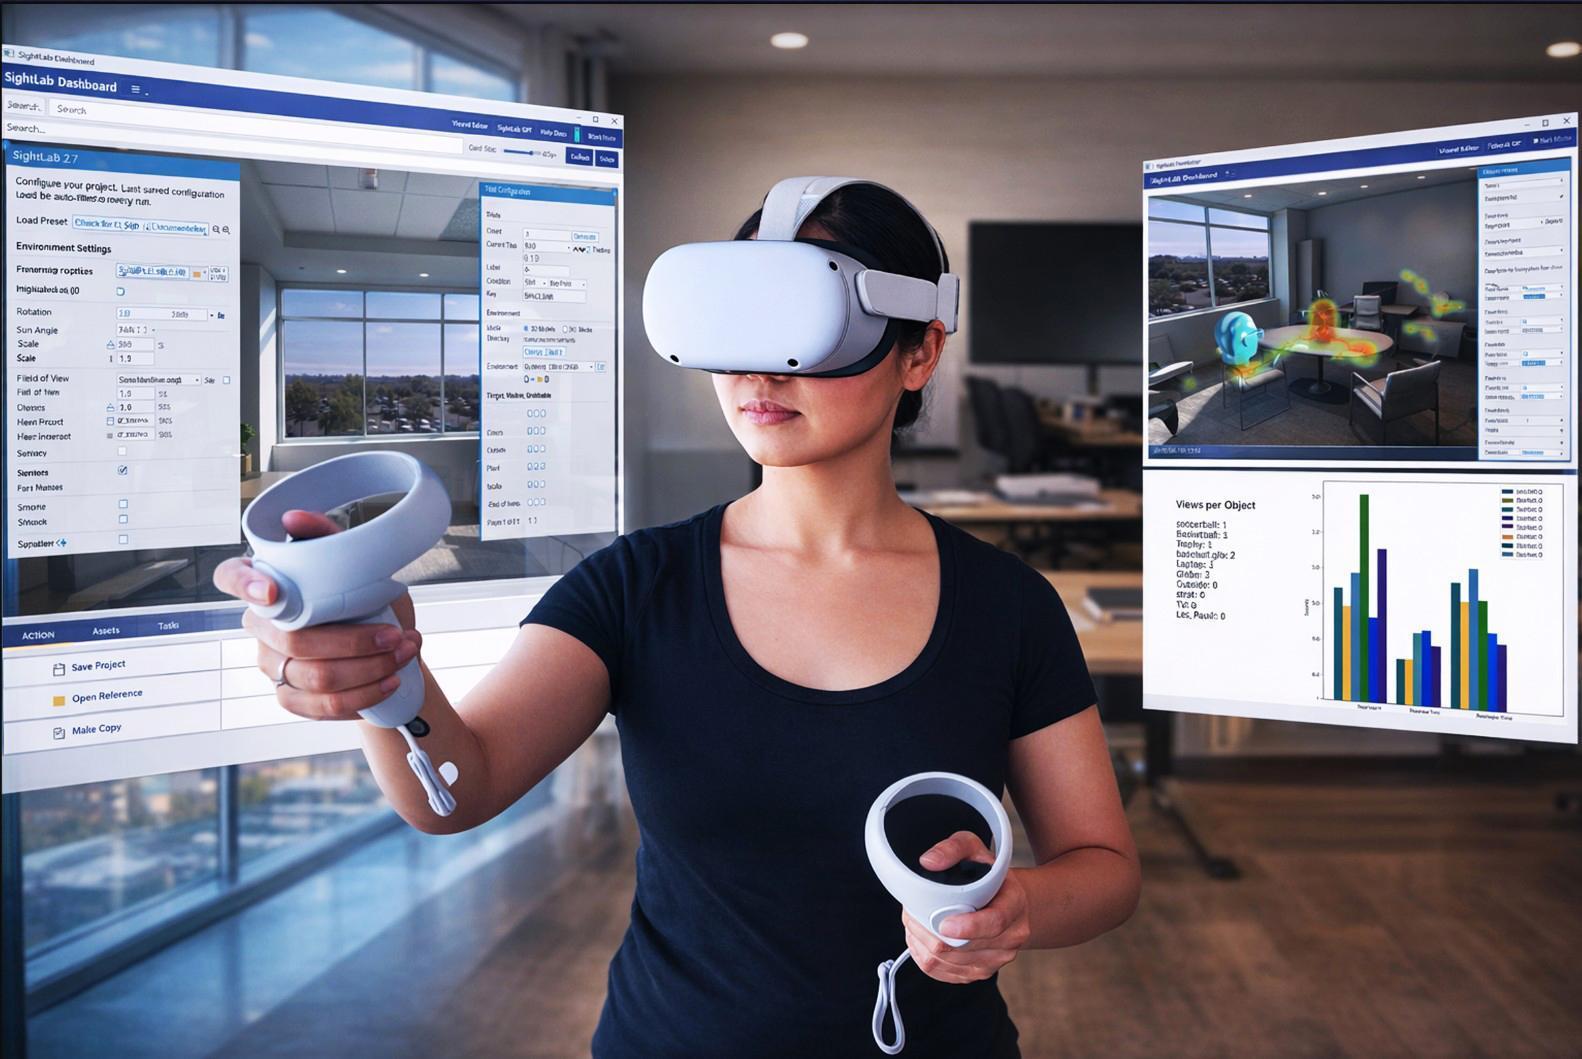
SightLab VR Pro
For help with setting up an eye tracking experiment and collecting data on things such as objects of fixation, average view time, heatmaps and much more, WorldViz offers SightLab VR Pro, an extension to the software Vizard that allows you to create virtual reality eye tracking experiments with little or no code. Access visualization and playback tools in a single user or multi-user environment. Additionally, SightLab VR Pro allows connection to various hardware devices, such as BIOPAC physiological measurement systems and more (in addition to XR headsets, screen-based eye trackers from Tobii and Eyelogic are supported as well). SightLab works for both single- and multi-users.
Over the years WorldViz has added dozens and dozens of convenient and extensible VR scripts into SightLab’s growing library of example templates and ready to use VR scenes. You can find a complete list of all the available example applications included with SightLab such as driving simulators, AI interaction capabilities, visual search tasks and much much more at our comprehensive Example Scripts Library webpage.
More information on SightLab VR Pro can be found here.

Multi-user VR laboratory setups are essential for collaborative research and interactive experiences, allowing multiple participants to engage simultaneously in a shared virtual space. Key to this setup is robust network infrastructure for seamless interaction and real-time synchronization across different systems. Avatars, representing each participant, enhance presence and immersion, leveraging tools such as Mixamo or Avaturn allows for the creation of customized avatars that can be used in your experiment. Check out this section from the SightLab VR documentation for a complete guide to embodied avatars. Collaborative tools and integrated communication methods facilitate interaction (such as interacting with objects and speech communication) between users allowing for seamless social collaboration and research of interactions in shared virtual environments. Users can also add AI powered intelligent agent avatars for even more advanced non-human interaction capabilities and experimental possibilities. Such AI Agents can be used as educational tutors and teaching assistants.
The WorldViz SightLab Multi-User software allows for a streamlined way to add multi-user functionality to your experiment, as well as extending the capabilities to include eye tracking, physiological data collection, visualizations, playbacks of sessions and more. Real-time data collection and playback ensure engaging, effective, and secure multi-user VR environments, thereby broadening the scope for innovative research, training, and simulations.
Quick Tips on Setting up a VR Scene or Experiment
The topic of creating your own VR scene or experiment is a huge topic but here are some quick tips to keep in mind when you are just starting out:
For help on how to create an experiment see the SightLab VR Pro or Vizard Documentation.
Additionally, WorldViz provides custom development services if you have a design in mind but need help implementing it. Please contact sales@worldviz.com for more details.
Conclusion
Setting up a VR lab can bring a huge upgrade in your research. Initially it can be somewhat challenging and take some time, but with the proper setup you will have a much-improved environment in which to perform your studies. For further help on how to setup a VR lab and discuss options, contact sales@worldviz.com
Please also read our “2026 Budgeting Guidelines for Scientific VR Labs” to learn about cost considerations for VR hardware, software and application development for scientists looking to start or upgrade their VR research lab.