Adding Avatar Agents in SightLab VR Pro

May 12, 2026

Avatars can be used as NPCs, animated agents, conversational AI role playing characters, or participant representations. With the updated workflow in SightLab, and now in E-Learning Lab as well, adding and working with avatars is much more streamlined and easier than ever.

SightLab: Add Avatar Agents to Your Scene

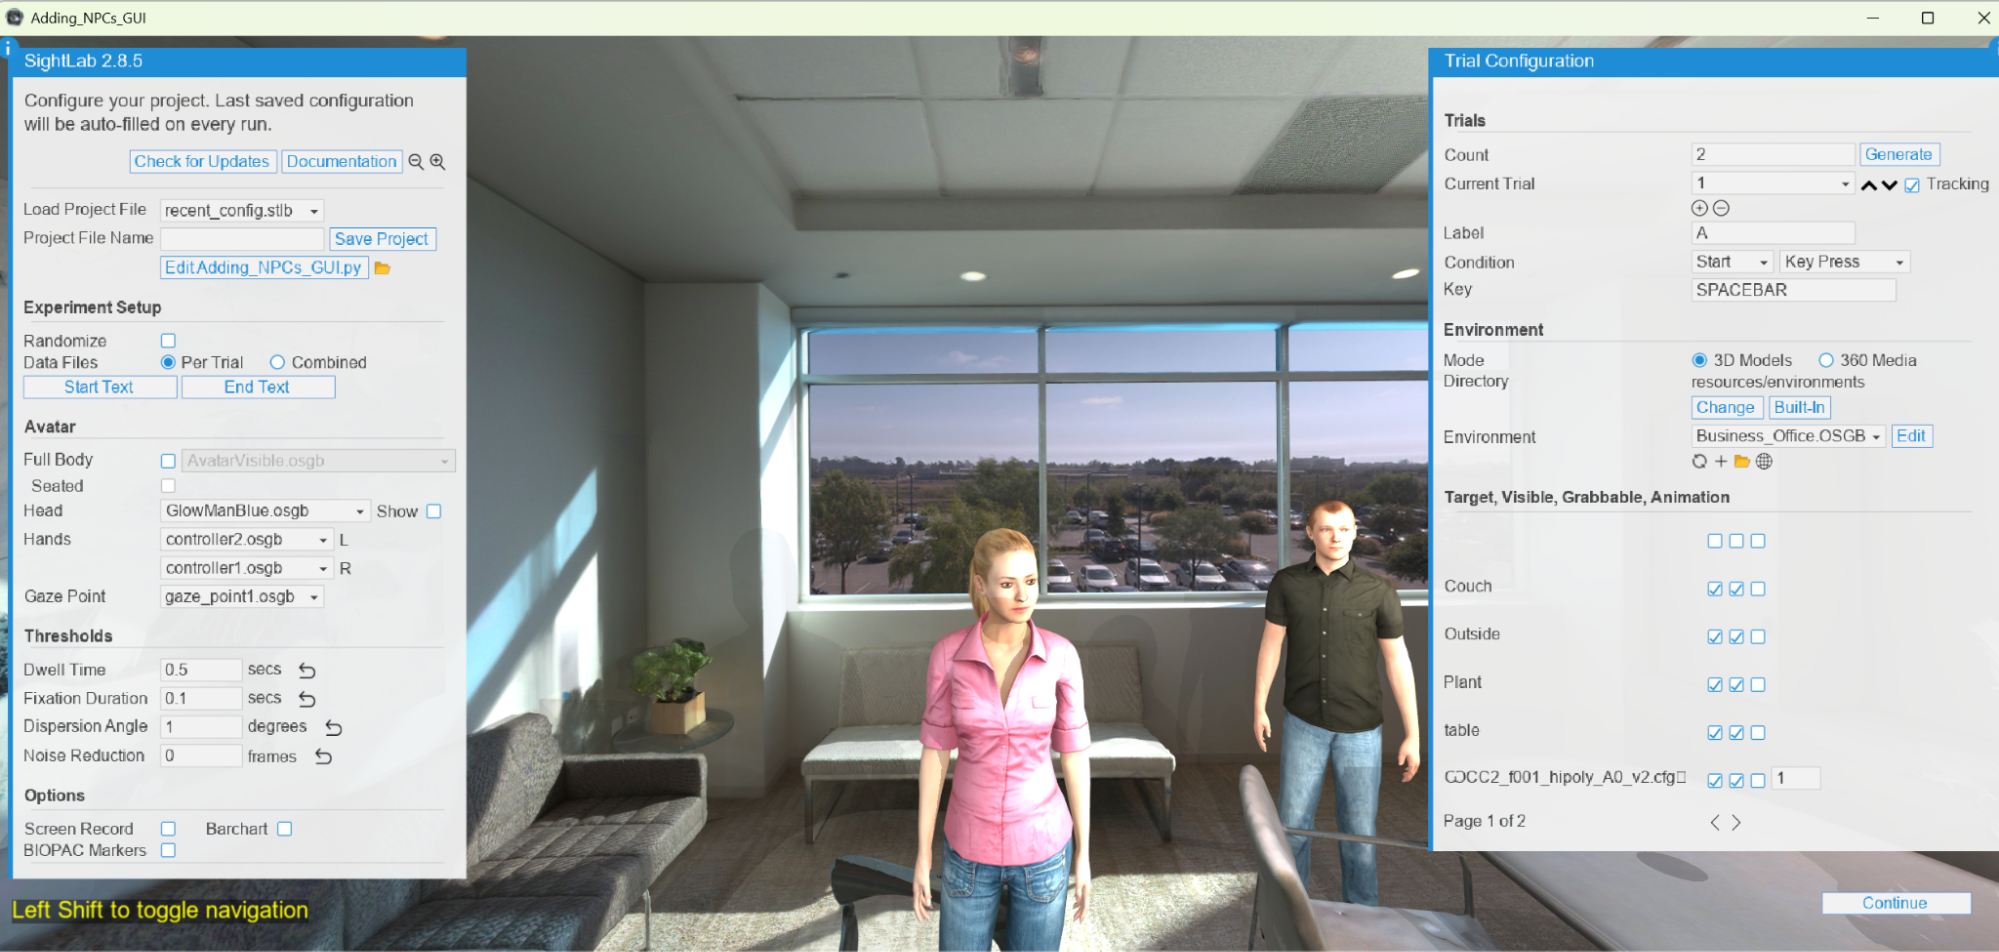
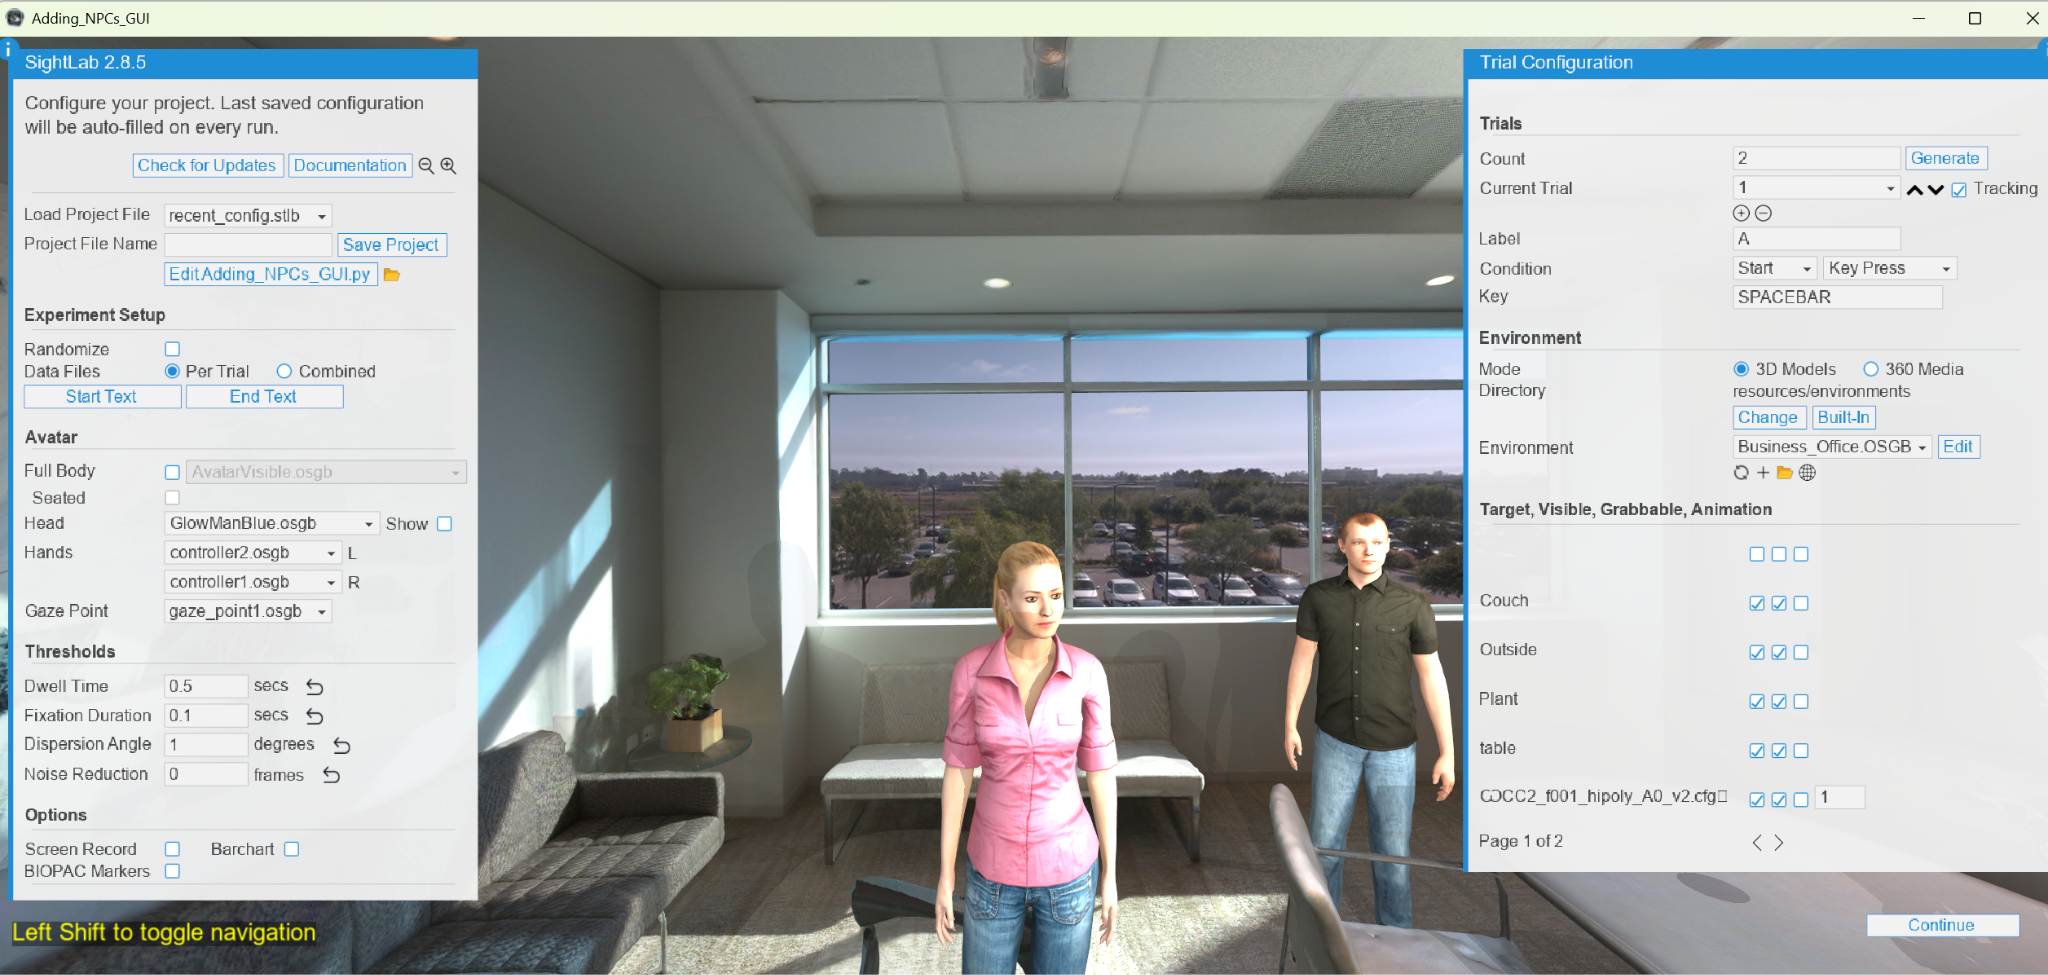
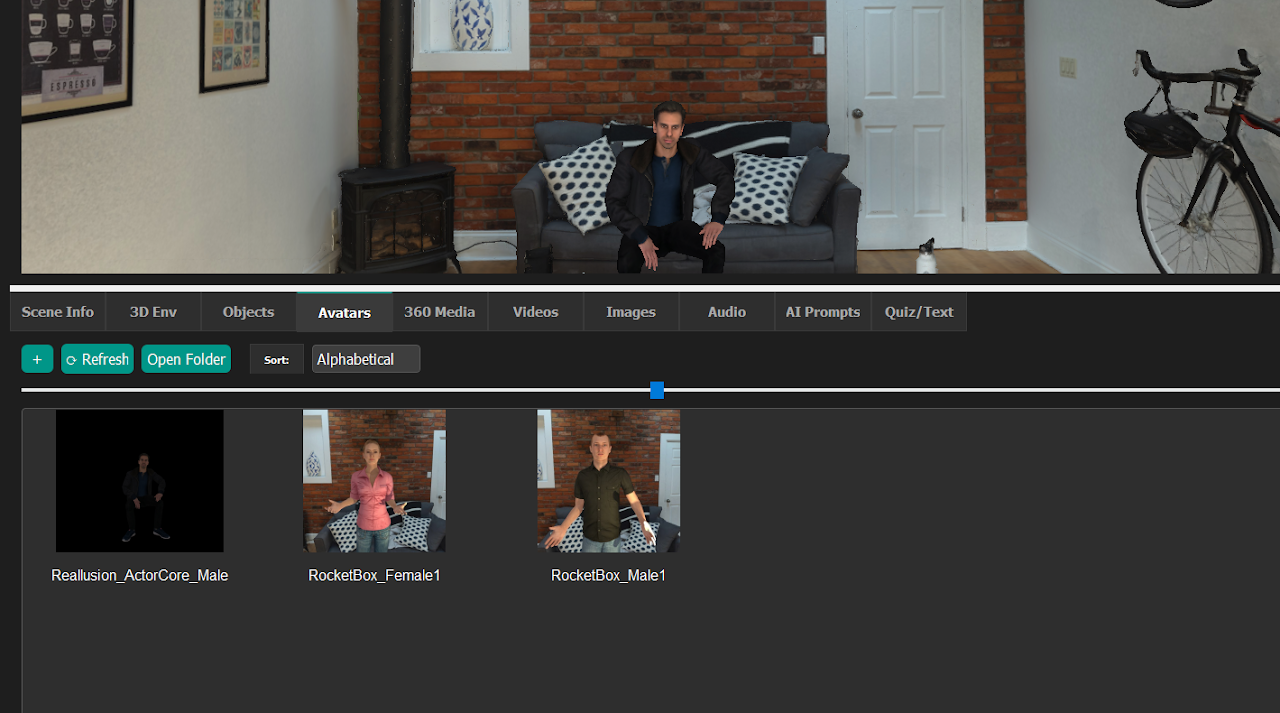
SightLab includes a new and improved workflow for adding avatar agents directly into your scene. You can now drag and drop built-in avatars from the Avatars tab of the asset browser (with the new SightLab Dashboard), or use your own compatible avatar files. Supported formats include .osgb, .fbx, .glTF, and .cfg.

Add and Place the Avatar

  1. Open your environment in Inspector.
  2. Drag and drop an avatar from the Avatars tab, or add your own avatar file.
  3. Select the avatar in the scene graph.
  4. Use the translate and rotate tools to position it where needed.
  5. Right click and rename the avatar to end in “.cfg” 
  6. Save the scene.

Set Animation State and Morphs

Once the avatar is in the scene, you can set animation states and facial morphs directly through the GUI or in code.

  • Animation states can be previewed in the Animations tab in Inspector.
  • The animation state can be set directly in the SightLab GUI.
  • Facial morphs can also be adjusted when available via code or directly in the E-Learning Lab.

env = sightlab.getEnvironment()

avatarObject = env.getChild('MyAvatar.cfg') 

# Add facial morph - first number is morph to use, second is strength

avatarObject.setMorph(0, 1) 

Track Avatars in Data Collection and Replay

If you want the avatar to appear in session replay and be included in gaze-based analysis, register it as a SightLab scene object with the avatar flag enabled (this will automatically be added if added via the GUI):

avatarObject = env.getChild('MyAvatar.cfg')

avatarObject.state(1)

sightlab.addSceneObject('avatarObject', avatarObject, gaze=True, avatar=True)

Using avatar=True ensures the avatar appears correctly in replay.

E-Learning Lab: Add NPC Agents

As of E-Learning Lab 1.4.2, you can now add NPC agents directly to your scene using the built-in avatar workflow.

Add an NPC

  1. Open the Avatars tab in the asset browser.
  2. Drag and drop one of the built-in avatars into your scene.

Adjust Animation and Facial Expression

After placing the avatar, you can:

  • Choose which animation state to play
  • View available animation states in the Inspector under the Animations tab
  • Right-click to set facial morphs

This makes it easy to quickly place animated NPCs into E-Learning Lab scenes without relying on a more manual setup workflow.

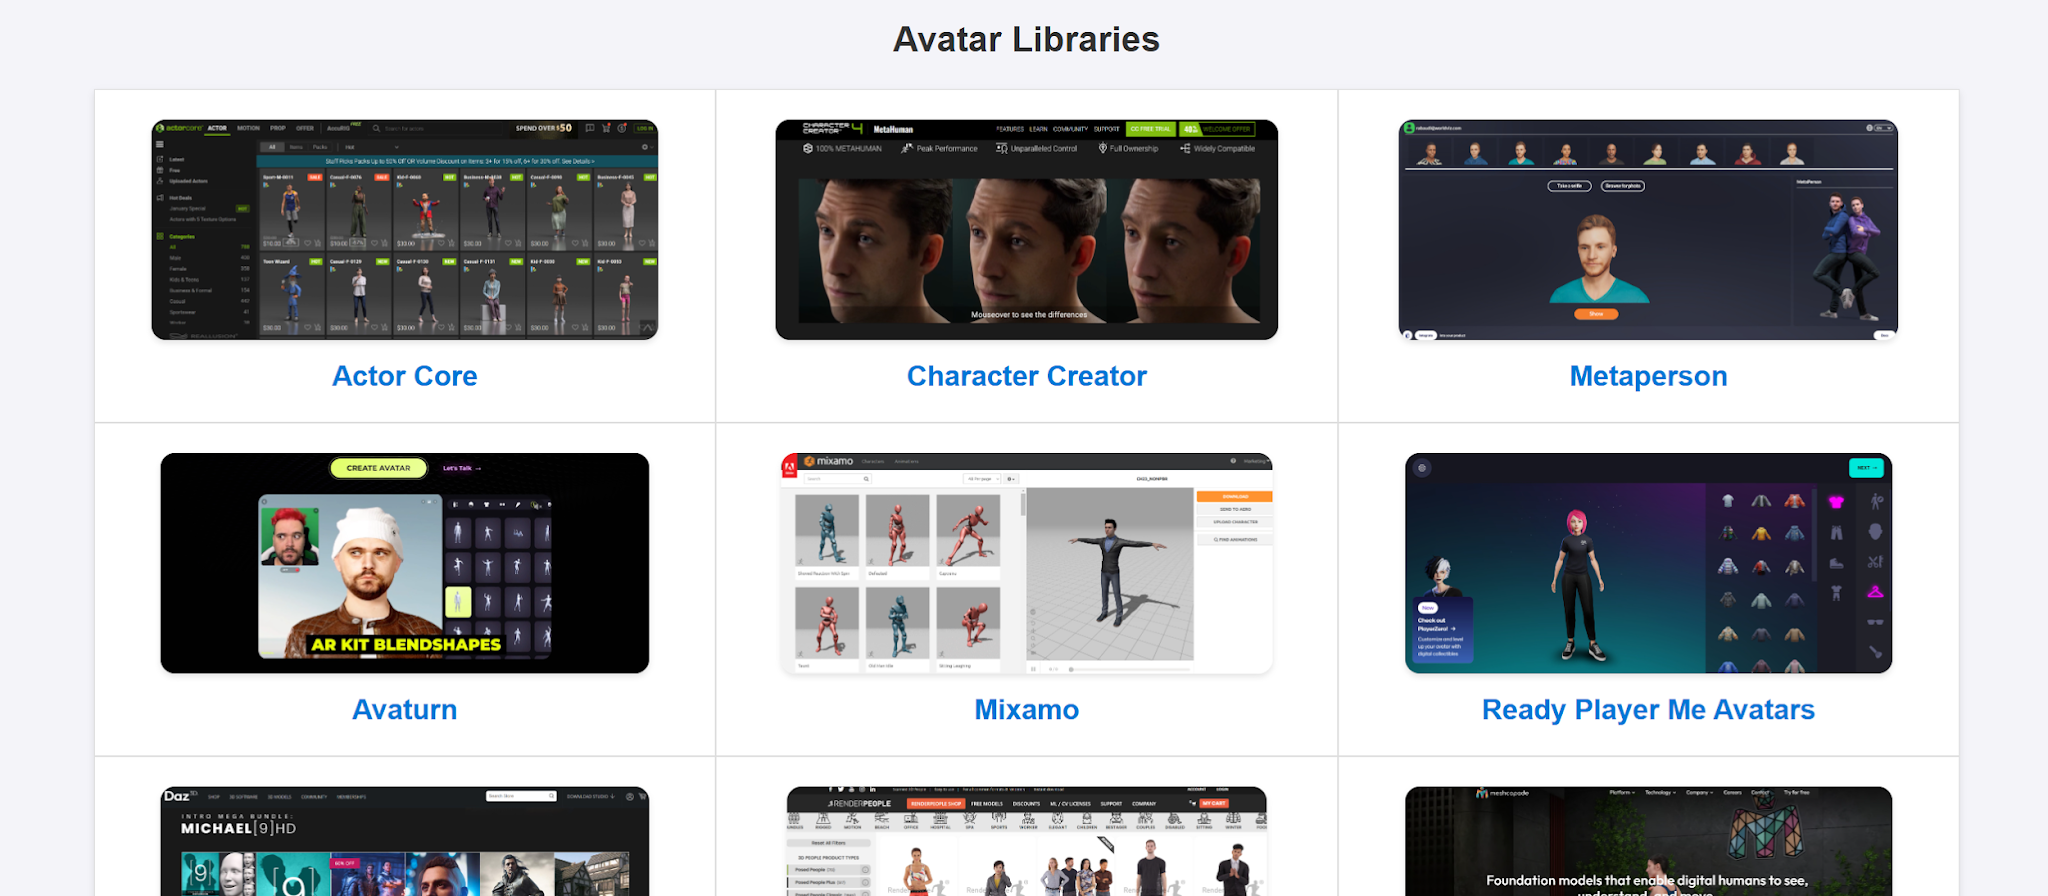
Supported Avatar Sources

SightLab works with avatars from many common libraries:

Source Description Link
Mixamo Free rigged characters and animations mixamo.com
Ready Player Me Customizable avatars from photos Workflow Guide
Reallusion Character Creator & ActorCore library reallusion.com
RocketBox Microsoft's research avatar library GitHub
Avaturn / MetaPerson AI-generated avatars Avaturn / MetaPerson

📦 Browse more resources at the WorldViz Asset Browser

Sample avatars included with SightLab

Tips

  • Built-in avatars are available directly from the Avatars tab.
  • You can also use custom avatar files if needed.
  • Check scale and animation support in Inspector before finalizing placement.
  • For SightLab, make sure avatars intended for replay are added with avatar=True.
Stay Updated
Subscribe to our monthly Newsletter
CONTACT US 
Phone +1 (888) 841-3416
Fax +1 (866) 226-7529
813 Reddick St
Santa Barbara, CA 93103