
SightLab’s AI Agent workflow makes it possible to add interactive, intelligent virtual characters into VR and XR simulations. These agents can use large language models such as OpenAI, Anthropic Claude, Gemini, or offline Ollama models, and can be paired with custom avatars, voices, personalities, animations, speech recognition, and even event-based behaviors.
This guide walks through the recommended workflow for setting up, customizing, and running an AI Agent in SightLab.
See this page for more information.
Additionally, for adding instructional AI tutors and agents in the E-Learning Lab see this page.
The AI Agent can be used to create virtual humans, tutors, guides, interviewers, simulation partners, or interactive characters inside a SightLab project.
Key capabilities include:
To try the AI Agent with the default setup:
Tip: Run multi_agent_interaction.py to see an example with two AI agents talking to each other.
Online models require API keys. Offline Ollama models do not require keys.
The recommended method is to set API keys as Windows environment variables. Open Command Prompt and run:
setx OPENAI_API_KEY your-api-key
setx ANTHROPIC_API_KEY your-api-key
setx GEMINI_API_KEY your-api-key
setx ELEVENLABS_API_KEY your-api-key
After setting the keys, restart Vizard.
You can also input your keys in the SightLab Dashboard settings, or simply place them in the ‘keys’ folder in the AI_Intelligent_Agent main folder named as openai_api_key.txt, gemini_api_key.txt, eleven_labs_api_key.txt and gemini_api_key.txt.
Use these services to obtain keys:
For offline models, install or launch Ollama and run a model from Command Prompt, for example:
ollama run gemma
The first launch may take longer while the model loads.
The custom agent workflow has three main parts:
The prompt defines the agent’s personality, knowledge, role, and behavior.
MuseumGuide.txt
Example prompt structure:
You are a friendly museum guide inside a virtual art gallery.
You explain paintings clearly and conversationally.
You ask participants reflective questions about what they notice.
Keep responses concise unless the user asks for more detail.
Each avatar uses a config file to control animations, voices, language, morph targets, and other avatar-specific settings.
Template_Male.py
or
Template_Female.py
MuseumGuideAvatar.py
TALK_ANIMATION = 2
IDLE_ANIMATION = 1
The exact numbers depend on the avatar.
You can also adjust the voice, language, blinking, mouth morphing, head turning, facial expressions, and other settings in the config file.
The easiest method is to place the avatar directly into your environment using Inspector.
For example:
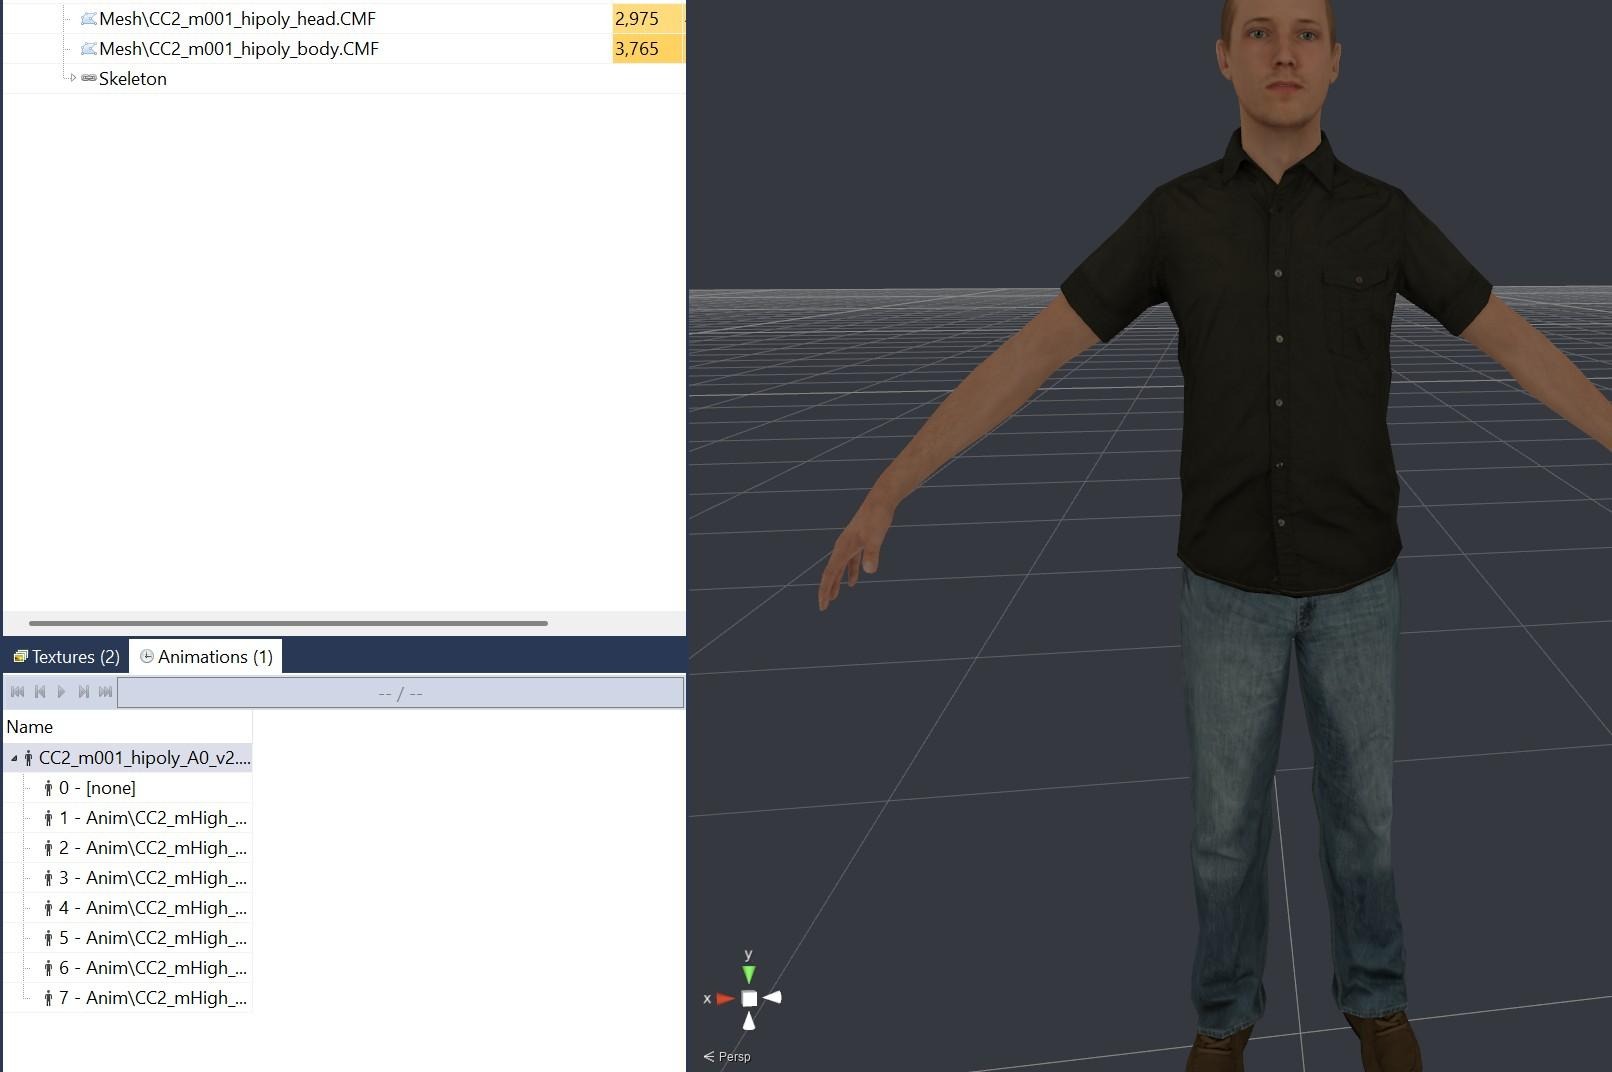
CC2_m001_hipoly_A0_v2.cfg
By default, the AI Agent will use the first avatar it detects in the scene when:
USE_SCENE_AVATAR = True
For non-GUI use, add the avatar to the scene in Inspector, then set the avatar name in Config_Global.py:
SCENE_AVATAR_NAME = 'CC2_m001_hipoly_A0_v2.cfg'
Then run:
AI_Agent.py
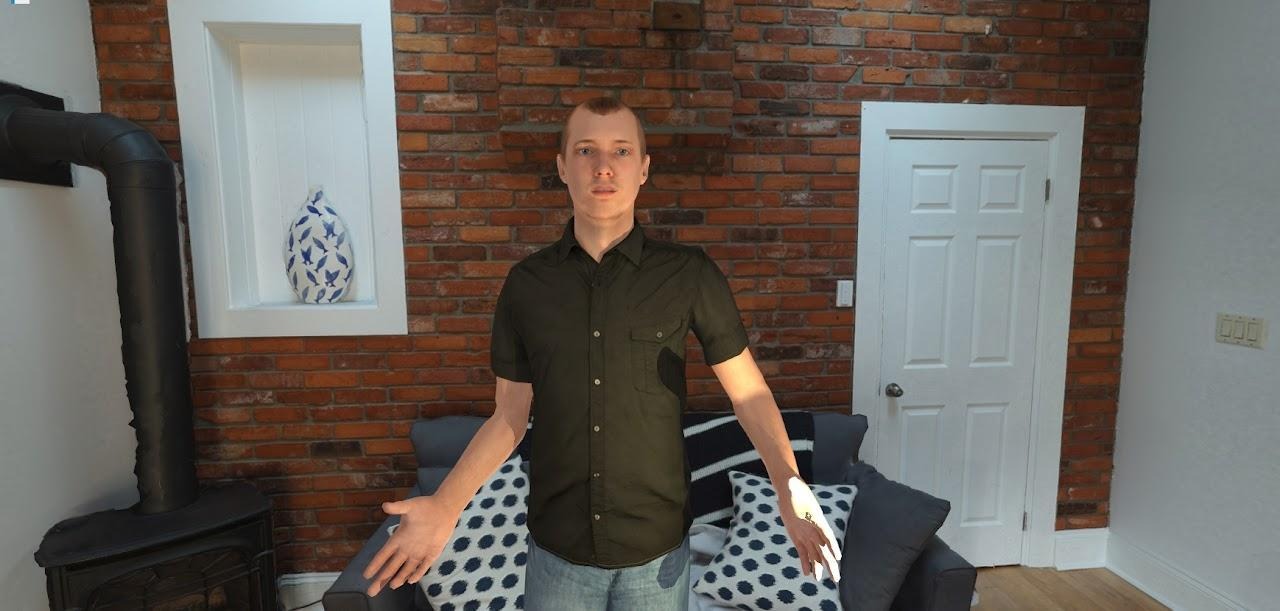
If using a Reallusion avatar, or another avatar that does not auto-detect correctly, load it directly by path in the avatar config:
AVATAR_MODEL = 'Resources/avatars/Reallusion_ActorCore_Male.osgb'
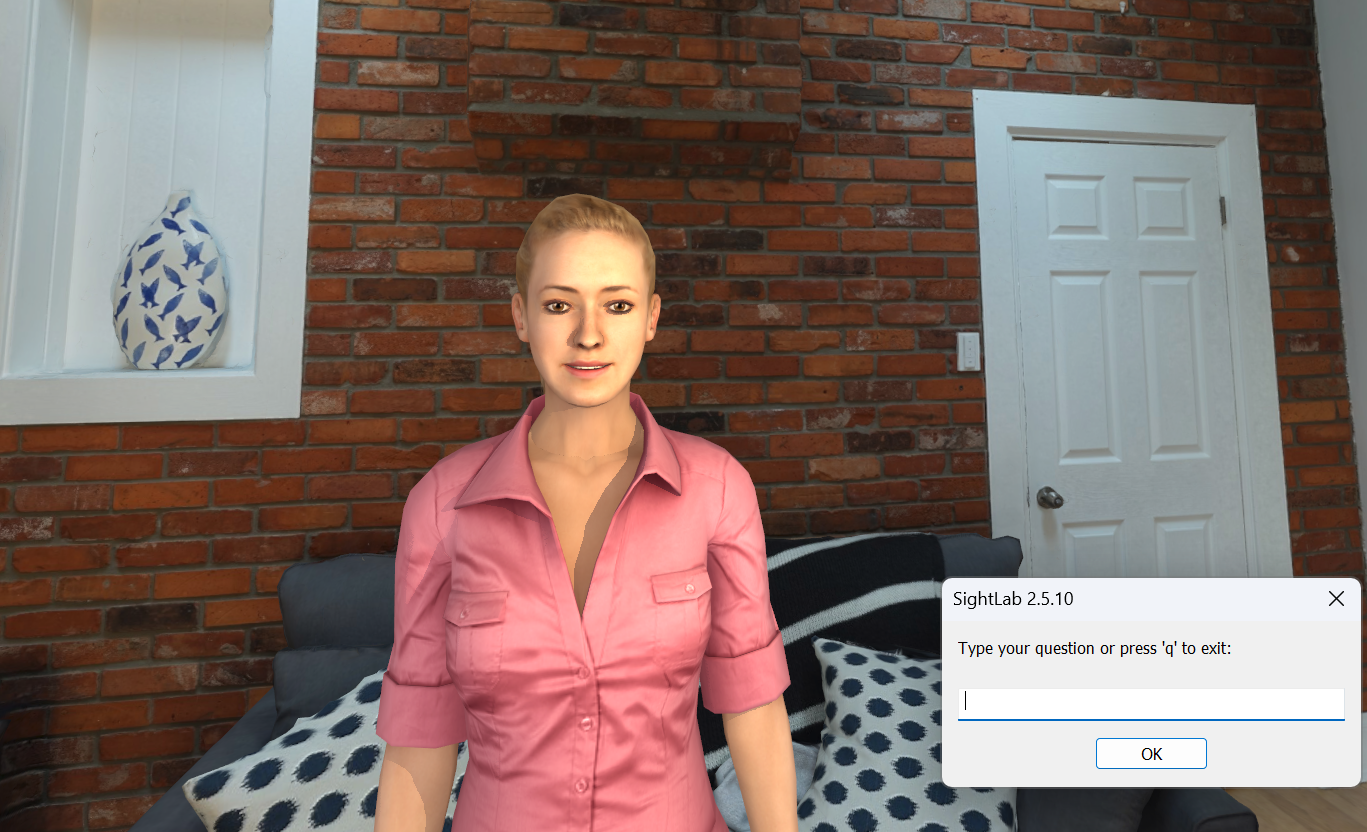
Use these controls during runtime:
Ask “What are we looking at?”
Agent can interpret the visible scene
If HOLD_KEY_TO_SPEAK is set to False, the agent listens continuously and responds after a pause. This mode works best when the user is wearing headphones.
To use the AI Agent in passthrough AR mode, open Config_Global.py and set:
USE_PASSTHROUGH = True
This is supported on compatible headsets such as Meta Quest Pro, Meta Quest 3, Vive Focus Vision, Pimax and Varjo headsets.
The event system allows the AI to trigger actions during a conversation. For example, the agent can smile, look sad, nod, shake its head, or run a custom callback.
The AI includes a hidden event line in its response:
event: smile
The system detects the event, runs the corresponding handler, and removes the event line before showing the text to the user.
Example:
User says:
I just won the lottery!
AI raw response:
event: smile
That's incredible! Congratulations! You must be so excited!
The user only sees:
That's incredible! Congratulations! You must be so excited!
Meanwhile, the avatar smiles.
In Config_Global.py:
USE_EVENT_SYSTEM = True
EVENT_KEYWORD = "event:"
Facial expression settings can also be configured:
SMILE_MORPH_ID = 3
SAD_MORPH_ID = 2
EXPRESSION_MORPH_AMOUNT = 0.7
EXPRESSION_DURATION = 1.2
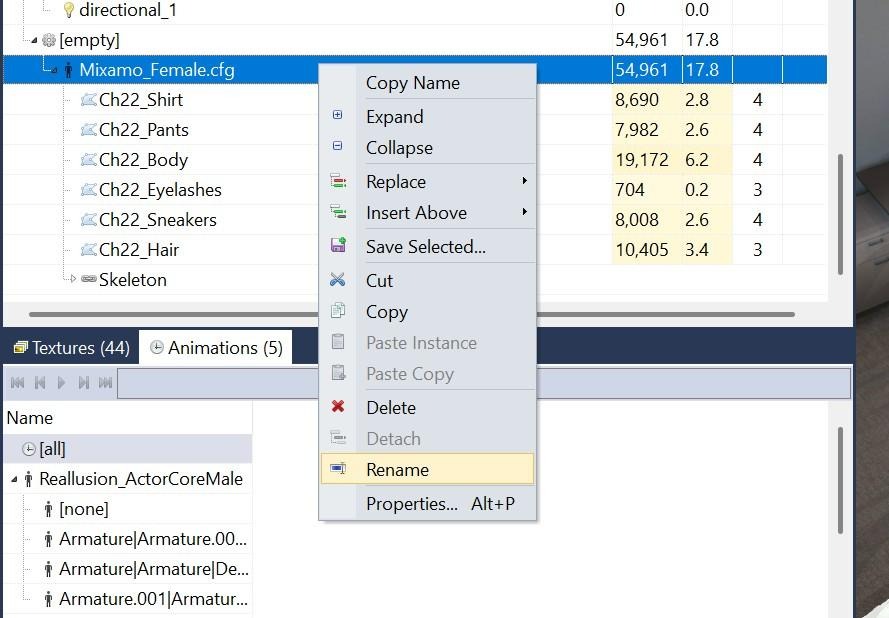
Morph IDs are avatar-specific. To find them:
You can add your own events in AI_Agent_Avatar.py.
def event_my_custom_action():
"""Run a custom AI-triggered action."""
try:
print("Custom action executed!")
# Example actions:
# avatar.state(MY_ANIMATION)
# object.setPosition([0, 1.5, 1.5])
# viz.playSound('sound.wav')
# viz.clearcolor(viz.RED)
except Exception as e:
print(f"Error in custom event: {e}")
Add the event to register_default_events():
def register_default_events():
"""Register all built-in event handlers."""
if USE_EVENT_SYSTEM:
EVENT_REGISTRY.register("smile", event_smile)
EVENT_REGISTRY.register("sad", event_sad)
EVENT_REGISTRY.register("neutral", event_neutral)
EVENT_REGISTRY.register("my_custom_action", event_my_custom_action)
Tell the AI when to use the event:
Available events:
- smile: Use when responding happily or positively.
- sad: Use when responding with sympathy.
- my_custom_action: Use when the user asks you to demonstrate the custom action.
SightLab also includes a multi-agent example:
multi_agent_interaction.py
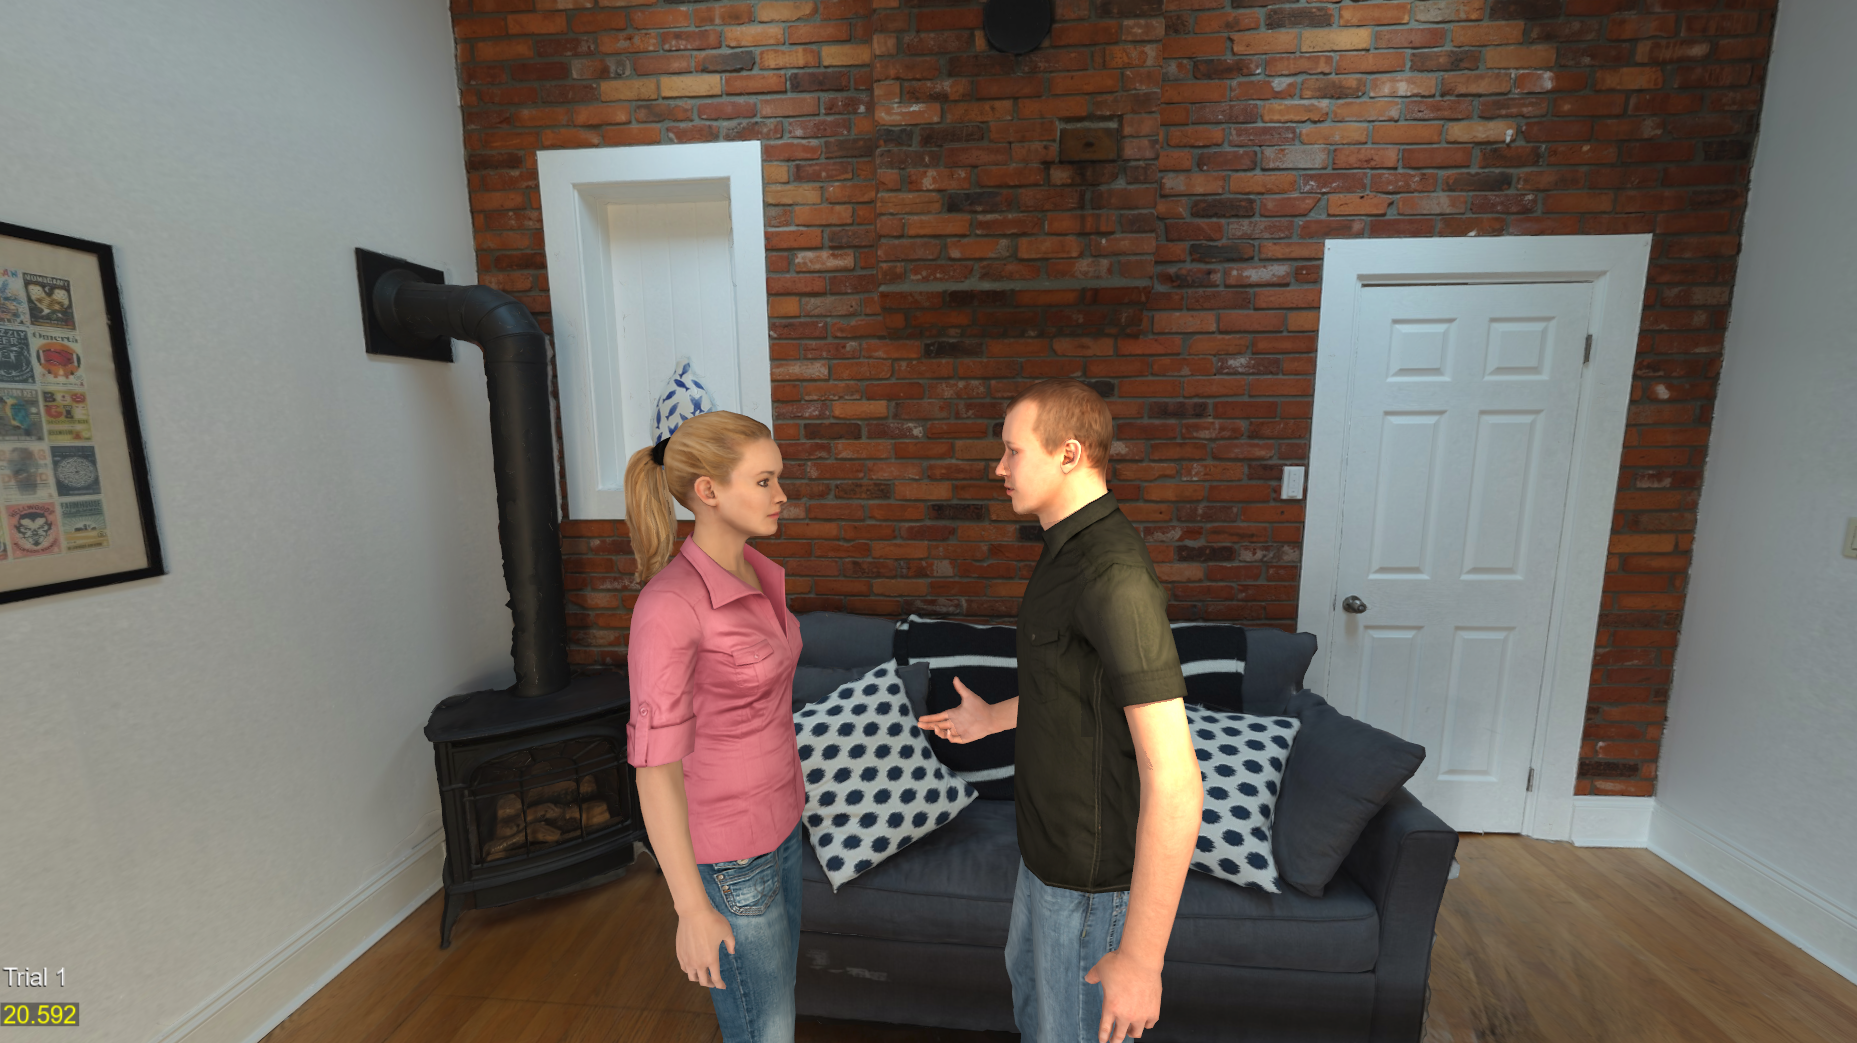
This allows two AI agents to speak with each other and respond to the user.
Example setup:
from AI_Agents import AIAgent
agents = [
AIAgent(
config_path='configs/x_Multi_RocketBoxFemale.py',
name='Agent1',
prompt_path='prompts/Susan_Home Office.txt'
),
AIAgent(
config_path='configs/x_Multi_RocketBoxMale.py',
name='Agent2',
prompt_path='prompts/Tom_Home_Office.txt'
),
]
Controls:
Each agent can use its own config file, prompt, model, and voice.
To integrate the AI Agent into another SightLab project:
configs
keys
prompts
AI_Agent_Avatar.py
from configs.AI_Agent_Config import *
import AI_Agent_Avatar
avatar = AI_Agent_Avatar.avatar
sightlab.addSceneObject('avatar', avatar, avatar=True)
Or, if using an avatar already placed in the scene:
USE_SCENE_AVATAR = AI_Agent_Avatar.USE_SCENE_AVATAR
This allows the AI Agent to work alongside SightLab’s normal experiment features, including data collection, replay, visualizations, and object tracking.
Use the GUI workflow when first setting up an AI Agent, especially when testing models, voices, avatars, and prompts.
Use the non-GUI workflow when embedding the AI Agent into a custom SightLab experiment.
Keep prompt files focused and specific. A good prompt should define the agent’s role, tone, knowledge boundaries, and interaction style.
Use events sparingly and clearly. Add event instructions to the prompt so the AI knows when to smile, nod, take a screenshot, or trigger a custom action.
Test avatar animations and morph IDs in Inspector before running a full experiment.
For offline demos, use Ollama and an offline TTS option such as Kokoro or Piper.
The SightLab AI Agent workflow provides a flexible way to add intelligent, conversational avatars to VR and XR simulations. Using prompts, avatar configs, LLM settings, speech recognition, text-to-speech, and event callbacks, you can build agents that act as instructors, guides, interviewers, collaborators, or interactive characters.
For most users, the recommended workflow is:
For more information on SightLab VR Pro see the documentation here https://help.worldviz.com/sightlab/
Or click here to request a demo
Notes
Add can create custom voices elevenlabs
GPT-Realtime voice (with emotional tone)
Scripted responses (multi-agent, how to do with single user)
E-Learning Lab agents
Point and get information
This document describes how to use the AI Agent in SightLab, an interactive, intelligent AI agent that can be connected to various large language models like Chat GPT, Claude, Gemini, Offline Ollama models and more. You can customize the agent's personality, use speech recognition, and leverage high-quality text-to-speech models.
💡 Tip: Run multi_agent_interaction.py for a multi-agent conversation demo.
Ensure you have the required libraries installed using the Vizard Package Manager:
⚠️ Important: Use piper-tts==1.3.0 — do not update to 1.4.0.
Kokoro has very high quality, low latency and runs offline, but requires downloading the models from here (download and extract into the main/root AI Agent folder)
Ollama comes with the SightLab installer, but if you didn't install it with SightLab, Install Ollama from here, then open a command prompt and type ollama run followed by the model name (e.g., ollama run gemma). See the full model list. The first run may take longer as the model loads.
Note: Requires an active internet connection unless running offline models via Ollama.
API keys are needed for online models (OpenAI, Anthropic, Gemini) and optional services (ElevenLabs TTS). For offline models via Ollama, no key is needed.
Setting API Keys (recommended method)
Open a command prompt (type "cmd" in Windows search) and run:
setx OPENAI_API_KEY your-api-key
setx ANTHROPIC_API_KEY your-api-key
setx GEMINI_API_KEY your-api-key
setx ELEVENLABS_API_KEY your-api-key
Restart Vizard after setting keys. With this method your API keys are accessible from any folder.
Obtaining Keys
Follow these steps to create a custom AI agent with your own personality, avatar, and voice.
💡 Tip: You can use default.txt as-is if you don't need a custom personality.
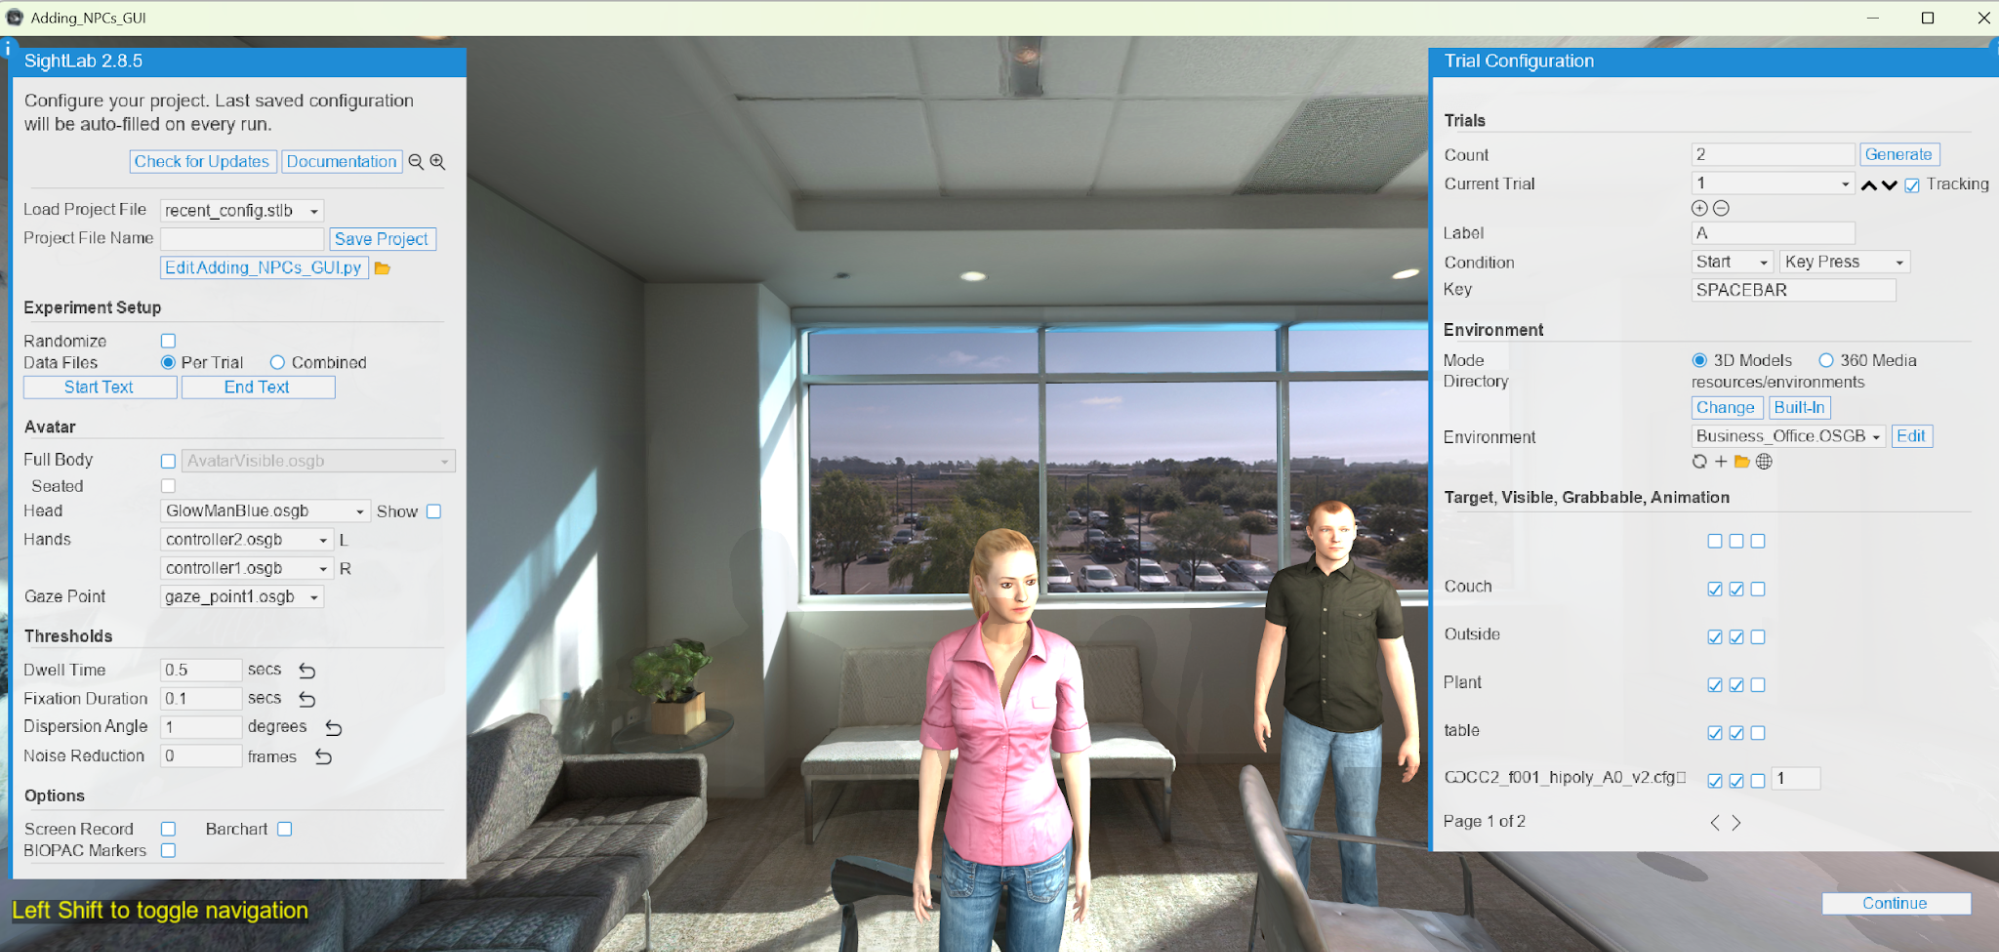
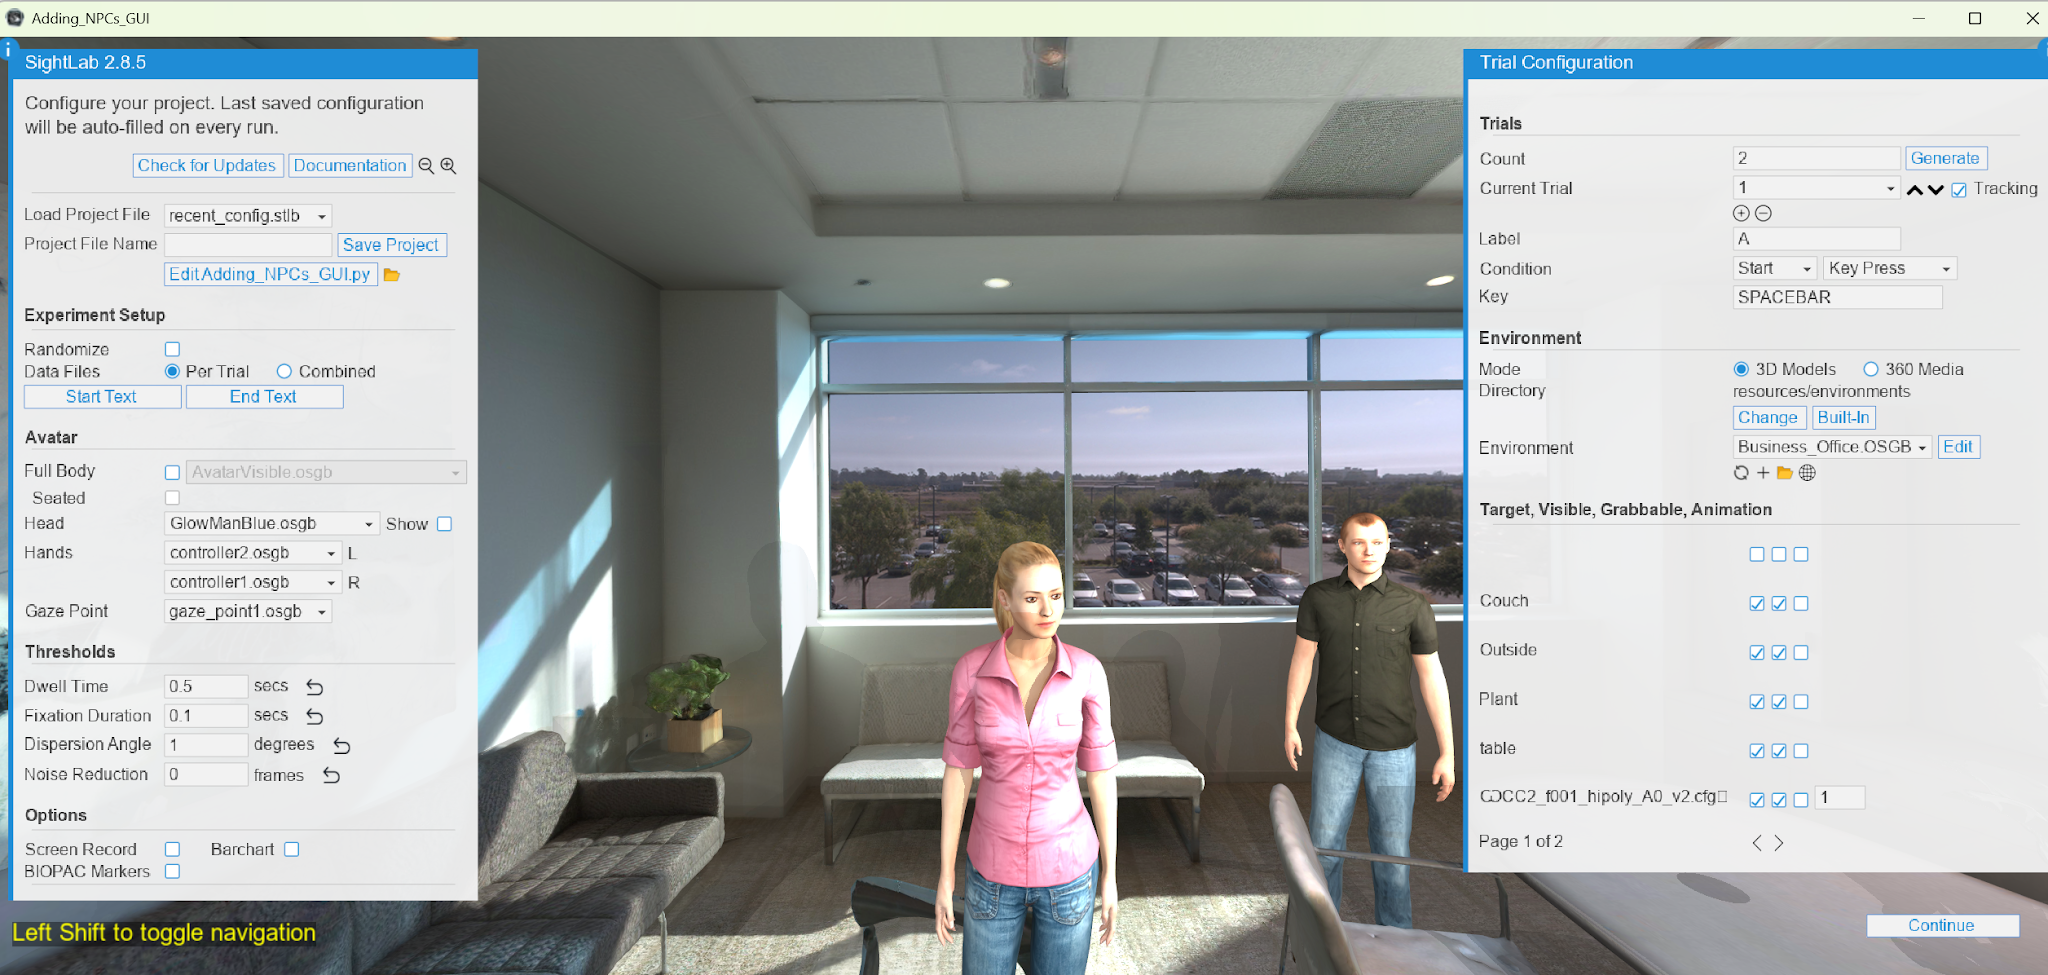
The simplest way to add an avatar is to drag and drop it directly into your environment in Inspector. The AI Agent will automatically detect and use the first avatar found in the scene (controlled by USE_SCENE_AVATAR = True, which is the default).
Using the GUI (simplest)
Without the GUI
SCENE_AVATAR_NAME = 'CC2_m001_hipoly_A0_v2.cfg'
Reallusion Avatars
Reallusion avatars need to be loaded by path rather than from the scene. Make a copy of the x_ReallusionMale.py config file, set the path to the avatar directly (this can be done for any avatar that isn't automatically detected as well):
AVATAR_MODEL = 'Resources/avatars/Reallusion_ActorCore_Male.osgb'
Refer to this page for instructions on obtaining environments and avatars. Drag new assets into the SightLab Dashboard asset library and then can drag into your project.
For more details on avatar placement, animations, and data collection, see Adding Avatar Agents.
Most settings (AI model, voice, language, speech model, etc.) are available as dropdown selections in the GUI. For advanced customization, open Config_Global.py directly — or click the config action button from the SightLab Dashboard.
Passthrough / Augmented Reality
To enable AR passthrough mode, set this in Config_Global.py:
USE_PASSTHROUGH = True
This works with Meta Quest Pro, Meta Quest 3, and Varjo headsets.
Each avatar uses a config file in the configs folder that controls animations, voice, and behavior. Key settings include TALK_ANIMATION, IDLE_ANIMATION, voice selection, mouth morphing, blinking, and bone/joint references. Make a copy of Template_Male.py or Template_Female.py and adjust as needed — see the comments in the template for all available options. If the avatar doesn't apply things like the head turning to follow you, facial expressions, etc. then you may need to edit these parameters and refer to the avatar in Inspector to see the bone names, etc.
The AI agent supports event-driven interactions, allowing the AI to trigger custom actions during conversations for more expressive and interactive experiences.
The event system allows the AI to execute custom actions (like facial expressions, animations, or any other callback) by including special "event" keywords in its responses. These events are automatically detected, executed, and removed from the text shown to the user.
How It Works
Global Settings (Config_Global.py)
# Event System Settings
USE_EVENT_SYSTEM = True # Enable/disable event system
EVENT_KEYWORD = "event:" # Keyword that triggers events
# Morph Target Indices for Facial Expressions
SMILE_MORPH_ID = 3 # Avatar-specific morph index for smile
SAD_MORPH_ID = 2 # Avatar-specific morph index for sad
EXPRESSION_MORPH_AMOUNT = 0.7 # Intensity (0.0 to 1.0)
EXPRESSION_DURATION = 1.2 # Duration in seconds
Avatar-Specific Settings (configs/RocketBoxMale.py, etc.)
Each avatar config can override the default morph indices:
# Event System - Facial Expression Morph Targets
SMILE_MORPH_ID = 3 # RocketBox smile morph
SAD_MORPH_ID = 2 # RocketBox sad morph
EXPRESSION_MORPH_AMOUNT = 0.7
EXPRESSION_DURATION = 1.2
Facial Expressions
Actions
nod: Nod head in agreement
shake head: shake head side to side in disagreement
Vision
Placeholder Events (for future implementation)
Different avatars have different morph target indices. To find the correct indices:
Step 1: Create the Event Handler Function
In AI_Agent_Avatar.py, after the existing event handlers:
def event_my_custom_action():
"""Description of what this event does"""
try:
# Your custom code here
# Examples:
# - Trigger animations: avatar.state(MY_ANIMATION)
# - Move objects: object.setPosition([x, y, z])
# - Play sounds: viz.playSound('sound.wav')
# - Change lighting: viz.clearcolor(viz.RED)
print("Custom action executed!")
except Exception as e:
print(f"Error in custom event: {e}")
Step 2: Register the Event
In the register_default_events() function:
def register_default_events():
"""Register all built-in event handlers"""
if USE_EVENT_SYSTEM:
EVENT_REGISTRY.register("smile", event_smile)
EVENT_REGISTRY.register("sad", event_sad)
EVENT_REGISTRY.register("neutral", event_neutral)
EVENT_REGISTRY.register("my_custom_action", event_my_custom_action) # Add this
# ... rest of the events
Step 3: Update AI Prompt
Add your custom event to the prompt file so the AI knows about it:
Available events you can trigger:
- smile: Makes you smile
- sad: Makes you look sad
- event: screenshot - Take and analyze a screenshot of what you're seeing
- my_custom_action: Description of what it does
Example Prompts
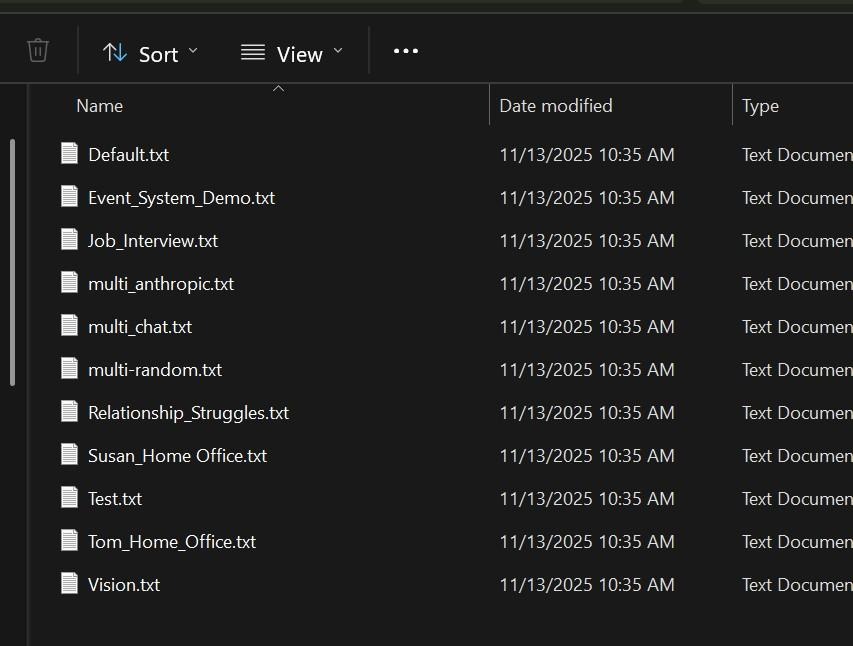
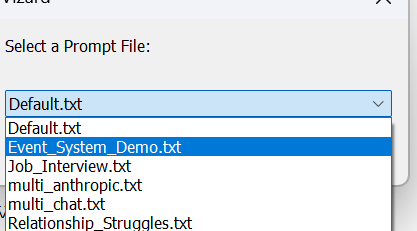
Choose prompts/Event_System_Demo.txt for a comprehensive example prompt that teaches the AI how to use events effectively.
Usage Example
User: "I just won the lottery!"
AI Response (raw):
event: smile
That's incredible! Congratulations! You must be so excited!
What happens:
See the script multi_agent_interaction.py to see how multiple agents can interact and communicate with each other. You can modify the individual agents by calling the AIAgent class and setting parameters such as config_path, name, and prompt_path.
The conversation loop can operate in two modes:
You can interrupt and speak to either agent during their conversation:
When you interrupt, the agent will turn toward you and stop any current speech. The conversation loop pauses while you interact.
Note that for multi agent interactions, the AI model and voices are defined in the respective config file for each agent (see the configs folder).
from AI_Agents import AIAgent
agents = [
AIAgent(config_path='configs/x_Multi_RocketBoxFemale.py', name='Agent1', prompt_path="prompts/Susan_Home Office.txt"),
AIAgent(config_path='configs/x_Multi_RocketBoxMale.py', name='Agent2', prompt_path="prompts/Tom_Home_Office.txt"),
]
from configs.AI_Agent_Config import *
import AI_Agent_Avatar
avatar = AI_Agent_Avatar.avatar
sightlab.addSceneObject('avatar', avatar, avatar=True)
#Or if using the avatar you place in your scene
USE_SCENE_AVATAR = AI_Agent_Avatar.USE_SCENE_AVATAR
if USE_PASSTHROUGH:
import openxr
xr = openxr.getClient()
if sightlab.getConfig() in ["Meta Quest Pro", "Meta Quest 3"]:
passthrough = xr.getPassthroughFB()
elif sightlab.getConfig() == "Varjo":
passthrough = xr.getPassthroughVarjo()
viz.clearcolor(viz.BLACK, 0.0)
if passthrough:
passthrough.setEnabled(True)
To publish an application with the AI Agent (or to just publish the standard included template) add this code to the top of the script (before importing SightLab):
import viz
# Filter out problematic packages that cause issues in published EXE
viz.res.addPublishFilter('*google_generativeai*')
viz.res.addPublishFilter('*-nspkg.pth')
viz.res.addPublishFilter('*.pth')
# Add publish directories - ensures correct package versions are bundled
publish_directories = [
'data',
viz.res.getVizardPath() + 'bin/lib/site-packages/sightlab_utils/',
viz.res.getVizardPath() + 'bin/lib/site-packages/deepdiff',
viz.res.getVizardPath() + 'bin/lib/site-packages/numpy',
viz.res.getVizardPath() + 'bin/lib/site-packages/pandas',
viz.res.getVizardPath() + 'bin/lib/site-packages/pydantic',
viz.res.getVizardPath() + 'bin/lib/site-packages/pydantic_core',
viz.res.getVizardPath() + 'bin/lib/site-packages/openai',
viz.res.getVizardPath() + 'bin/lib/site-packages/httpx',
viz.res.getVizardPath() + 'bin/lib/site-packages/httpcore',
viz.res.getVizardPath() + 'bin/lib/site-packages/anyio',
viz.res.getVizardPath() + 'bin/lib/site-packages/sniffio',
viz.res.getVizardPath() + 'bin/lib/site-packages/annotated_types',
viz.res.getVizardPath() + 'bin/lib/site-packages/certifi',
viz.res.getVizardPath() + 'bin/lib/site-packages/speech_recognition',
viz.res.getVizardPath() + 'bin/lib/site-packages/jiter',
]
for directory in publish_directories:
viz.res.addPublishDirectory(directory)
import sightlab_utils.sightlab as sl
from sightlab_utils.settings import *
Tips
Common Issues