
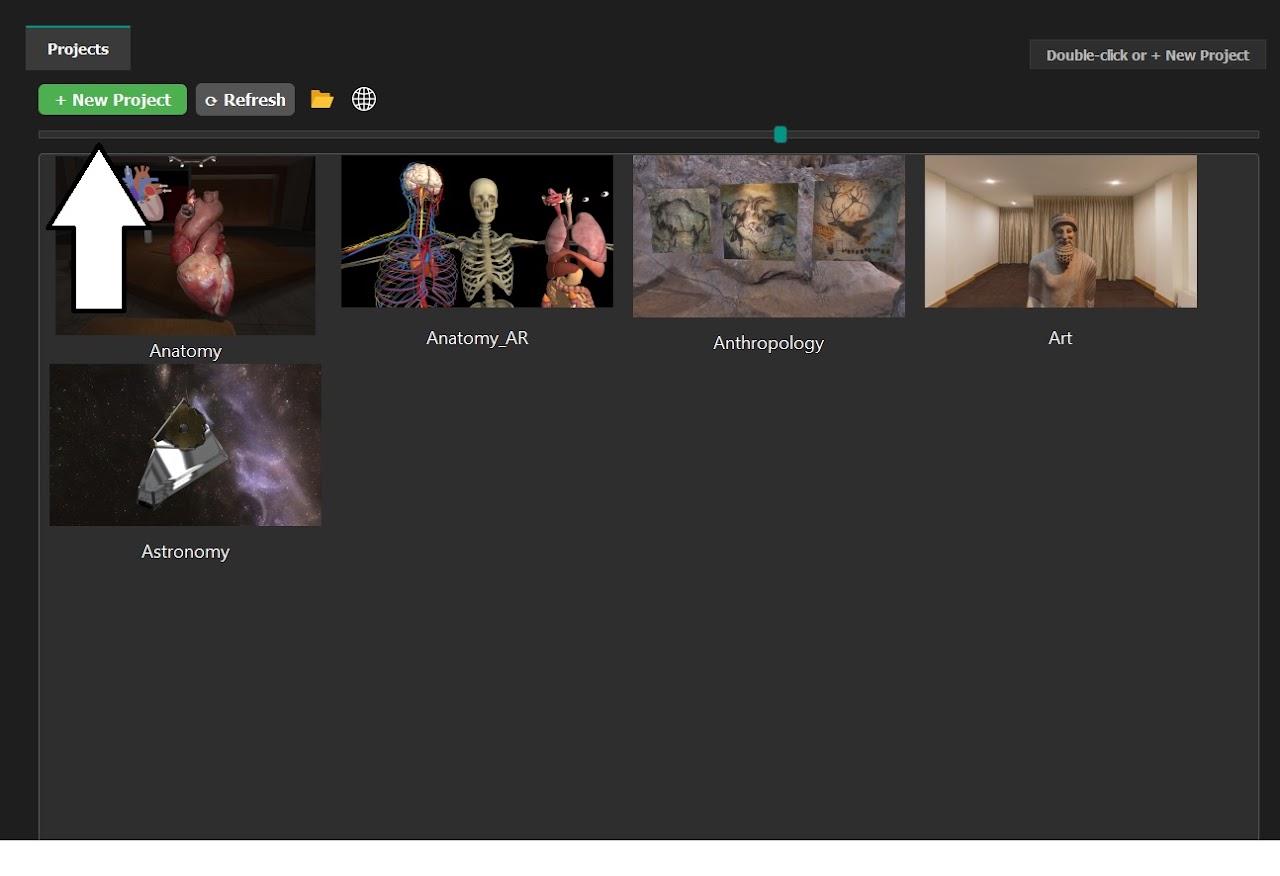
SightLab’s E-Learning Lab provides a visual authoring environment for creating immersive VR lessons, presentations, and collaborative learning experiences without requiring programming.
In this tech tip, we’ll create a project, build and edit a 3D scene, add interactive objects and instructional content, then run the lesson in VR.
View the complete documentation for further instructions and options.
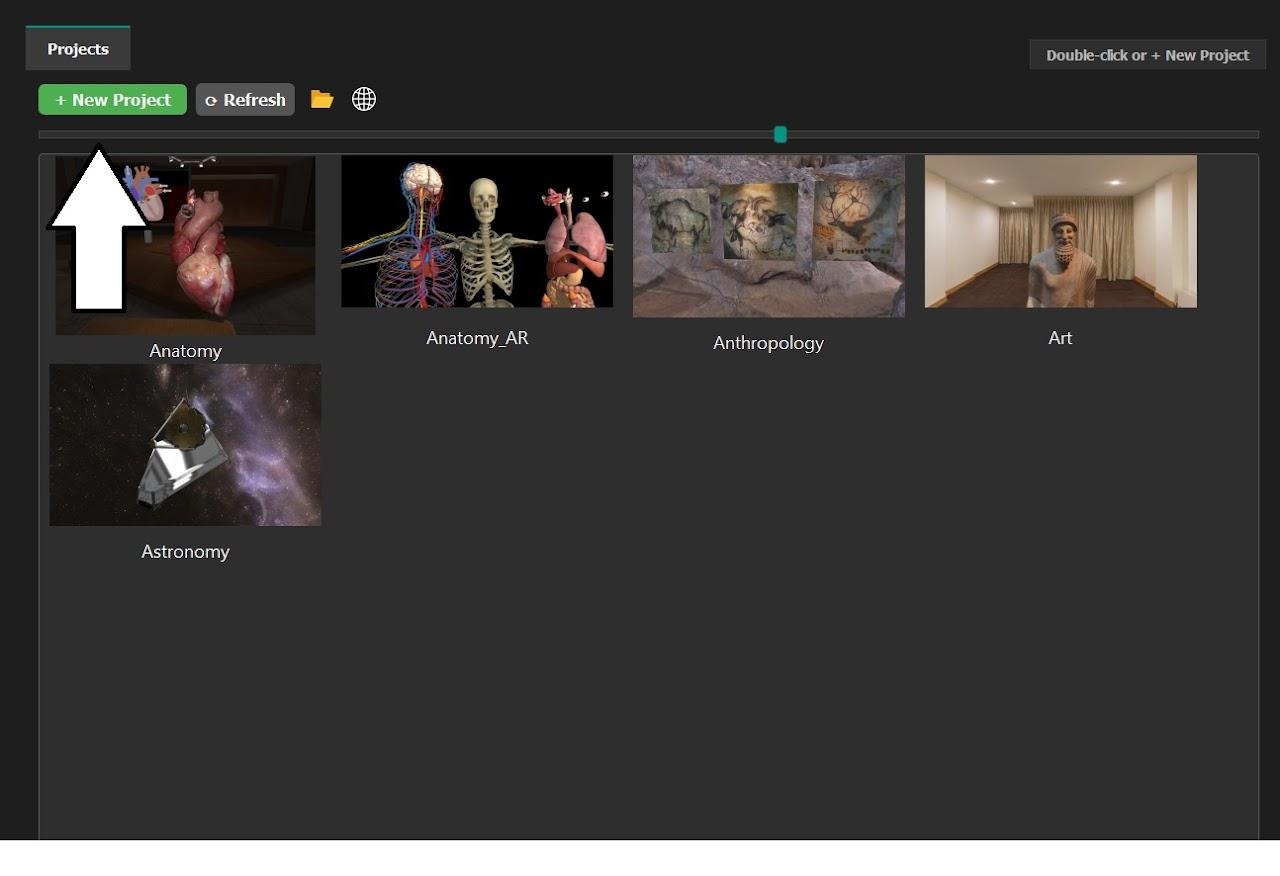
Launch E-Learning Lab from the SightLab Dashboard. In the project browser, click New Project, enter a name, and click Create. You can also reopen existing projects or browse additional online lessons.
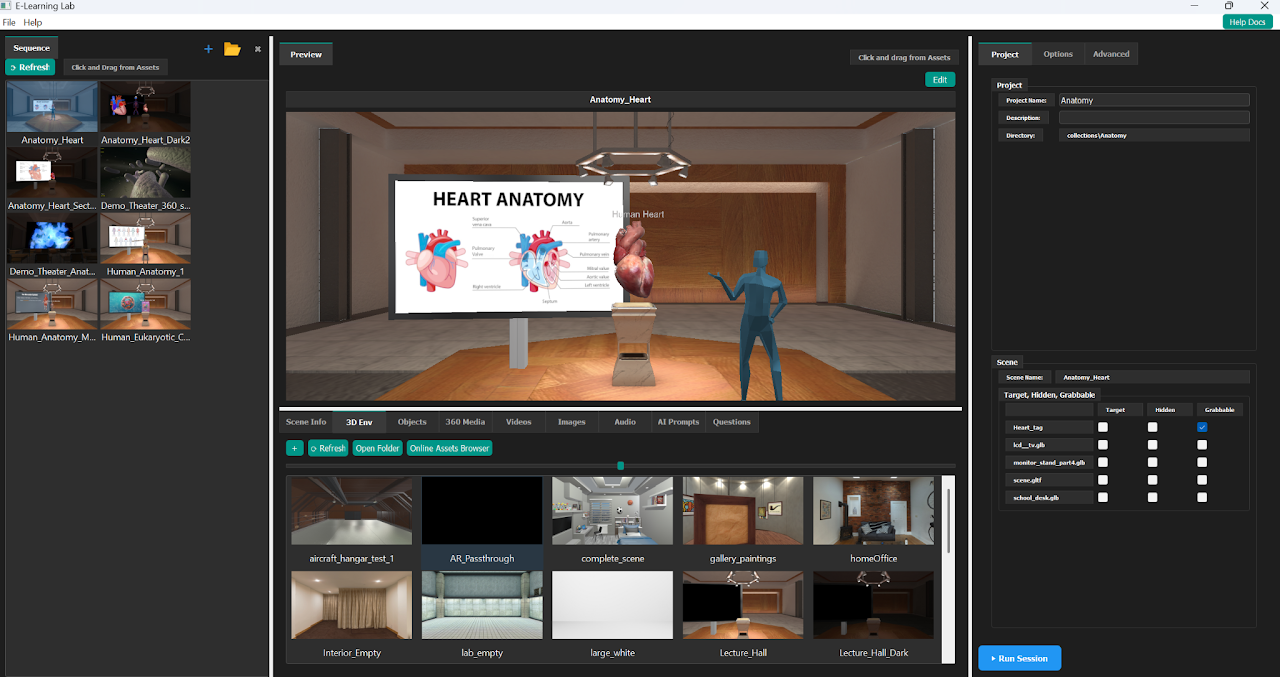
In the Assets tab, drag an environment into the Scenes/Sequence panel or Preview window. Alternatively, right-click an asset and choose Add to Project, or select +Slide for a blank slide. Built-in environments include lecture halls and classrooms, and you can import your own. Navigate the preview with your mouse and WASD/QE; press R to reset the view.
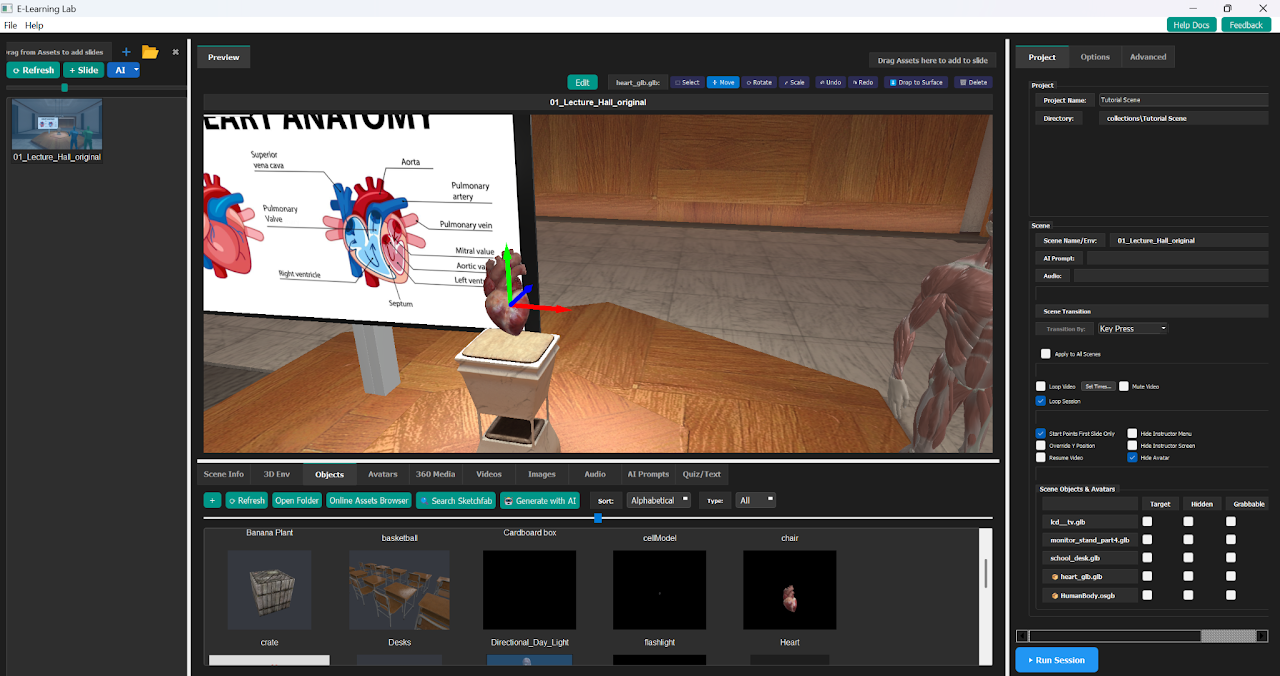
Drag objects, avatars, images, or videos into the Preview. Use the Move, Rotate, and Scale gizmos to position content, add starting points, and adjust the layout. For deeper per-model changes to materials and lighting, click Edit to open the scene in WorldViz Inspector.
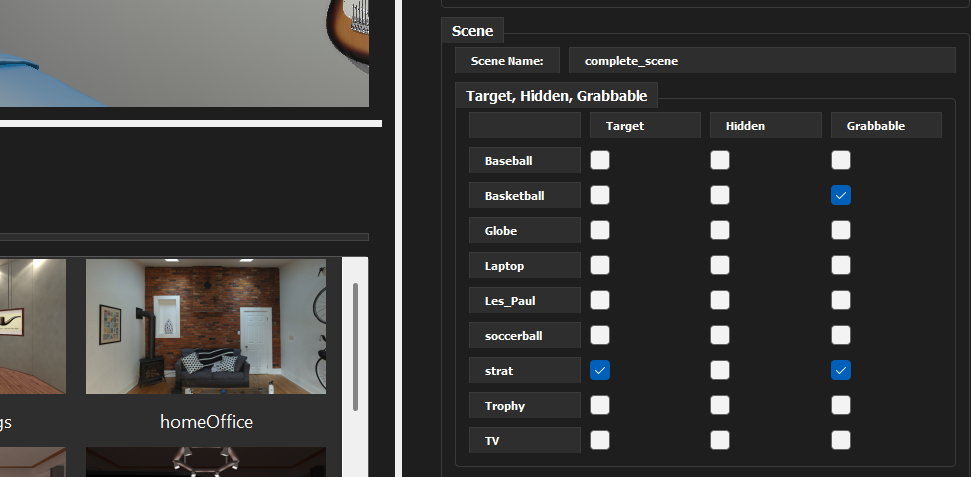
Use the object settings to mark an item as Grabbable, an eye-tracking Target, or Hidden. Enable animations already included in a model, or right-click and choose Properties for Highlight, Spin, and Move To options. For example, make an anatomical model grabbable so students can inspect it from different angles.
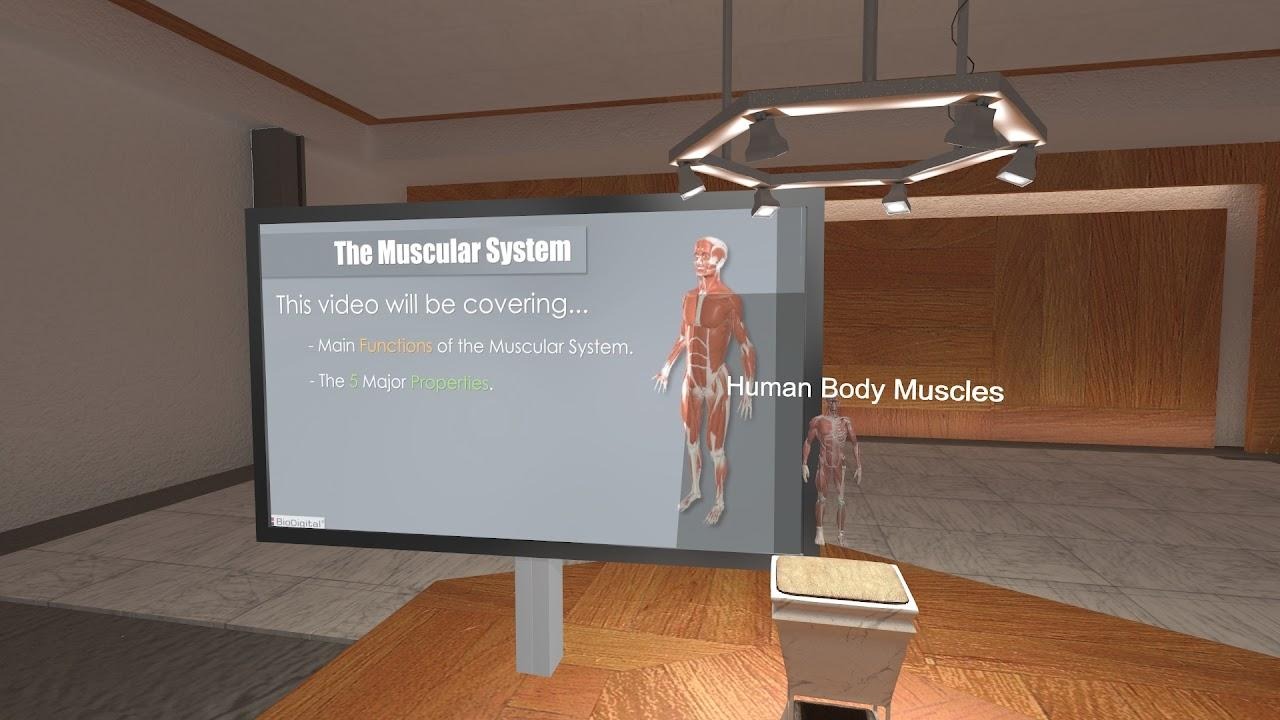
Select Videos and add or import a video, then drag it into a scene or the Scenes panel. Choose a virtual TV or large theater screen, and configure playback settings such as loop, start/end times, resume, or mute. Images can likewise be placed into scenes or made into slides. Audio and text-to-speech narration can be added from the Audio tab.

From 360 Media, add panoramic images or videos to immerse participants in an environment rather than displaying media on a flat screen. Mono and stereo formats are supported; 180° side-by-side video is also available.
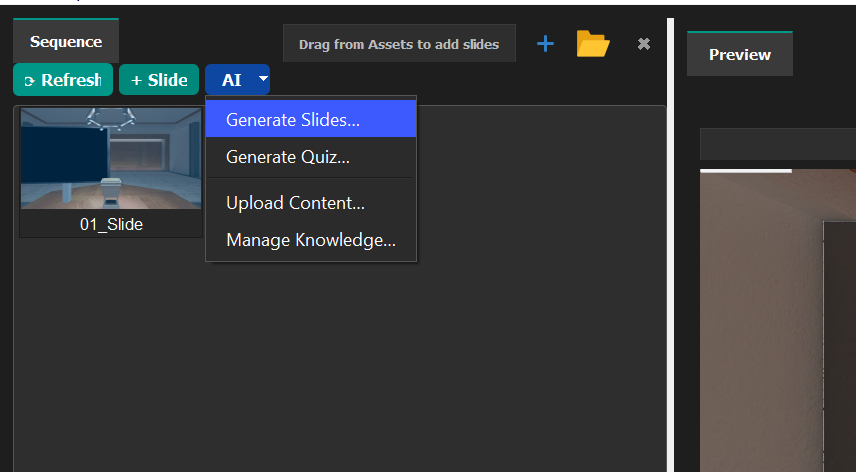
Build the lesson as a sequence: introduction, interactive 3D example, instructional video, and follow-up questions. Drag scenes to reorder them; right-click to rename, duplicate, or delete. The AI menu includes Generate Slides, Generate Quiz, and Upload Content, supporting further lesson development. Other options include AI instruction, screen casting, and AR passthrough.
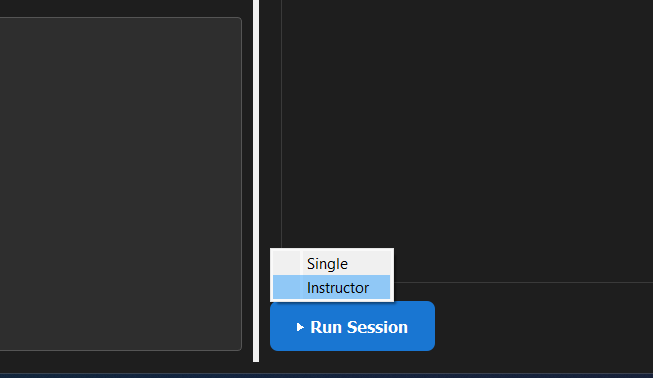
Click Run Session and select Single to preview the lesson individually or Instructor to launch an instructor-led multi-user lesson. Before using it in class, walk through every scene and verify that your media, objects, and interactions behave as intended.
Once you've created your first lesson, E-Learning Lab offers additional tools to make your experience more interactive, intelligent, and measurable.
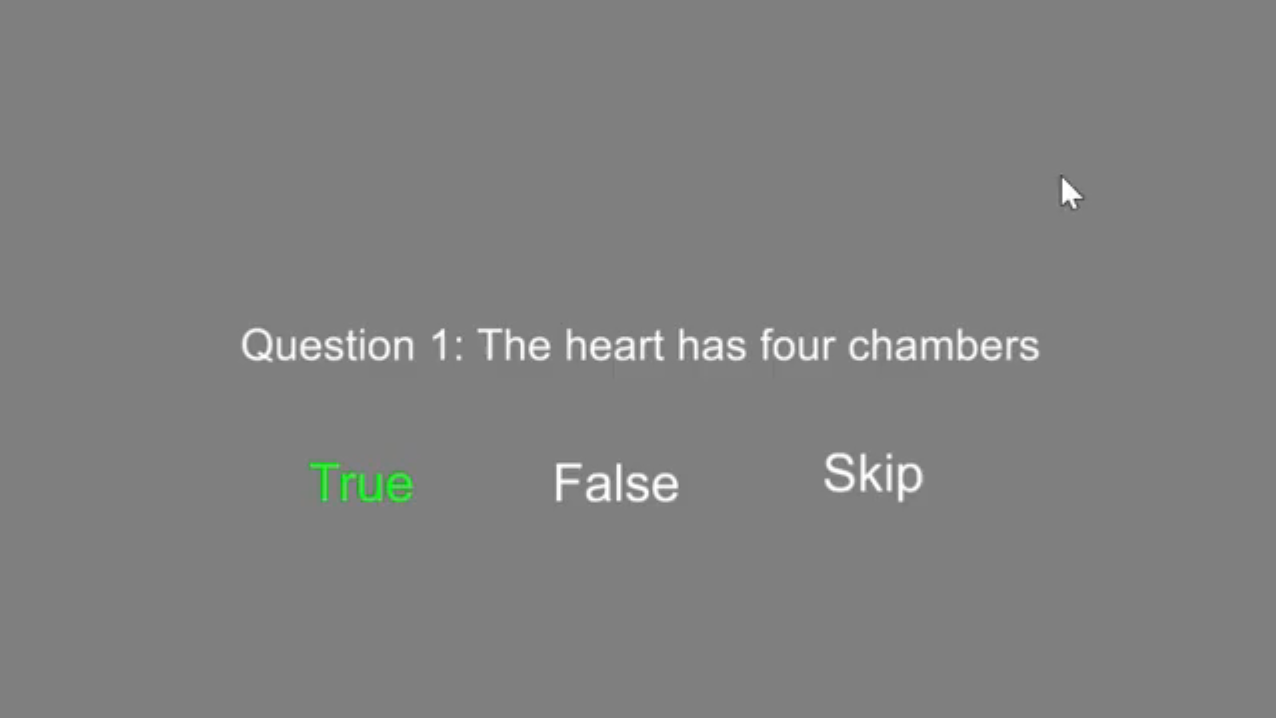
Add quizzes to assess student understanding directly in VR. Create questions with CSV files or generate them from lesson content using AI. Learner responses, correct answers, results, and attempts are saved in CSV files for later review—even if full session data saving is turned off. Learn more about Quizzes.
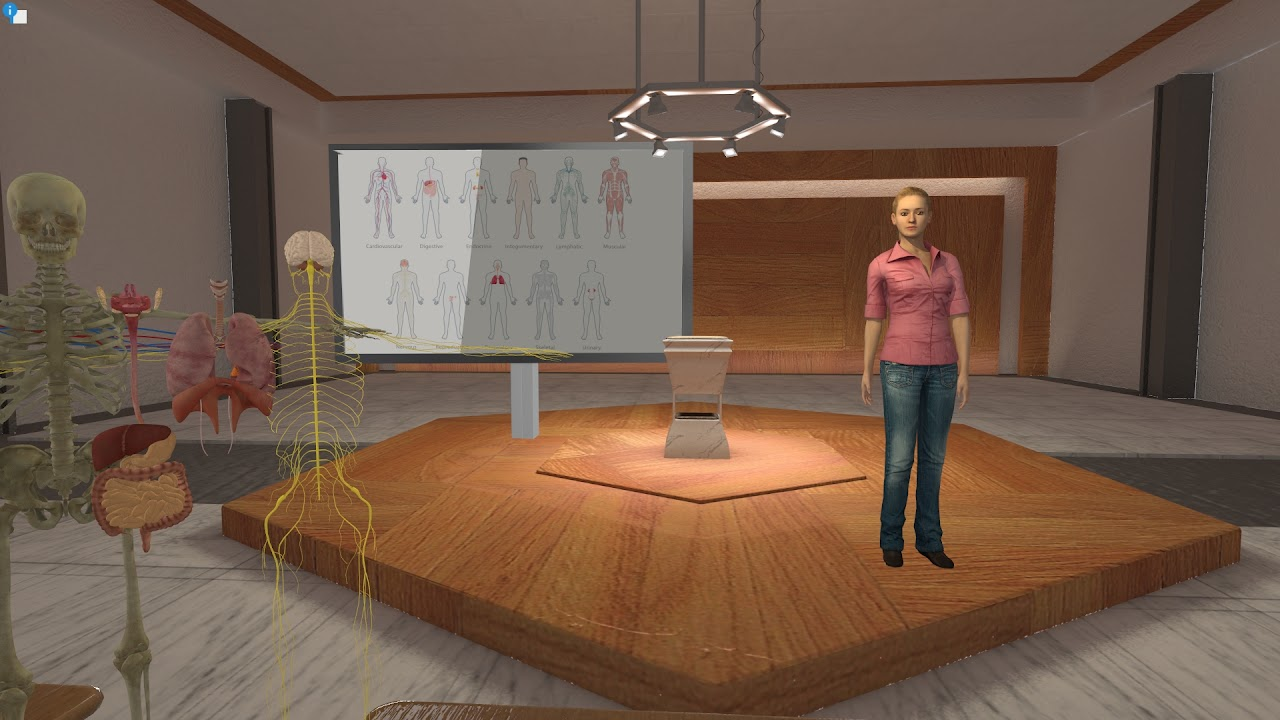
Enable an AI teaching assistant by checking AI Agent Assistance in the Options tab. Students can interact through speech recognition and spoken AI responses, or use text input. Choose online models such as ChatGPT, Claude, or Gemini, or local offline Ollama models. Support multilingual interactions and tailor the assistant with your own uploaded knowledge sources and prompts. Learn more about AI Agents.
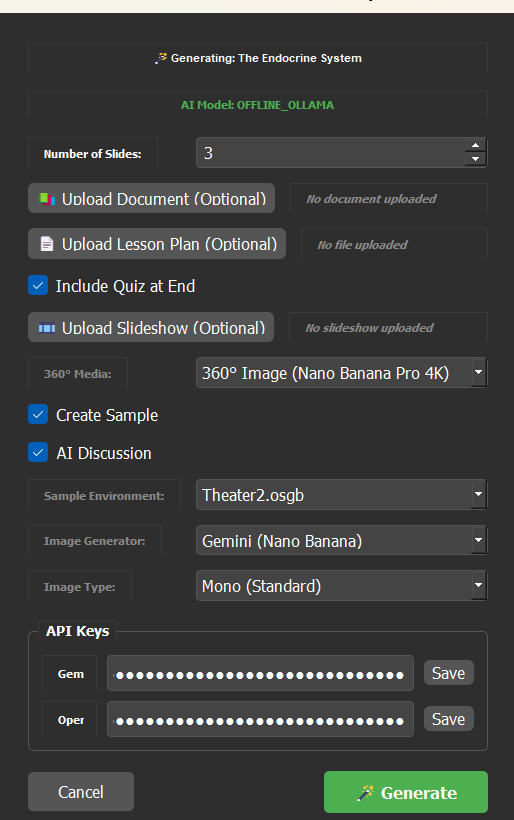
The Presentation/Lesson Generator can build lesson content from a topic, PowerPoint or PDF presentation, or uploaded materials. It can generate slides, images, audio narration, and quizzes that you can review and customize. Learn more about the Presentation/Lesson Generator.
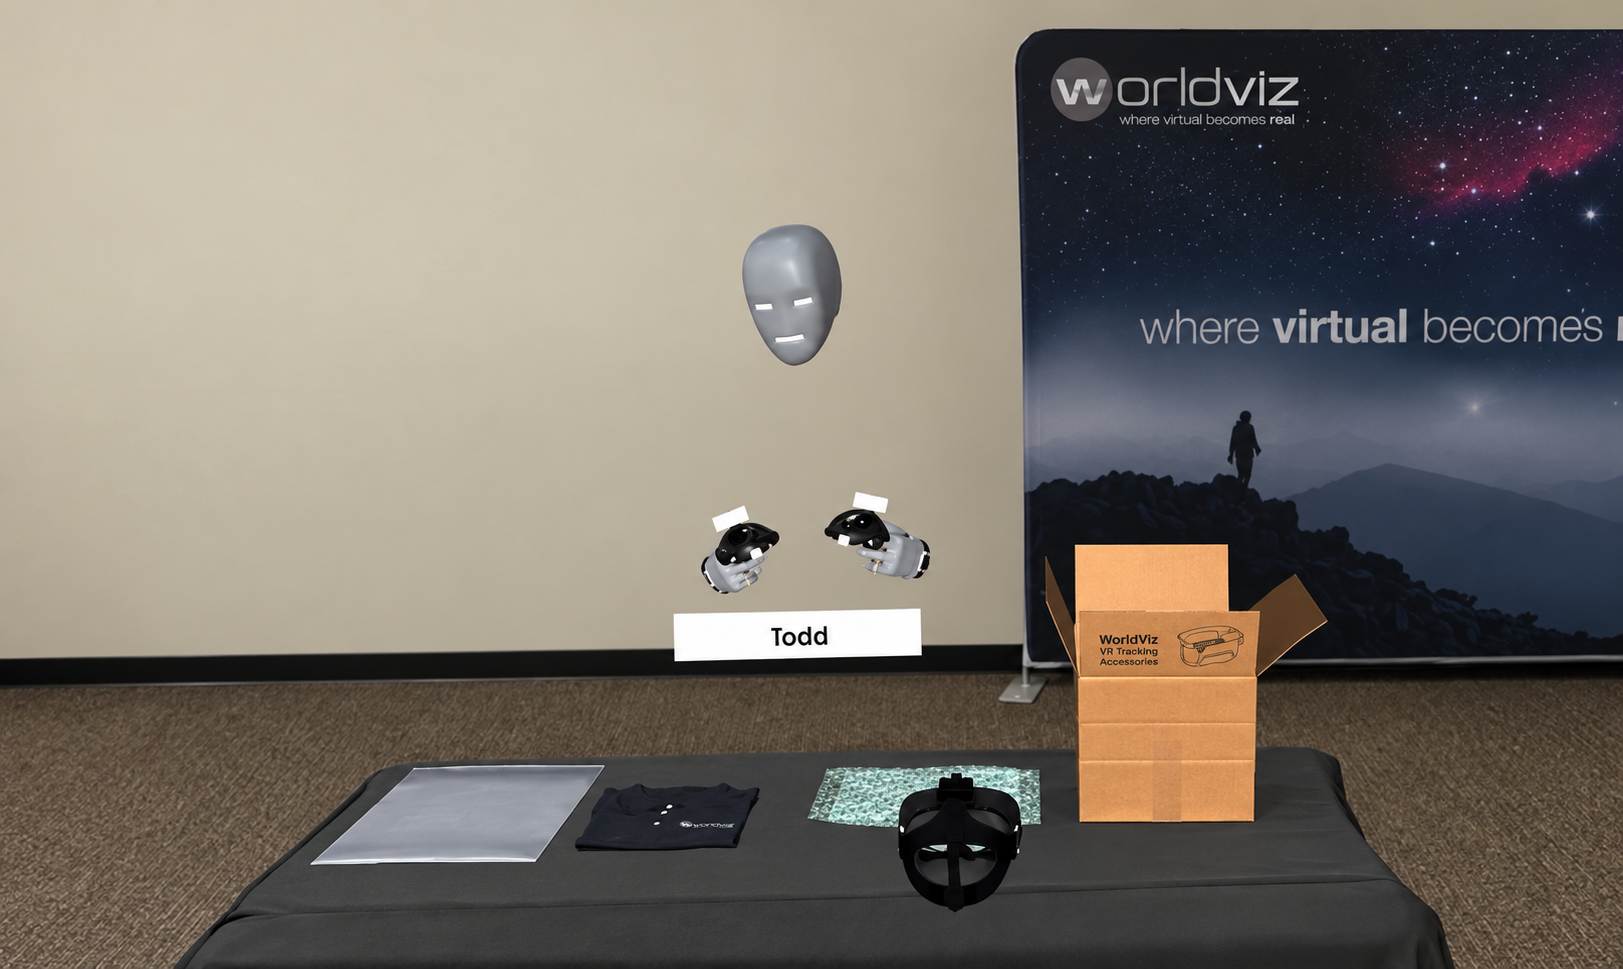
Record a presentation with your head and hand movements and optional microphone narration. Then attach the replay file to a slide so a virtual instructor can repeat the demonstration automatically, including pointing at and manipulating objects, without the presenter being present live. Learn more about Avatar Replay.
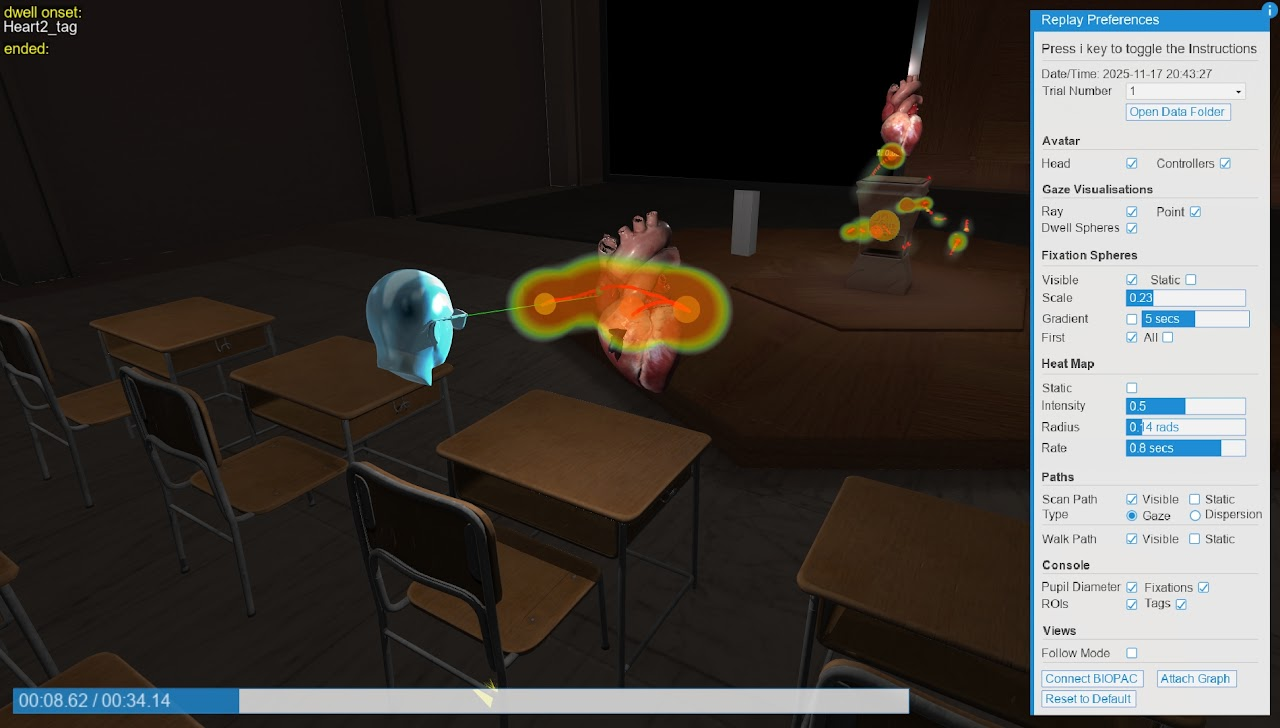
Enable Data Saving to capture user movements, interactions, eye-tracking data, and other session metrics. Saved sessions can be replayed, and E-Learning Lab supports synchronization with physiological recordings through BIOPAC AcqKnowledge. This helps researchers evaluate not only completion but how participants engaged with the lesson. Learn more about Data Logging and Replay.
Create a lecture hall scene with a grabbable anatomical model, display an instructional video on the virtual screen, and add a short quiz to assess understanding. Optionally enable AI Agent Assistance so students can ask follow-up questions. Launch in Single mode to test the complete sequence before sharing it with students.
The basic workflow: Create a project → Add a 3D scene → Customize objects → Add media → Organize slides → Run the lesson.
Once you’ve created a first lesson, explore multi-user instruction, AI-generated content, quizzes, screen casting, and augmented reality passthrough in the full documentation.
Building a New Lesson — Full Guide