
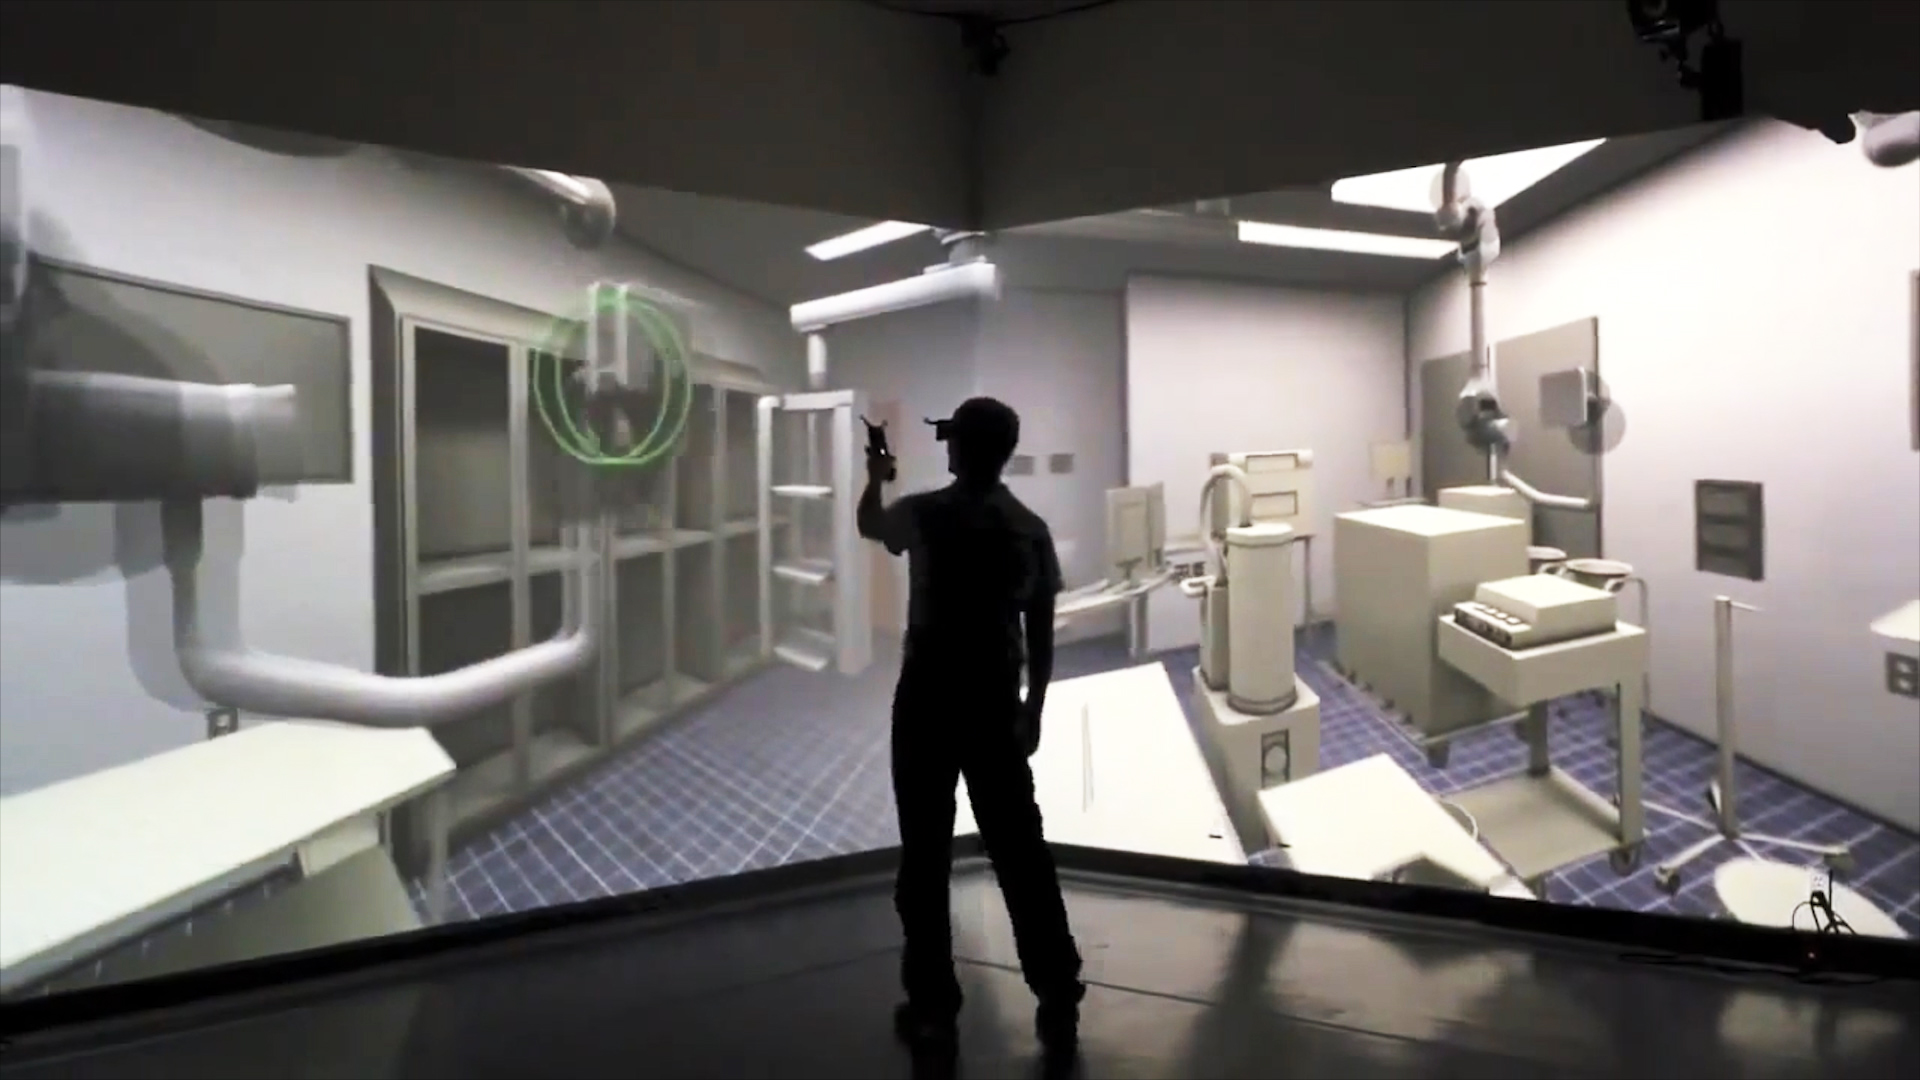
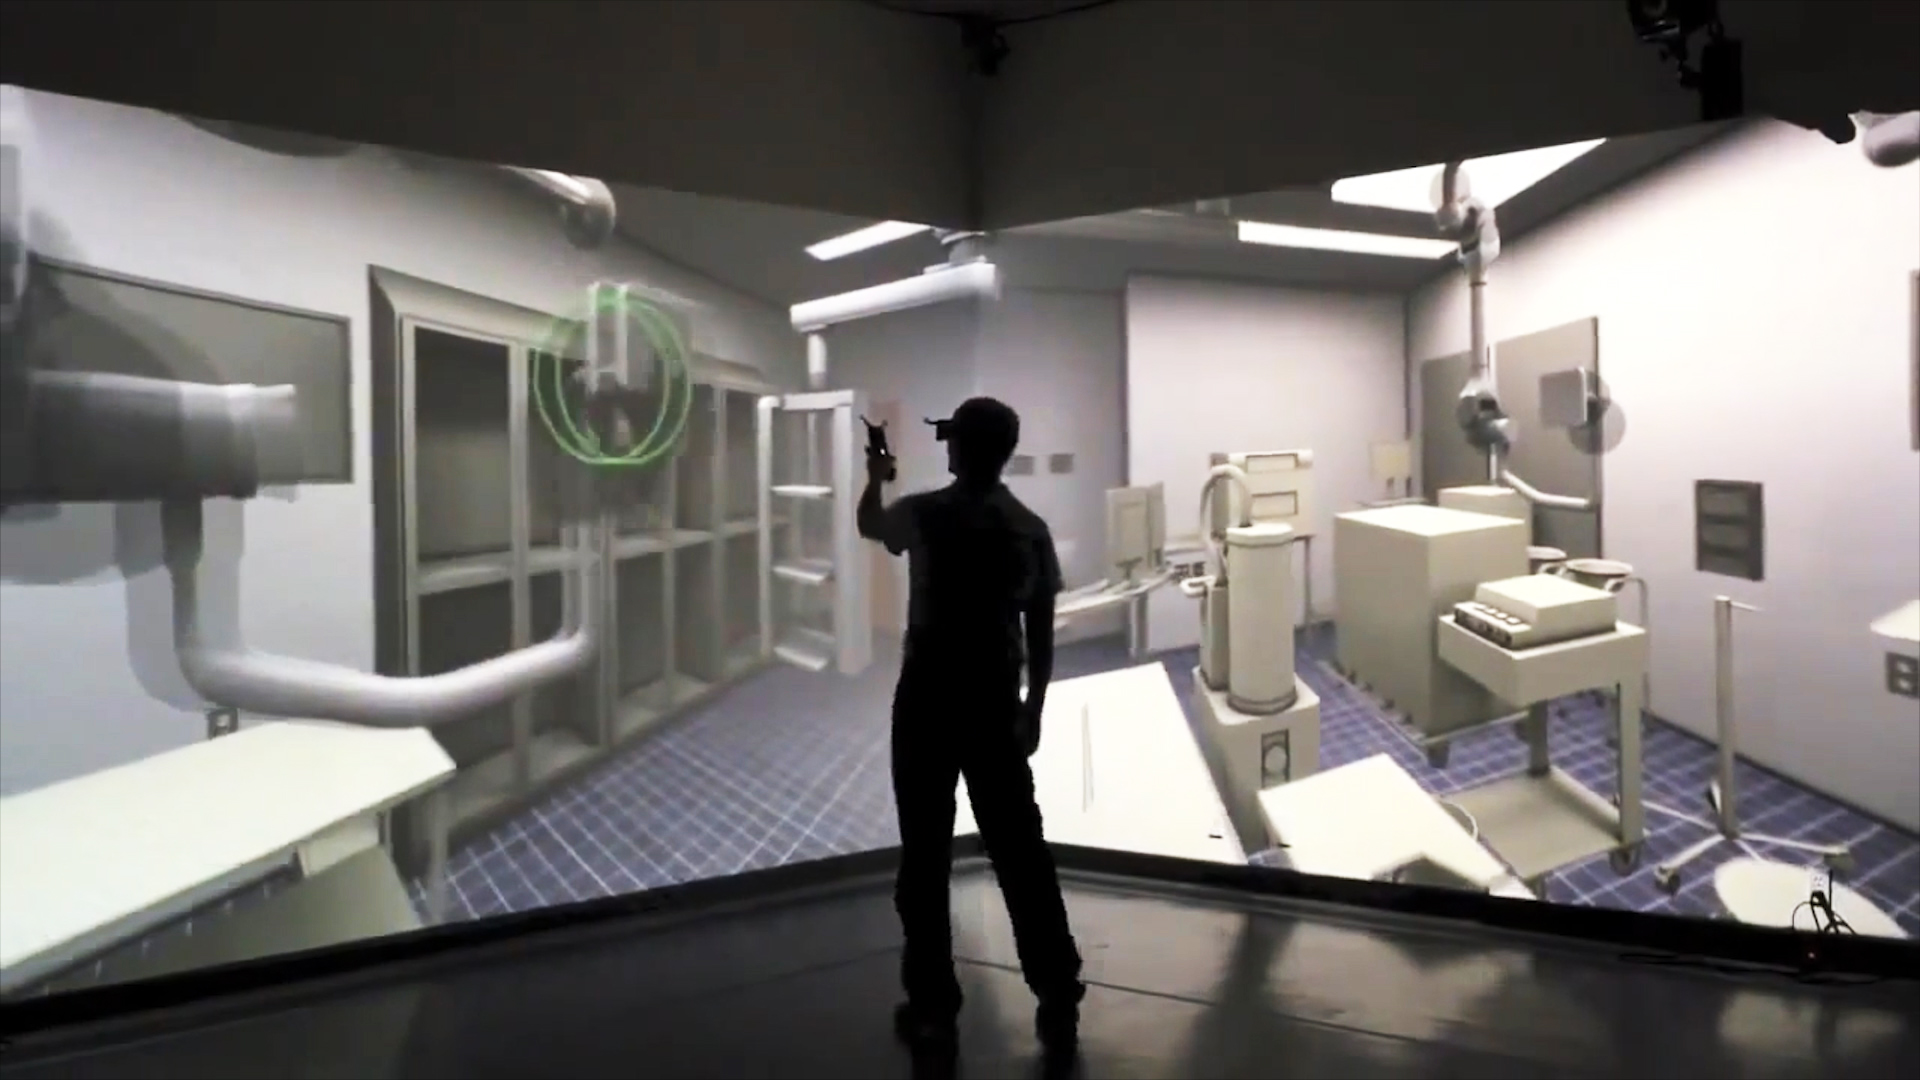
Learn how to display SightLab and E-Learning Lab VR sessions on PRISM immersive theaters, projection walls, and 6-sided CAVE systems using observer, first-person, and custom projection configurations.
SightLab and E-Learning Lab can be used with more than head-mounted displays. In this Tech Tip, we'll show how to display VR sessions on PRISM immersive theaters, projection walls, and 6-sided CAVE systems using observer views, first-person projection, and custom Vizconnect configurations.
SightLab and E-Learning Lab can be used with large-format immersive displays such as PRISM theaters, projection walls, and CAVE-style systems.
Depending on your setup, you can display either an independent observer view, the participant's first-person perspective, or a multi-wall projection configuration.
For classroom demonstrations, research monitoring, or multi-user presentations, an additional desktop client can act as an observer camera.
Start the SightLab Server or E-Learning Lab Instructor, then launch your participant clients normally.
On the computer connected to the PRISM or projection system, launch one additional client and select:
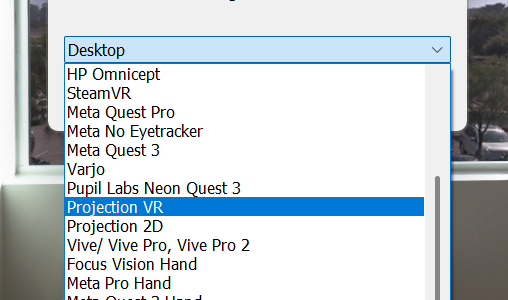
This client connects to the same session but can be moved independently of the participants.
Use the following keyboard controls:
For single-user projection setups, run a SightLab or E-Learning Lab client and select:
This displays the participant's first-person view directly on the projection system.
This is useful when the projection environment itself provides the immersive experience rather than simply showing an external view of an HMD participant.
For help in modifying your specific hardware file for 3D see below under “Custom Stereo or Multi-Wall Projection”
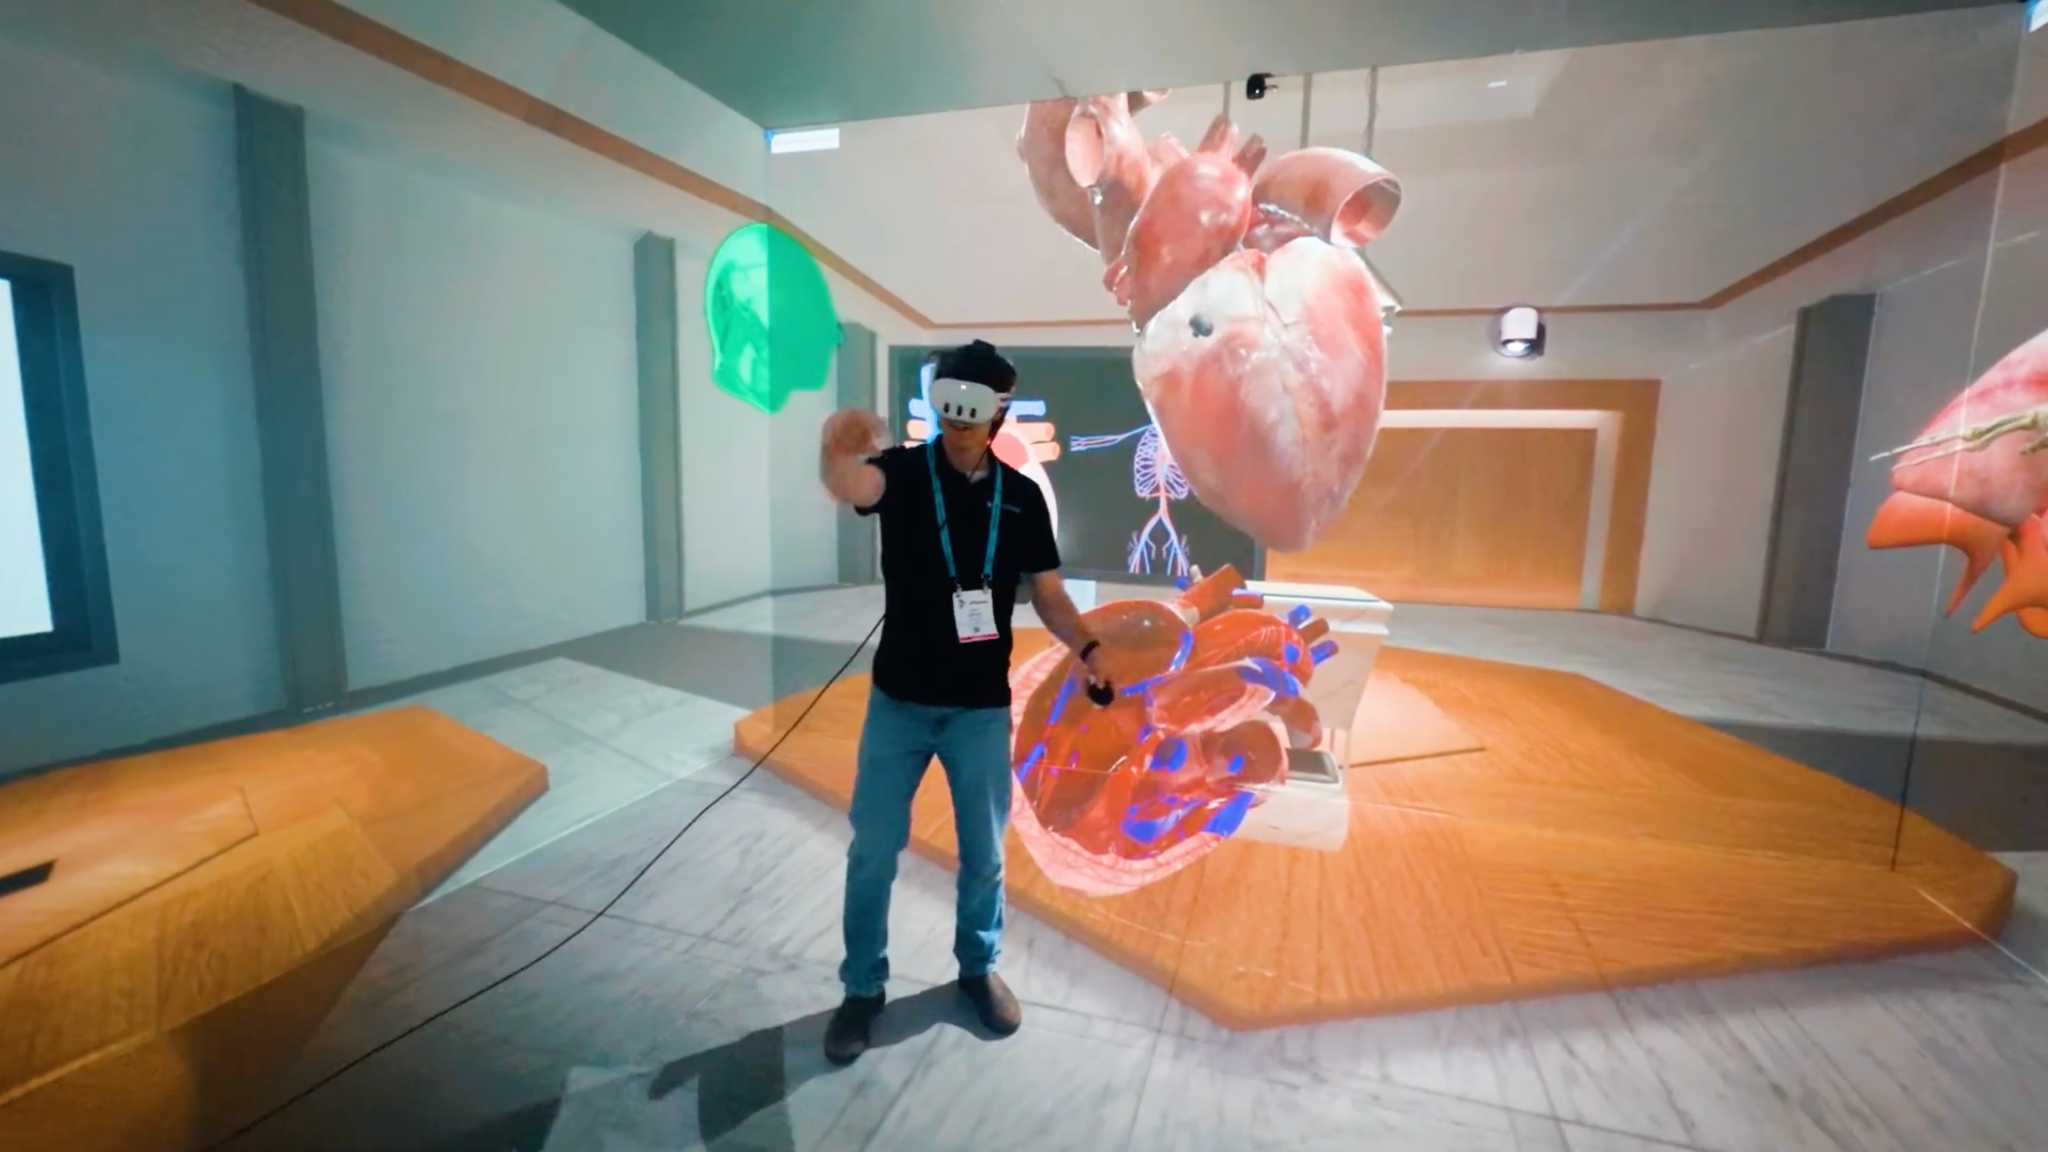
For six-sided projection CAVE systems, SightLab and E-Learning Lab include a dedicated hardware configuration.
Select:
Projection 6 Wall 2D
This provides a convenient starting point for running SightLab or the E-Learning Lab content across a six-wall immersive projection setup without needing to create the complete projection configuration from scratch.
For SIghtLab you will need to manually copy over this file
C:\Program Files\WorldViz\Vizard8\bin\lib\site-packages\sightlab_utils\vizconnect_confi\vizconnect_config_projectionCL_IC26.py
Place this in your project, then set to use a manual vizconnect file using this code:
sightlab = sl.SightLab(vizconnectconfig = {'Projection 6 Wall 2D': 'vizconnect_config_projectionCL_IC26.py '})
For advanced stereo projection, specialized screen geometries, or custom multi-projector installations, use a custom Vizconnect configuration. Note: this is the suggested method for when using 3D Projection, as it has a viewpoint that should match the user wearing a PPT tracker.
Enable local Vizconnect configurations in globalConfig:
LOCAL_VIZCONNECT = True
Then modify:
local_vizconnects/vizconnect_config_projection.py
Update the display definitions to match your projector arrangement and resolution.
Copy the included projection Vizconnect file into a project-level folder named:
local_vizconnects
Then initialize SightLab with the custom configuration:
sightlab = sl.SightLab(
vizconnectconfig={
'Projection': 'vizconnect_config_projection.py'
}
)
You can then customize the displays in the Vizconnect file to match the physical projection system.
For help in modifying your specific hardware file for 3D either contact support@worldviz.com or see this guide:
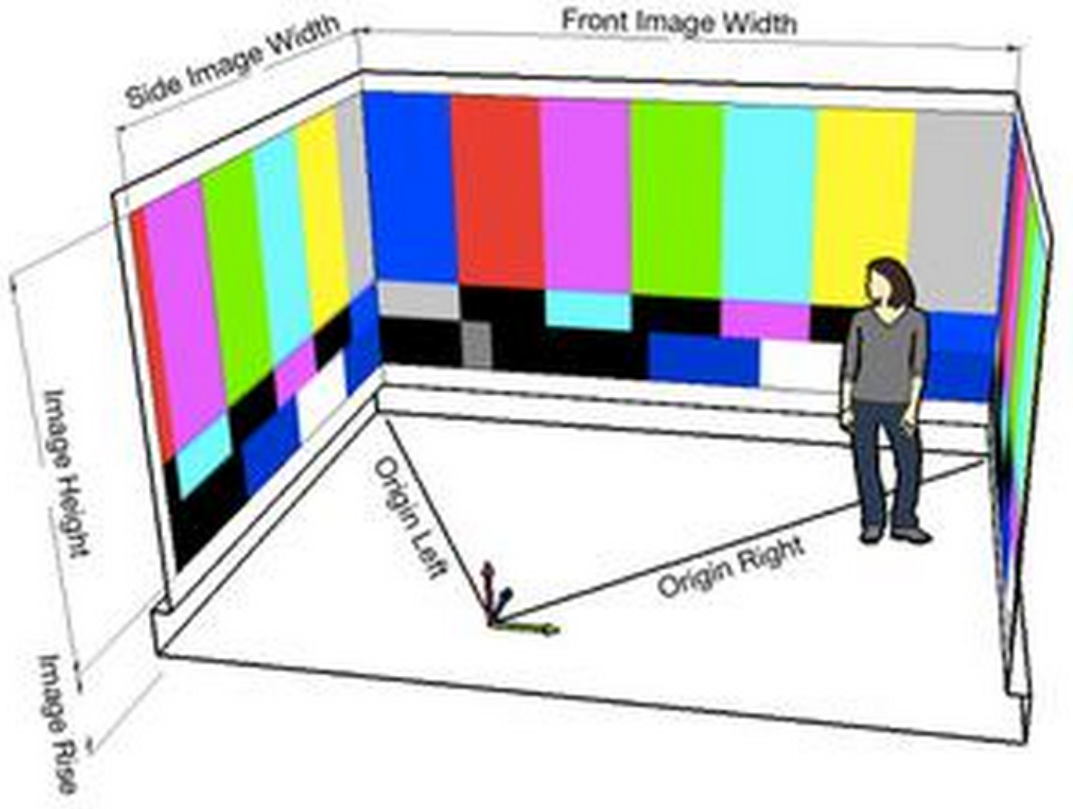
Use an Observer/Desktop client when researchers, instructors, or audiences need a movable third-person view.
Use Projection or Projection 2D when the projection system should display the participant's first-person view.
Use Projection 6 Wall 2D in E-Learning Lab for six-sided CAVE installations.
Use a custom Vizconnect configuration for stereo projection, specialized screen geometry, or custom multi-projector systems.
Before a live presentation or research session:
SightLab and E-Learning Lab make it possible to extend VR experiences beyond head-mounted displays into large-scale immersive visualization environments.
Learn more in the SightLab documentation:
https://help.worldviz.com/sightlab/
For educational and instructor-led applications, see the E-Learning Lab documentation:
https://help.worldviz.com/sightlab/e-learning-lab/
Want to display a live VR session on a PRISM immersive theater, projection wall, or CAVE-style projection system? SightLab and E-Learning Lab provide several ways to do this, depending on whether you want an observer view, a participant’s first-person view, or a multi-wall projection configuration.
In this Tech Tip, we'll cover how to set up:
These approaches are useful for research labs, classrooms, immersive presentations, demonstrations, and large-scale visualization environments.
There are two primary ways to display a running VR experience on a PRISM or projection system.
The observer view provides a free-moving camera that can watch one or more participants from outside their first-person perspective.
This is especially useful for:
A first-person view displays what the participant sees.
This is a good choice when the projection system itself is intended to provide the immersive display, or when an audience should see the experience from the participant's perspective.
Both approaches can be run from a standard desktop computer connected to a PRISM or other projection system.
For multi-user SightLab or E-Learning Lab sessions, an additional client can be used as a dedicated projection or observer display.
Launch either:
This system coordinates the session and connected clients.
Run the appropriate number of client applications for your VR participants.
Each participant connects to the same server.
On the computer connected to the PRISM or projection display, run one additional client.
This client connects to the same server as the participants but is used primarily as an observer/display system.
Useful options include:
Empty
Use this when you don't want an additional visible avatar or interaction object associated with the observer.
Security Camera
Use this when you want the observer represented by a visible camera object in the virtual environment.
Choose:
Desktop
as the hardware option for the projection/observer client.
Once the environment starts, the observer camera can be moved around the virtual scene using the keyboard.
PRISM Tip: Fullscreen may apply to only one monitor. On multi-display PRISM systems, you can instead manually stretch the application window across the displays to cover the complete projection surface.
If the server itself is running on the PRISM or projection computer, a separate set of navigation controls may be available:
This can be useful when the projection computer is also acting as the instructor or server machine.
For a single-user setup, you don't necessarily need to use a server/client architecture.
Run a SightLab or E-Learning Lab client and select a projection hardware configuration.
Depending on the application and setup, choose:
The output can then be sent directly to the PRISM or projection display.
This provides a first-person view of the experience rather than the external observer camera used in the previous example.
E-Learning Lab also includes a convenient option for six-sided projection CAVE environments.
When configuring the hardware/display type in E-Learning Lab, select:
Projection 6 Wall 2D
This configuration is designed for projection installations using six display surfaces and provides a convenient starting point for running E-Learning Lab presentations inside CAVE-style immersive environments.
This means that many projection setups can be selected directly from E-Learning Lab without first building a custom projection configuration.
For more information about E-Learning Lab, see the E-Learning Lab documentation.
For more specialized installations—such as stereo projection systems, unusual projector layouts, or custom multi-display configurations—you can create or modify a Vizconnect configuration.
Vizconnect controls how Vizard maps the virtual camera to the physical display system, including the number, position, orientation, and resolution of displays.
For E-Learning Lab, open the globalConfig file and enable the local Vizconnect configuration:
LOCAL_VIZCONNECT = True
Then navigate to:
local_vizconnects/vizconnect_config_projection.py
Modify the displays section of the Vizconnect configuration so that it matches the physical arrangement and resolution of your projection system.
This provides more control than the standard projection presets.
SightLab also includes a projection Vizconnect configuration that can be used as a starting point.
Navigate to:
C:\Program Files\WorldViz\Vizard8\bin\lib\site-packages\sightlab_utils\vizconnect_configs\vizconnect_config_projection.py
Rather than modifying the installed version directly, copy the configuration file into a new folder in your project called:
local_vizconnects
You can then initialize SightLab with your local projection configuration:
sightlab = sl.SightLab(
vizconnectconfig={
'Projection': 'vizconnect_config_projection.py'
}
)
Modify the displays section inside vizconnect_config_projection.py to match your projector arrangement, display resolution, and projection hardware.
Keeping the configuration local to the project also makes it easier to preserve customized settings when SightLab or Vizard is updated.
A good starting point is:
For research observation or classroom demonstrations:
Use an additional Desktop client in Observer Mode.
For showing exactly what a participant sees:
Use Projection or Projection 2D.
For a six-sided CAVE using E-Learning Lab:
Select Projection 6 Wall 2D.
For stereo, custom multi-wall, or specialized projection installations:
Create a custom Vizconnect projection configuration.
Before running a live session:
SightLab can be used for both headset-based VR and projection-based immersive research, including single-user and multi-user applications, eye tracking, interaction tracking, session replay, physiological sensor integration, and more.
For additional examples and configuration information, visit the SightLab documentation.
For educational and instructor-led immersive experiences, see the E-Learning Lab documentation.