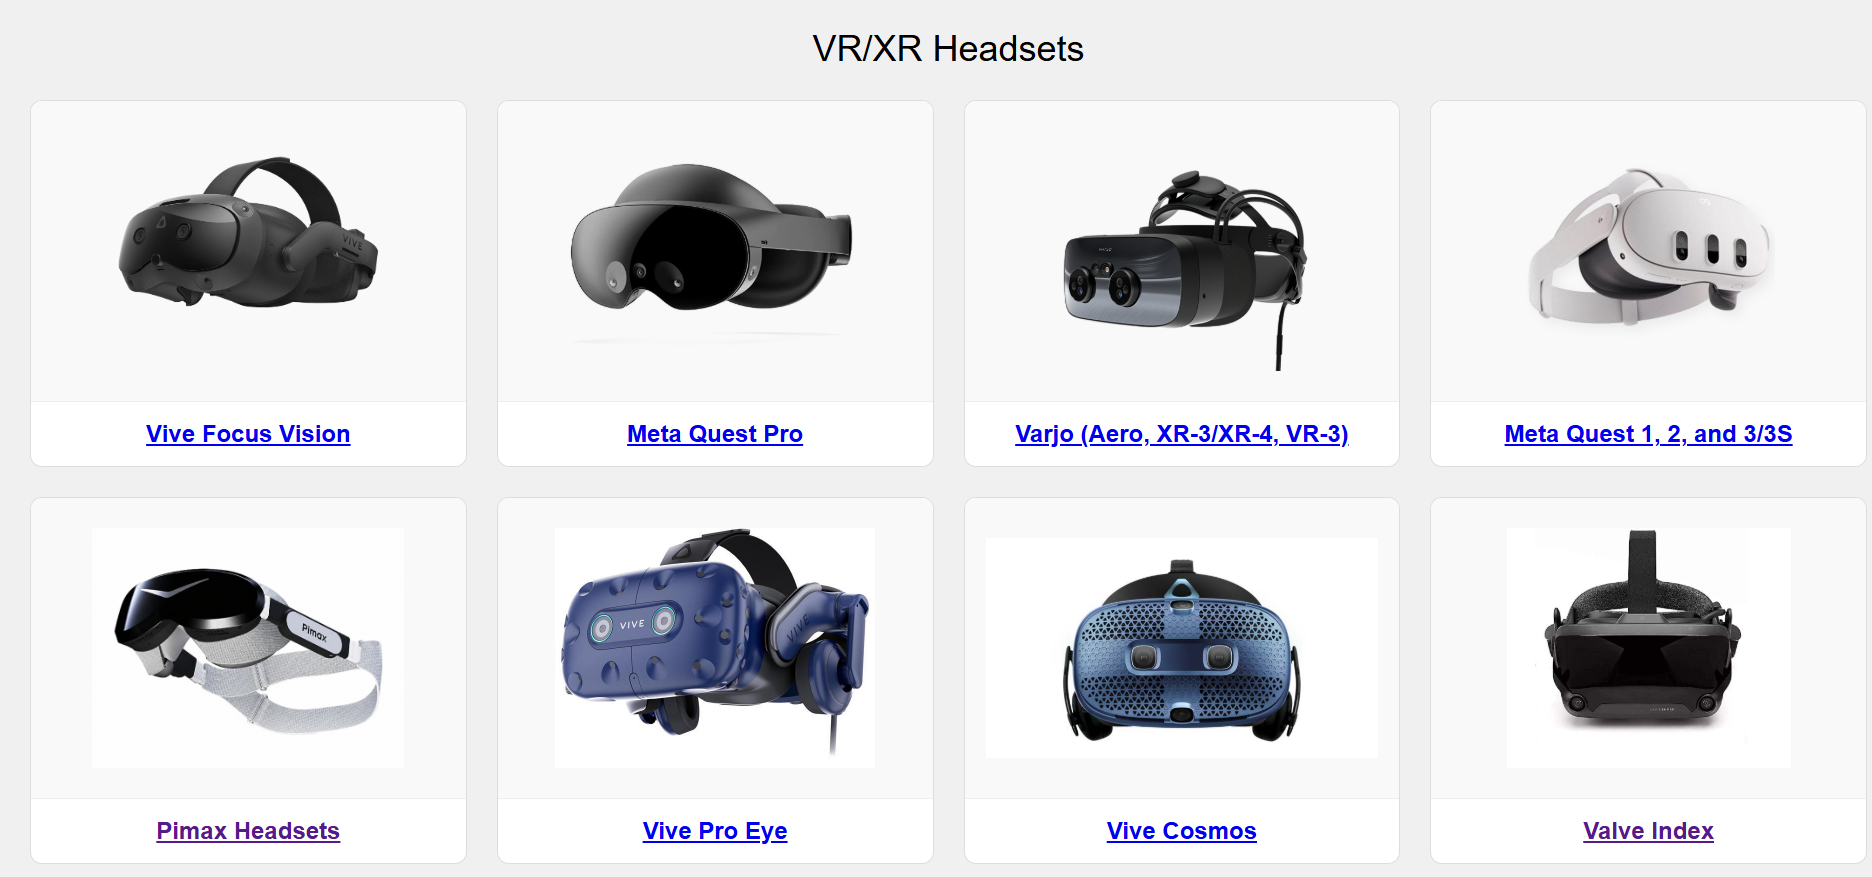
SightLab’s new External Data Recorder makes it possible to collect and analyze data while participants use applications that are running outside of SightLab.
This opens up a wide range of research possibilities: SteamVR experiences, Unity and Unreal applications, Meta apps, standalone headset applications, web-based VR, desktop applications, and even first-person games can all become part of a SightLab study.
The External Data Recorder captures the application window along with supported eye tracking and physiological data, then synchronizes everything for analysis and replay. New post-processing tools can also use AI object detection to determine what participants looked at and calculate metrics such as dwell time, fixations, and dwell counts for detected objects.
For the complete setup, configuration options, and hardware-specific instructions, see the External Data Recorder documentation.
At a high level, using the External Data Recorder involves just a few steps:
First, launch the VR or desktop application that participants will use.
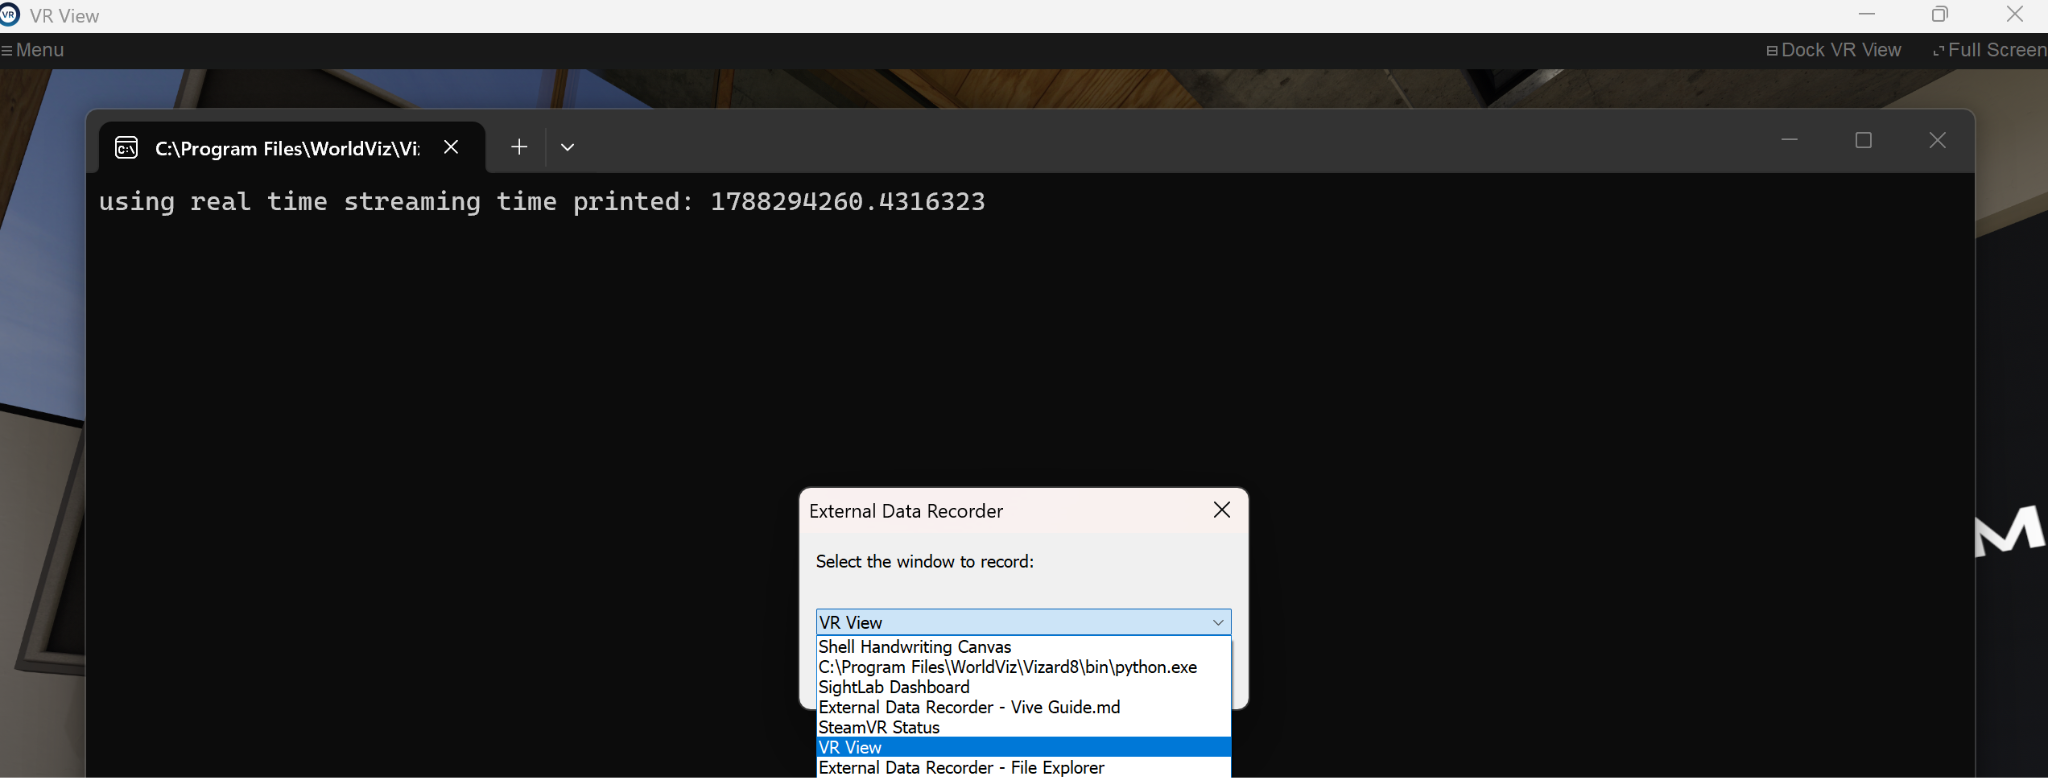
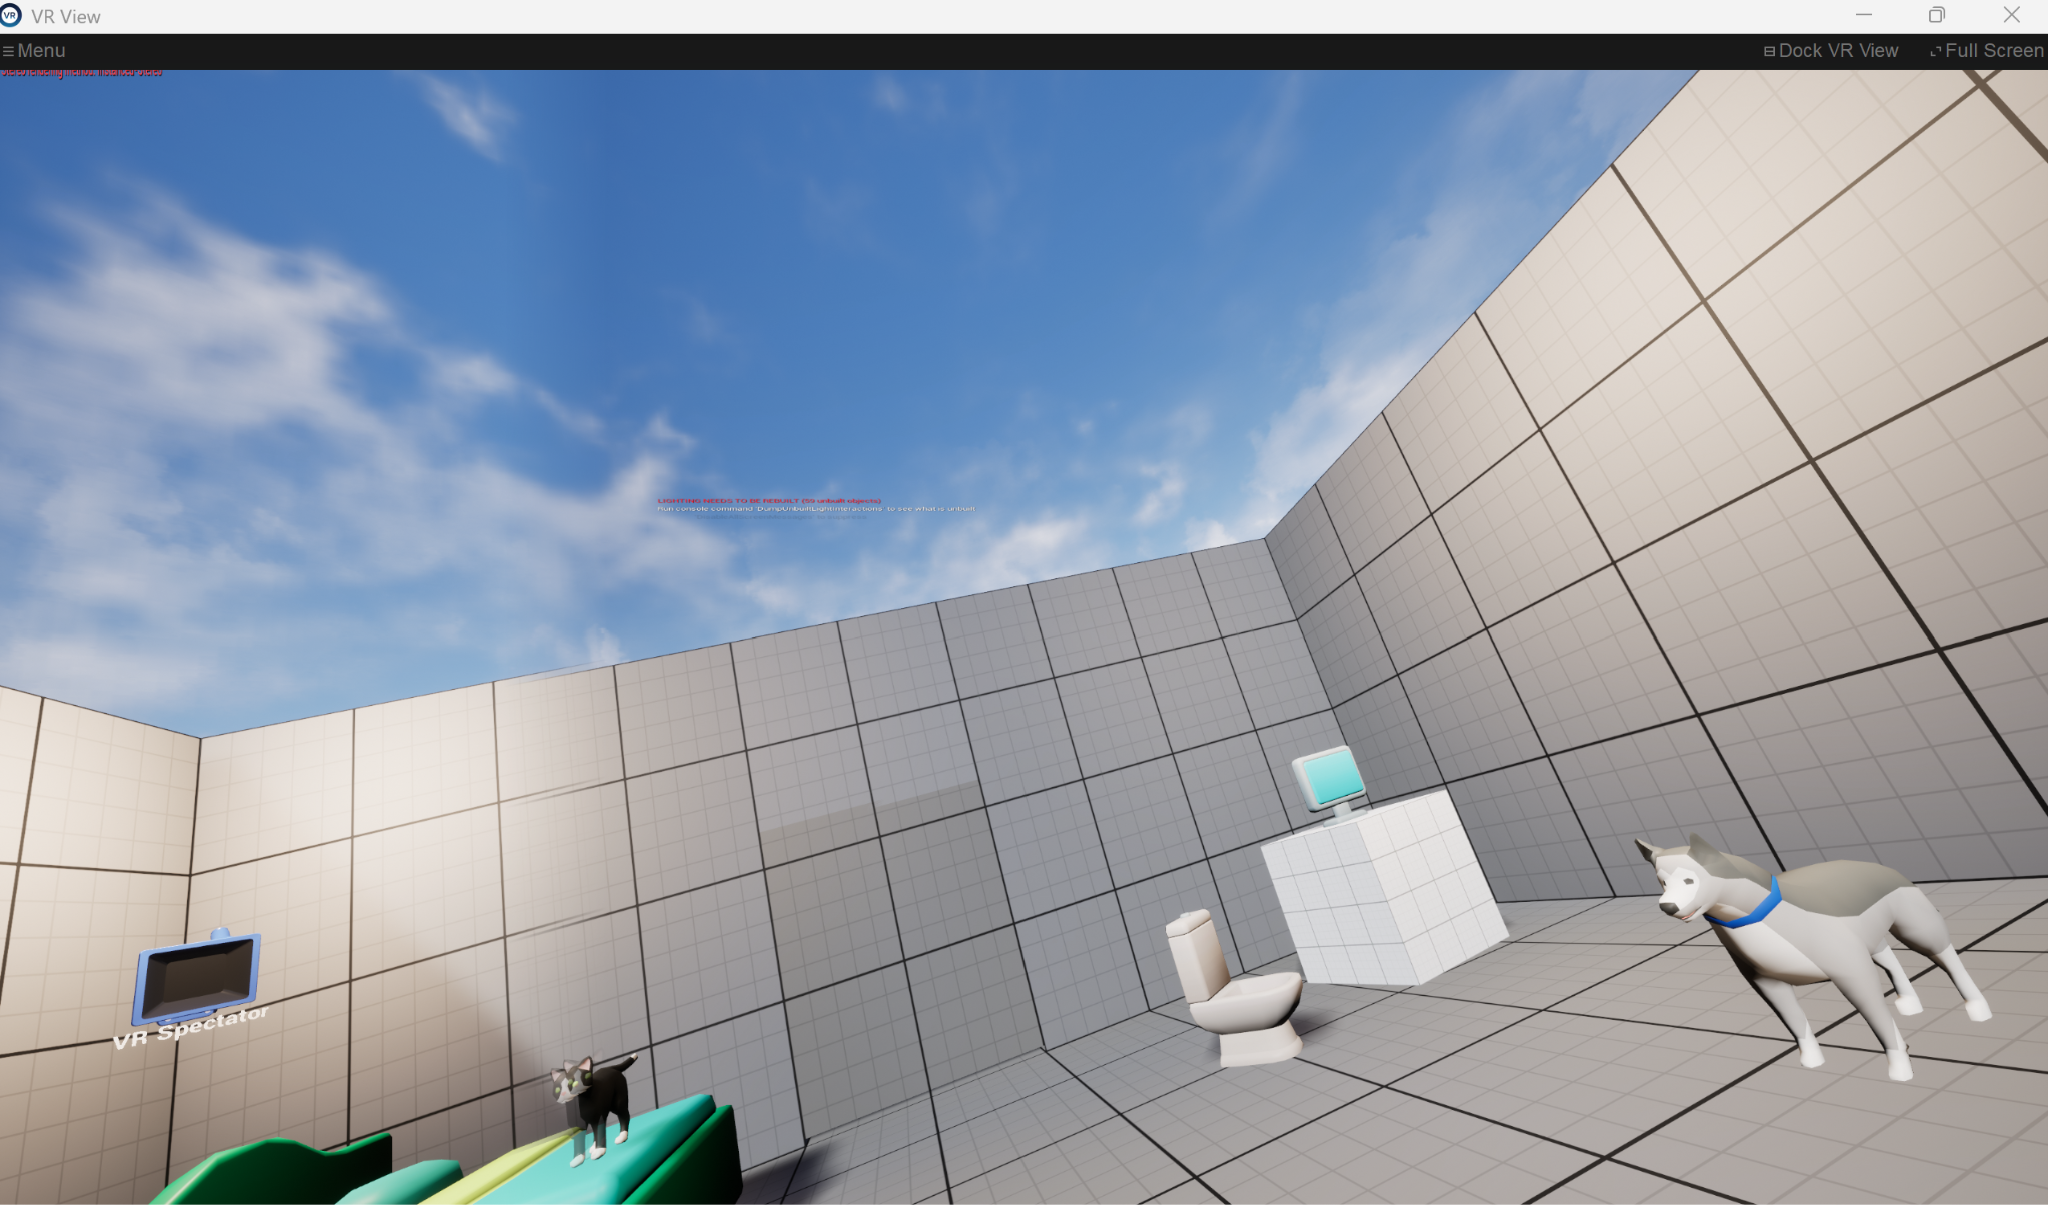
For VR applications, you will typically also open the headset’s mirror view on the desktop. The exact method depends on the headset—for example, SteamVR VR View, Meta/Oculus Mirror, or the Pimax Mirror window.
For standalone Meta applications, the headset display can instead be cast to the desktop for recording.
Tip: Do not minimize the application or HMD mirror window during calibration or recording. It can be covered by another window, but it must remain open.
Also, at this point if you are measuring synchronized physiological data from something like Biopac’s Acqknowledge software, make sure that is set up and configured.
The easiest way to launch it is from the SightLab Dashboard:
Tools/Features → External Data Recorder
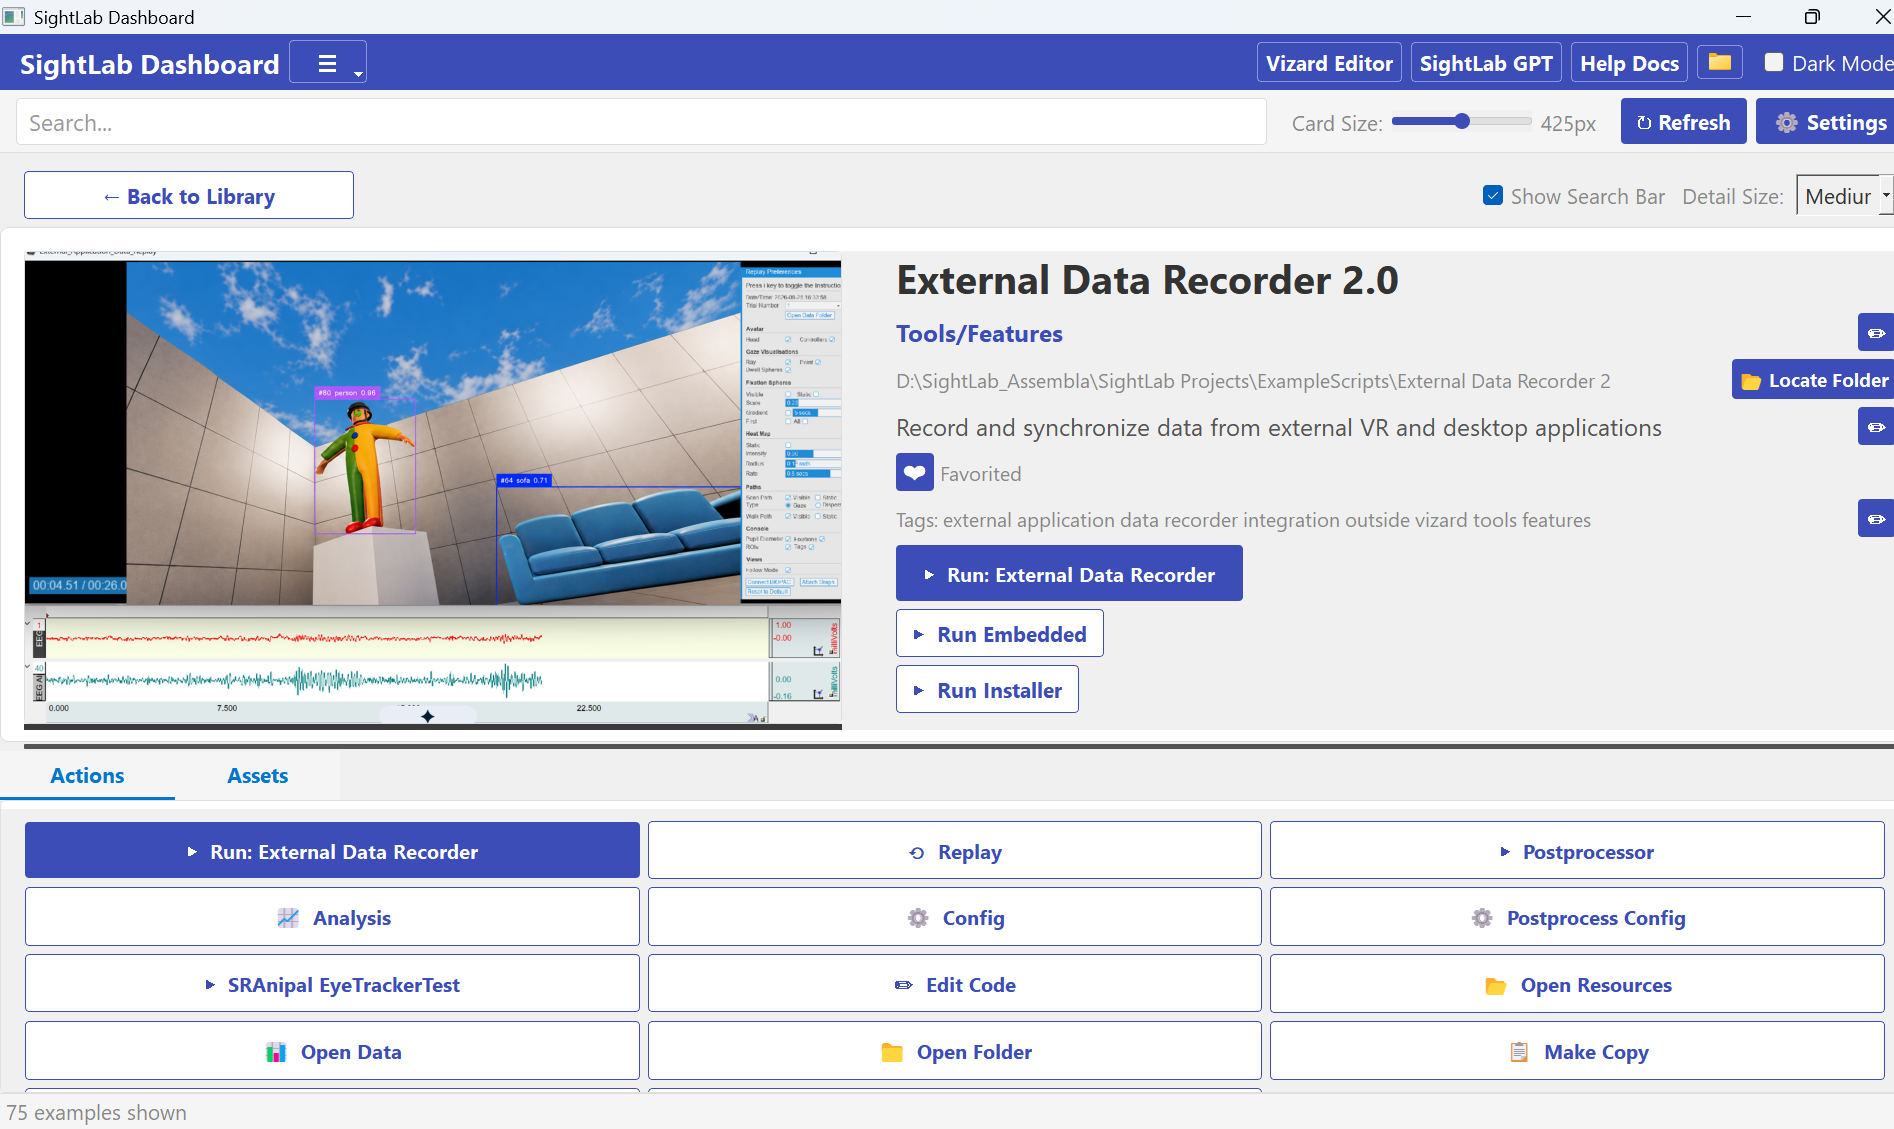
You can also open the External Data Recorder from Vizard or launch the script directly from the SightLab ExampleScripts folder.
When the recorder starts, choose the application or HMD mirror window that you want SightLab to capture.
Next, select the configuration that matches your setup.
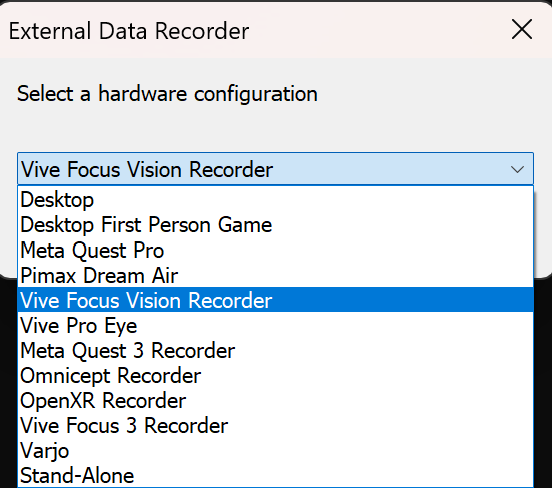
The new workflow includes configurations for VR headsets as well as non-VR desktop applications. For example:
Check the main documentation for the latest list of supported configurations and the setup guide for your hardware.
For configurations with supported eye tracking, SightLab can run an eye calibration before the recording begins.
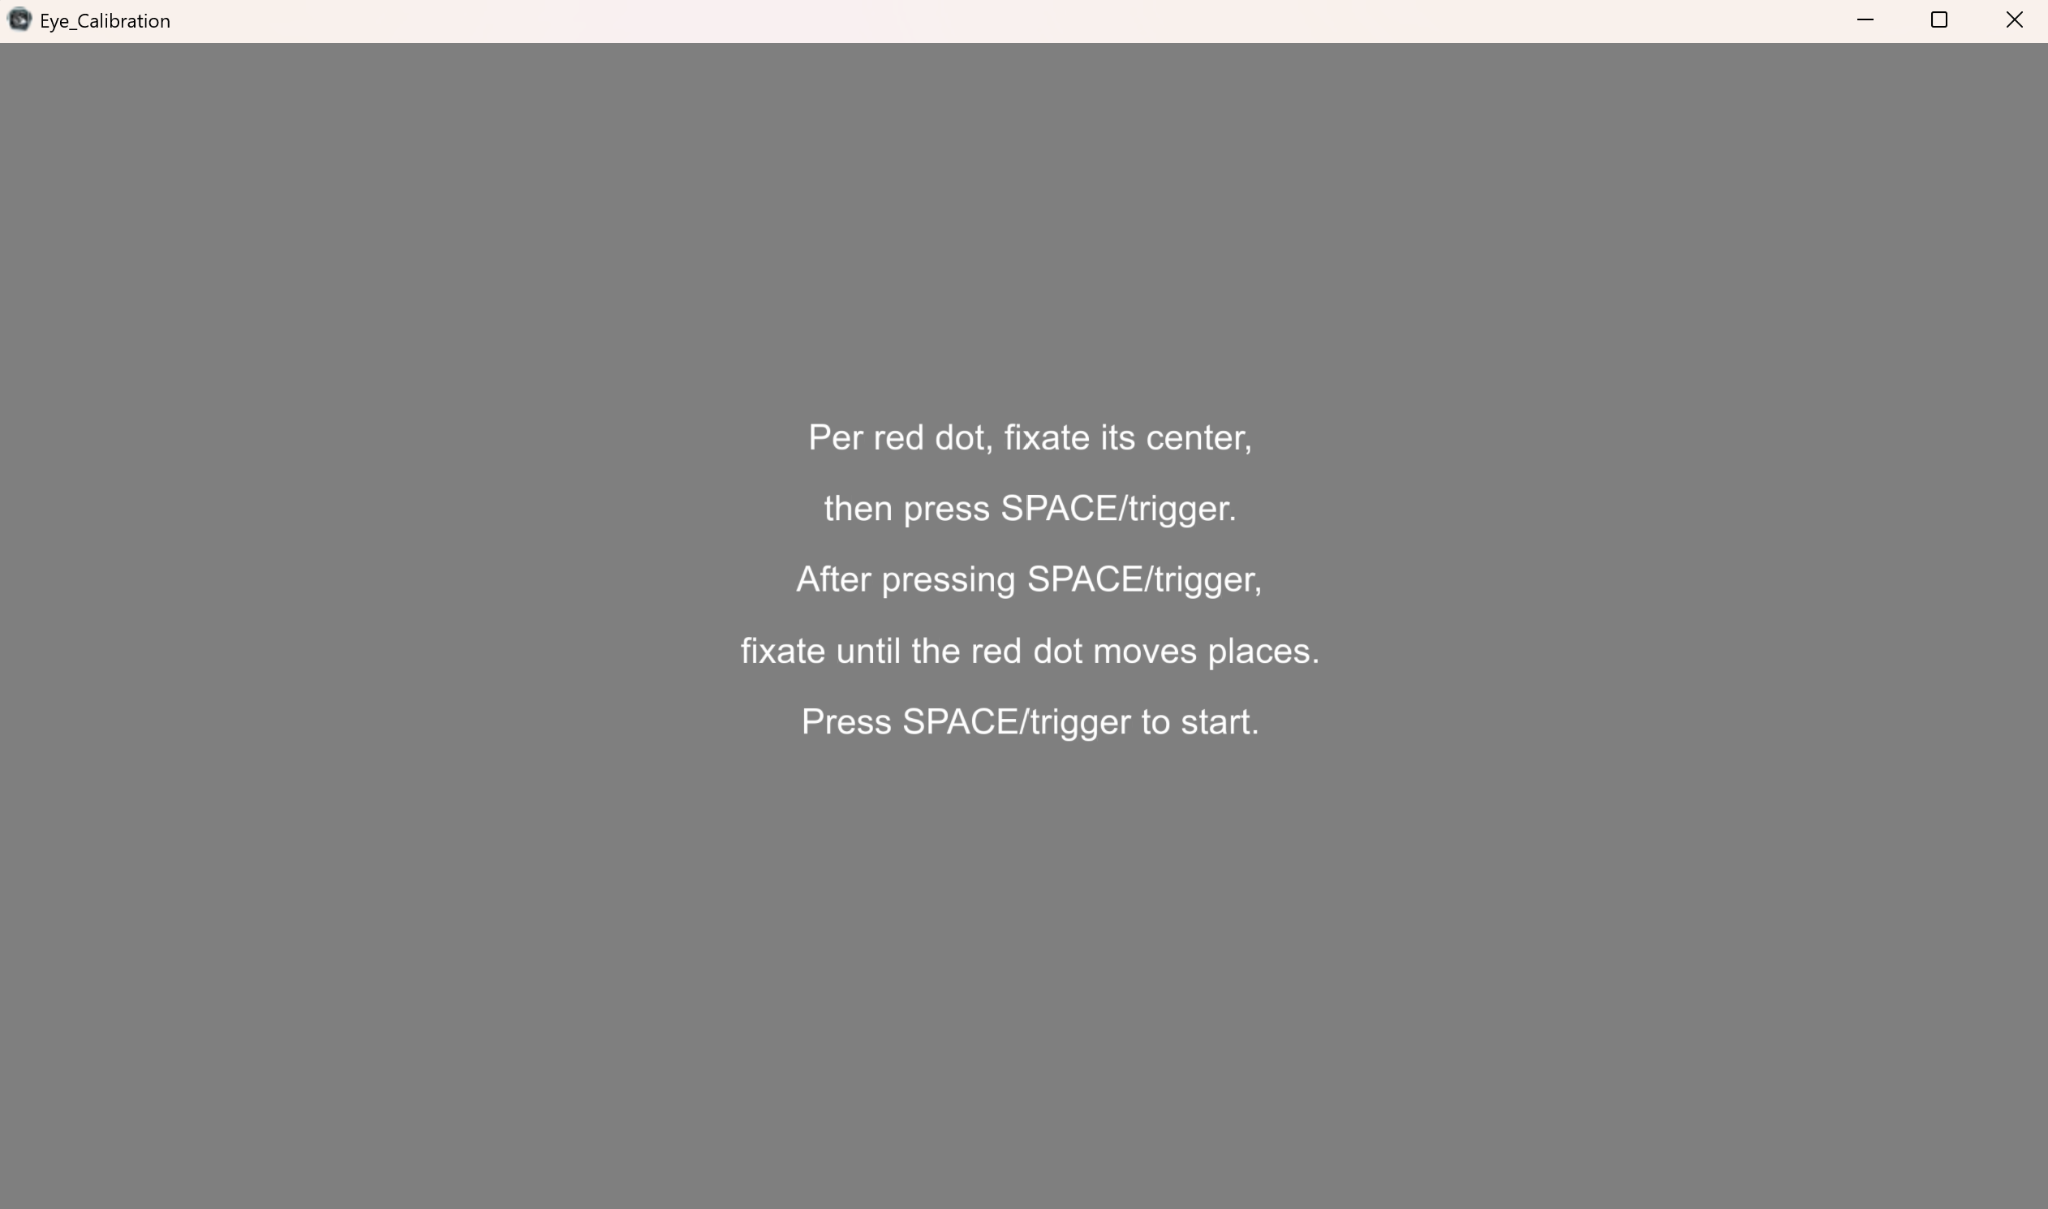
Participants fixate a series of calibration points followed by validation points. The resulting calibration information is saved so it can be reused and applied to the recorded session.
Configurations that use the mouse or center of the screen as the gaze point do not use this calibration stage, since the mouse / screen position is consistently known.
After setup and participant information are complete, start the recording.
SightLab synchronizes the recorded application video with the available data streams. Depending on the selected hardware, this can include eye tracking and additional physiological or device data.
This means the participant can simply continue using the external application normally while SightLab handles the research data collection.
One of the biggest additions to the new External Data Recorder workflow happens after the participant finishes the session.
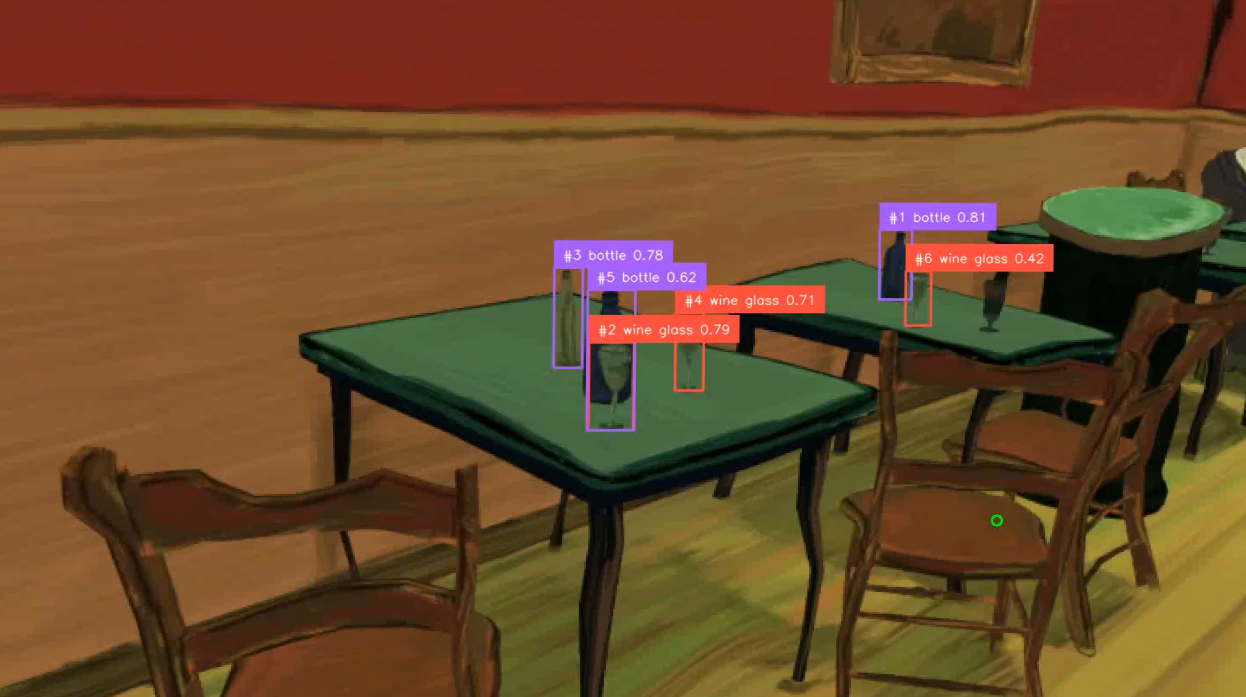
SightLab can post-process the video using AI object detection and determine which detected objects intersect with the participant’s gaze.
Two approaches are available:
Standard object detection identifies common object classes, while open-vocabulary detection allows researchers to specify the types of objects they want the system to look for.
Post-processing can then generate CSV data containing gaze metrics such as:
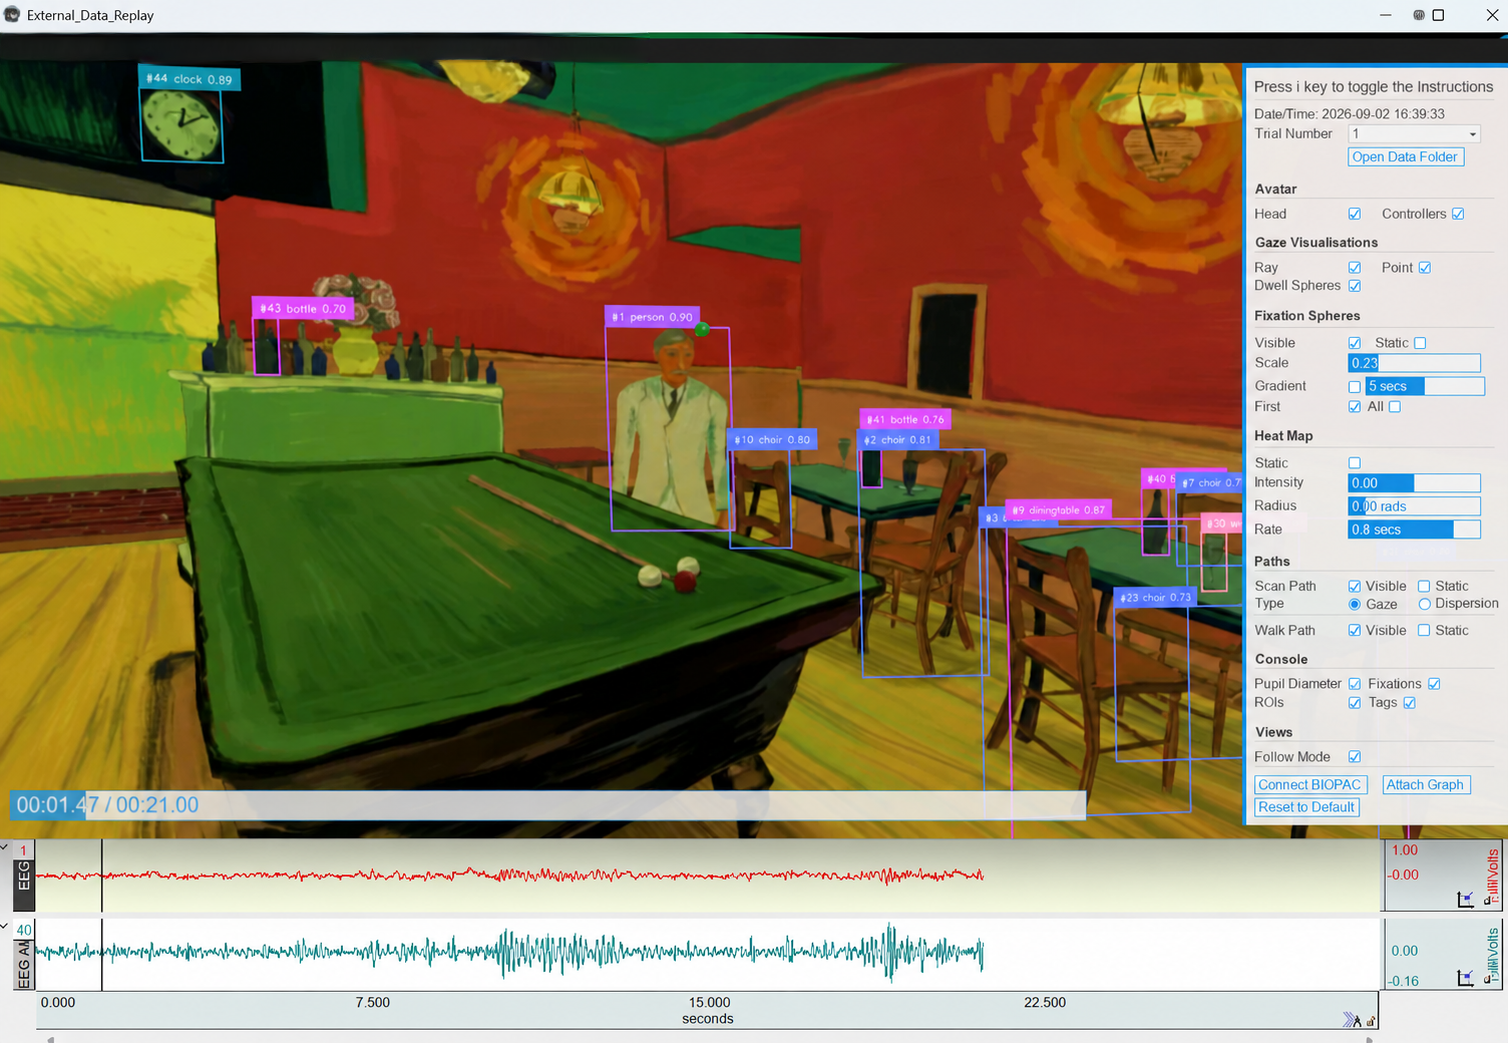
It also generates a version of the session video with the gaze point and detected objects overlaid, making it easy to visually inspect what happened during the experiment.
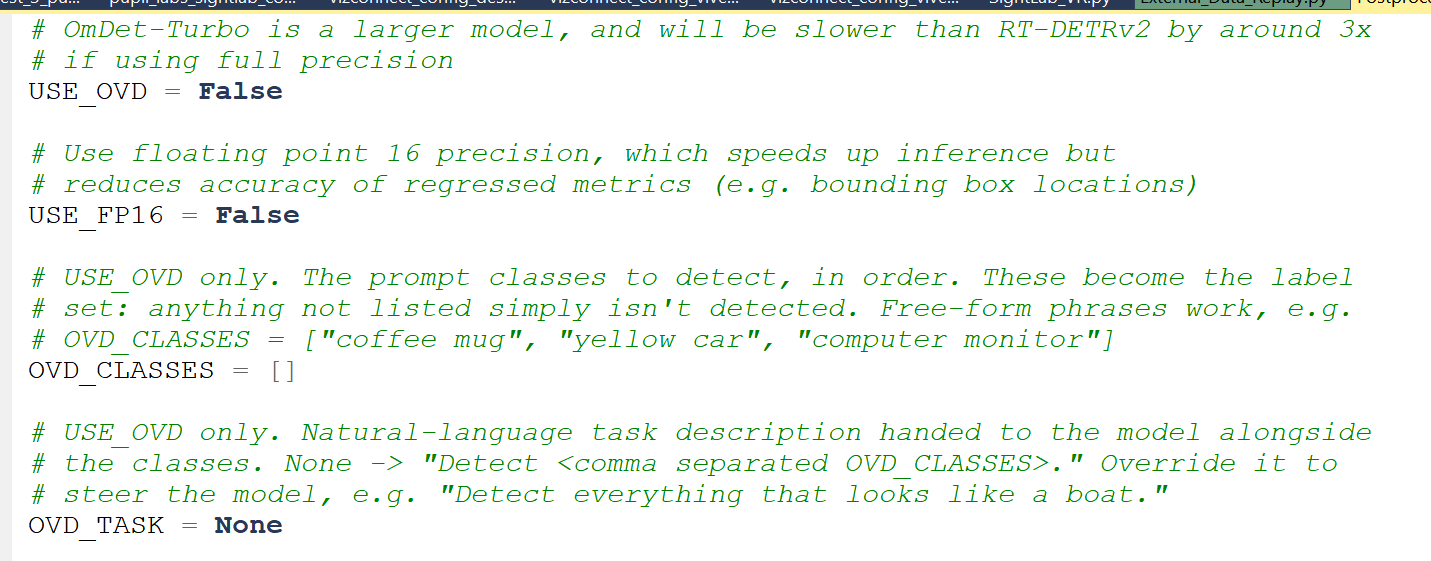
To set custom objects, open the Posprocess_Config.py file inside the main project folder in the Vizard IDE or in Notepad and set USE_OVD = True, then put in the name of the OVD Class you want to track (e.g. “coffee mug”)
The External Data Recorder also creates recordings that can be loaded into the External Data Replay.
This provides a synchronized visual representation of the participant’s session and makes it easier to review gaze behavior alongside the recorded external application.
By default, session recordings and processed videos are stored in the External Data Recorder's recordings folder, while experiment data and gaze-on-object results are stored with the corresponding SightLab data files.
The replay can also fully synchronize with physiological data from Biopac’s Acqknowledge, where scrubbing the replay playback slider will also scrub the physiological data playback.
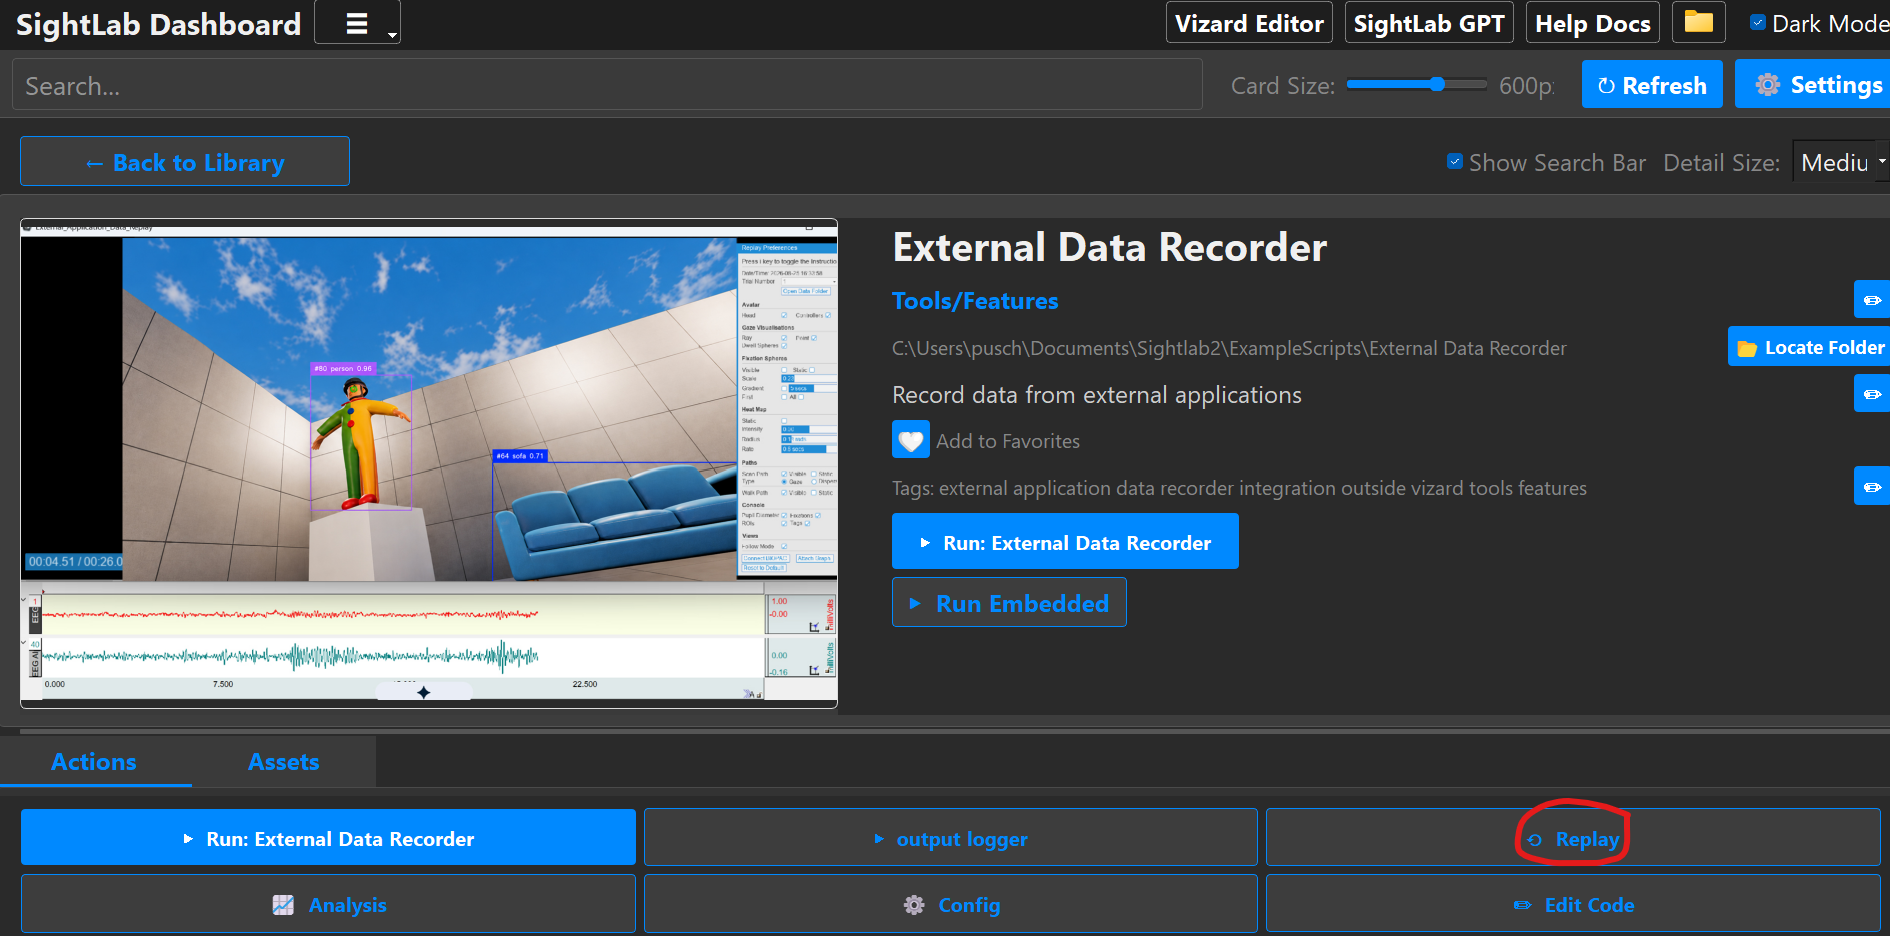
To launch the replay from the Dashboard select “Replay” from the actions button, then select your session and video.
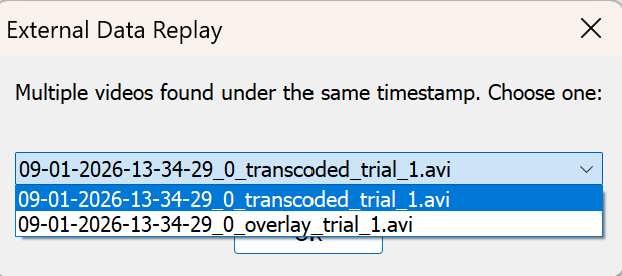
The transcoded video is the original video with only the Sightlab replay gaze point overlaid (i.e. no object detection bounding boxes), while the overlay video has the imprinted gaze point and object detection bounding boxes.
Before collecting participants, run a short practice session.
Look deliberately at several recognizable locations or objects in your application, record the session, and then inspect the processed recording and gaze overlay.
This is a quick way to verify that:
It is much easier to correct a headset, runtime, mirror-view, or calibration setting during a test session than after collecting study data.
The External Data Recorder is designed so the basic workflow stays similar across applications:
Open application → select recording window → choose hardware → calibrate if needed → record → post-process → analyze/replay
The details of preparing the mirror window, OpenXR runtime, eye tracker, and other hardware settings vary by headset, so rather than duplicating those instructions here, use the complete documentation as your reference:
External Data Recorder Documentation →
From there you can find the hardware-specific guides, eye calibration settings, post-processing options, AI object detection configuration, replay workflow, and additional recorder settings.